
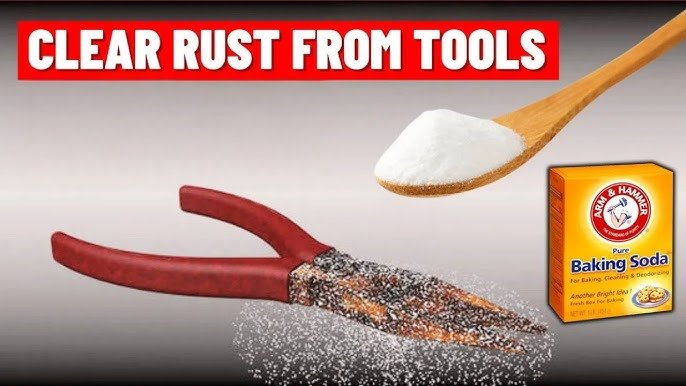
Rust on your favorite hand tools—worn wrenches, rusted garden trowels, corroded hammers—doesn’t just look unsightly. It weakens metal structural integrity, causes bolts and moving parts to seize, and reduces cutting efficiency on edged tools, making even simple DIY jobs frustrating and unsafe. If you’ve reached for harsh chemical rust removers only to be put off by toxic fumes, high costs, or damage to delicate tool finishes, there’s a simple, low-cost solution already in your kitchen pantry: baking soda.
This 2026-updated guide walks you through exactly how to remove rust from tools with baking soda, including step-by-step instructions, pro tips for avoiding common mistakes, and long-term prevention strategies to keep your tools rust-free for years. No special skills or expensive products required—just a few household supplies and 15 minutes of active work.
Why Rust Forms on Metal Tools
Rust (iron oxide) forms through an electrochemical reaction between the iron in steel tools, oxygen in the air, and moisture. Even small amounts of humidity, sweat from your hands, or residual water from cleaning can trigger this process, especially if the tool’s factory protective coating is scratched from regular use.
Factors that speed up rust formation include:
- Storing tools in damp, unheated spaces like garages, sheds, or basements
- Leaving tools exposed to rain, snow, or de-icing salt (common for garden and construction tools)
- Wiping tools down after use, leaving moisture and dirt trapped against the metal
- Storing tools directly on concrete floors, which wicks moisture from the ground
Left untreated, surface rust will pit the metal over time, permanently weakening the tool and making it unsafe to use for heavy-duty tasks. OSHA's tool safety guidelines note that corroded hand tools are a leading cause of preventable workplace and hobbyist injuries, making early rust removal a critical part of tool maintenance.
How Baking Soda Removes Rust From Tools
Baking soda (sodium bicarbonate) is a mild, non-toxic alkaline abrasive that lifts rust particles from metal surfaces without etching or damaging the underlying steel. Unlike acid-based rust removers (vinegar, commercial chemical treatments), it won’t corrode delicate tool finishes, chrome plating, or stainless steel when used correctly, making it ideal for precision tools, antique tools, and tools with painted handles.
The key benefits of using baking soda for rust removal include:
- Non-toxic and fume-free: Safe for use around children, pets, and in poorly ventilated spaces, with no harsh chemical residues left behind after rinsing
- Extremely cost-effective: A 1-pound box of pure baking soda costs less than $1 and can be used for dozens of rust removal sessions, plus it works for hundreds of other household cleaning tasks
- Gentle on all common tool metals: Safe for carbon steel, cast iron, stainless steel, and chrome-plated tools (avoid use on aluminum, as the alkaline paste can cause permanent discoloration)
- Eco-friendly: Non-toxic runoff can be safely rinsed down household drains without harming plumbing or the environment
In practice, baking soda works best for light to moderate surface rust. For heavy, pitted rust built up over months or years, you may need to repeat the treatment 2-3 times, or pair it with a short vinegar soak for faster results.
Supplies You’ll Need
All the supplies for this method are low-cost and likely already in your home. Avoid steel wool or wire brushes, as these scratch tool surfaces and remove protective factory coatings, leading to faster rust recurrence.
Basic Required Supplies
- Pure baking soda (no added scents, detergents, or bleaching agents)
- Warm water
- Small mixing bowl (plastic or ceramic works best)
- Nylon or plastic brush (an old, clean toothbrush works for small parts; a stiff scrub brush works for larger tools)
- Clean microfiber cloths (for drying)
- Rubber gloves (optional, but recommended to avoid dry skin from scrubbing)
Optional Add-Ons for Faster, Easier Cleaning
- Plastic sheeting or old newspaper (to protect work surfaces from paste splatters)
- Plastic putty knife (to scrape off thick, flaky rust buildup before scrubbing)
- Hair dryer (low, cool setting to speed up drying of hard-to-reach crevices)
- Protective eyewear (to avoid rust particles in your eyes during scrubbing)
- Tool oil, paste wax, or silicone spray (for post-cleaning protective coating)
Step-by-Step Guide to Removing Rust From Tools With Baking Soda
Follow these steps for consistent, rust-free results without damaging your tools.
Step 1: Prep the Tool and Workspace
First, wipe off loose dirt, grease, and debris with a dry cloth. If the tool has heavy grime buildup, wash it with mild dish soap and warm water first, then dry completely—baking soda paste won’t adhere to wet surfaces, and trapped moisture will slow the rust removal process.
Lay down plastic sheeting or newspaper to protect your work surface, and disassemble any tools with moving parts (pliers, adjustable wrenches, etc.) to access rust in joints and crevices. For tools with heavy, flaky rust, pre-soak them in warm water for 10 minutes to loosen surface buildup, cutting down on scrubbing time later.
Step 2: Mix the Baking Soda Paste
Combine 2 parts baking soda with 1 part warm water in your mixing bowl, stirring until you form a thick, spreadable paste with a consistency similar to peanut butter. If the paste is too runny, add a small amount of extra baking soda; if it’s too thick to spread, add a drop more water.
Avoid mixing vinegar or other acidic cleaners into the paste: the fizzing reaction will neutralize the baking soda’s abrasive power and reduce its effectiveness for scrubbing.
Step 3: Apply Paste to Rusted Areas
Use a brush or gloved fingers to coat all rusted areas with a 1/8-inch thick layer of paste. For hard-to-reach spots like screw threads, hinge joints, or tool crevices, use a cotton swab or old toothbrush to apply the paste evenly.
Let the paste sit for 1 to 2 hours for light surface rust, or up to 8 hours (or overnight) for heavy, pitted rust. If the paste starts to dry out and crack before the wait time is up, spritz it lightly with water to keep it moist and active.
:max_bytes(150000):strip_icc()/homemade-rust-remover-recipes-1387936_FINAL-6c6543826627420ba5152b7ad0ea67c7.png) Baking soda paste lifts rust from metal tools without scratching the surface.
Credit: www.thespruce.com
Baking soda paste lifts rust from metal tools without scratching the surface.
Credit: www.thespruce.com
Step 4: Scrub Off the Rust
Use your nylon or plastic brush to scrub the paste and loosened rust away with firm, even pressure. For stubborn rust spots that don’t come off with light scrubbing, let the paste sit an extra hour, or use a plastic putty knife to gently scrape off thick rust buildup before scrubbing again.
A common mistake many people make is using steel wool or wire brushes to speed up the process. These abrasive tools scratch the tool’s surface, remove factory protective coatings, and lead to faster rust recurrence within weeks, even after thorough cleaning. Stick to non-abrasive tools for the best long-term results.
 Use a nylon or plastic brush to avoid scratching the tool's metal finish.
Credit: www.instructables.com
Use a nylon or plastic brush to avoid scratching the tool's metal finish.
Credit: www.instructables.com
Step 5: Rinse and Dry Thoroughly
Rinse the tool with warm water to wash away all paste and rust residue. Take extra care to rinse out crevices, moving parts, and screw threads to ensure no baking soda is left behind—trapped baking soda can actually cause minor corrosion if left on metal for extended periods.
Dry the tool immediately with a clean microfiber cloth. For tools with intricate parts or hard-to-reach areas, use a hair dryer on a low, cool setting to ensure no moisture remains. Even a single drop of trapped water can cause new rust to form within 24 hours in humid conditions.
Step 6: Apply a Protective Coating
Once the tool is 100% dry, apply a thin layer of tool oil, paste wax, or silicone spray to all metal surfaces. Rub it in with a clean cloth to create a moisture barrier that prevents rust from returning. This step is especially important for tools stored in garages, sheds, or other high-humidity spaces.
Long-Term Rust Prevention Tips
Removing rust is only half the battle—proper drying and storage will keep your tools rust-free for years, saving you time and money on replacements. As noted in the University of Minnesota Extension's tool care guide, regular maintenance is the most effective way to extend the usable life of hand and garden tools.
Proper Drying Techniques
Never air dry tools after cleaning or exposure to water. Wipe them down immediately with a clean microfiber cloth, and use a low-setting hair dryer for hard-to-reach crevices, moving parts, and screw threads. For power tools, avoid submerging any part of the tool in water—instead, apply the baking soda paste only to rusted metal parts, then wipe away with a damp cloth and dry immediately to avoid damaging internal electrical components.
Keep a dedicated drying cloth in your toolbox to wipe down tools after every use, even if they didn’t get wet—sweat from your hands and ambient humidity can cause rust to form over time.
Protective Storage Solutions
Store tools in a dry, climate-controlled space if possible. If you use a garage or shed for storage, choose a sealed toolbox or metal cabinet to keep out moisture, and avoid storing tools directly on concrete floors, which wick moisture from the ground.
Add silica gel desiccant packets to your toolbox or storage cabinet to absorb excess humidity, replacing them every 3-6 months (or regenerate them by heating in the oven on low for 15 minutes to reuse). For tools that will be stored for more than a month, apply an extra thick coat of paste wax or store them in an airtight bag with a desiccant packet for maximum protection.
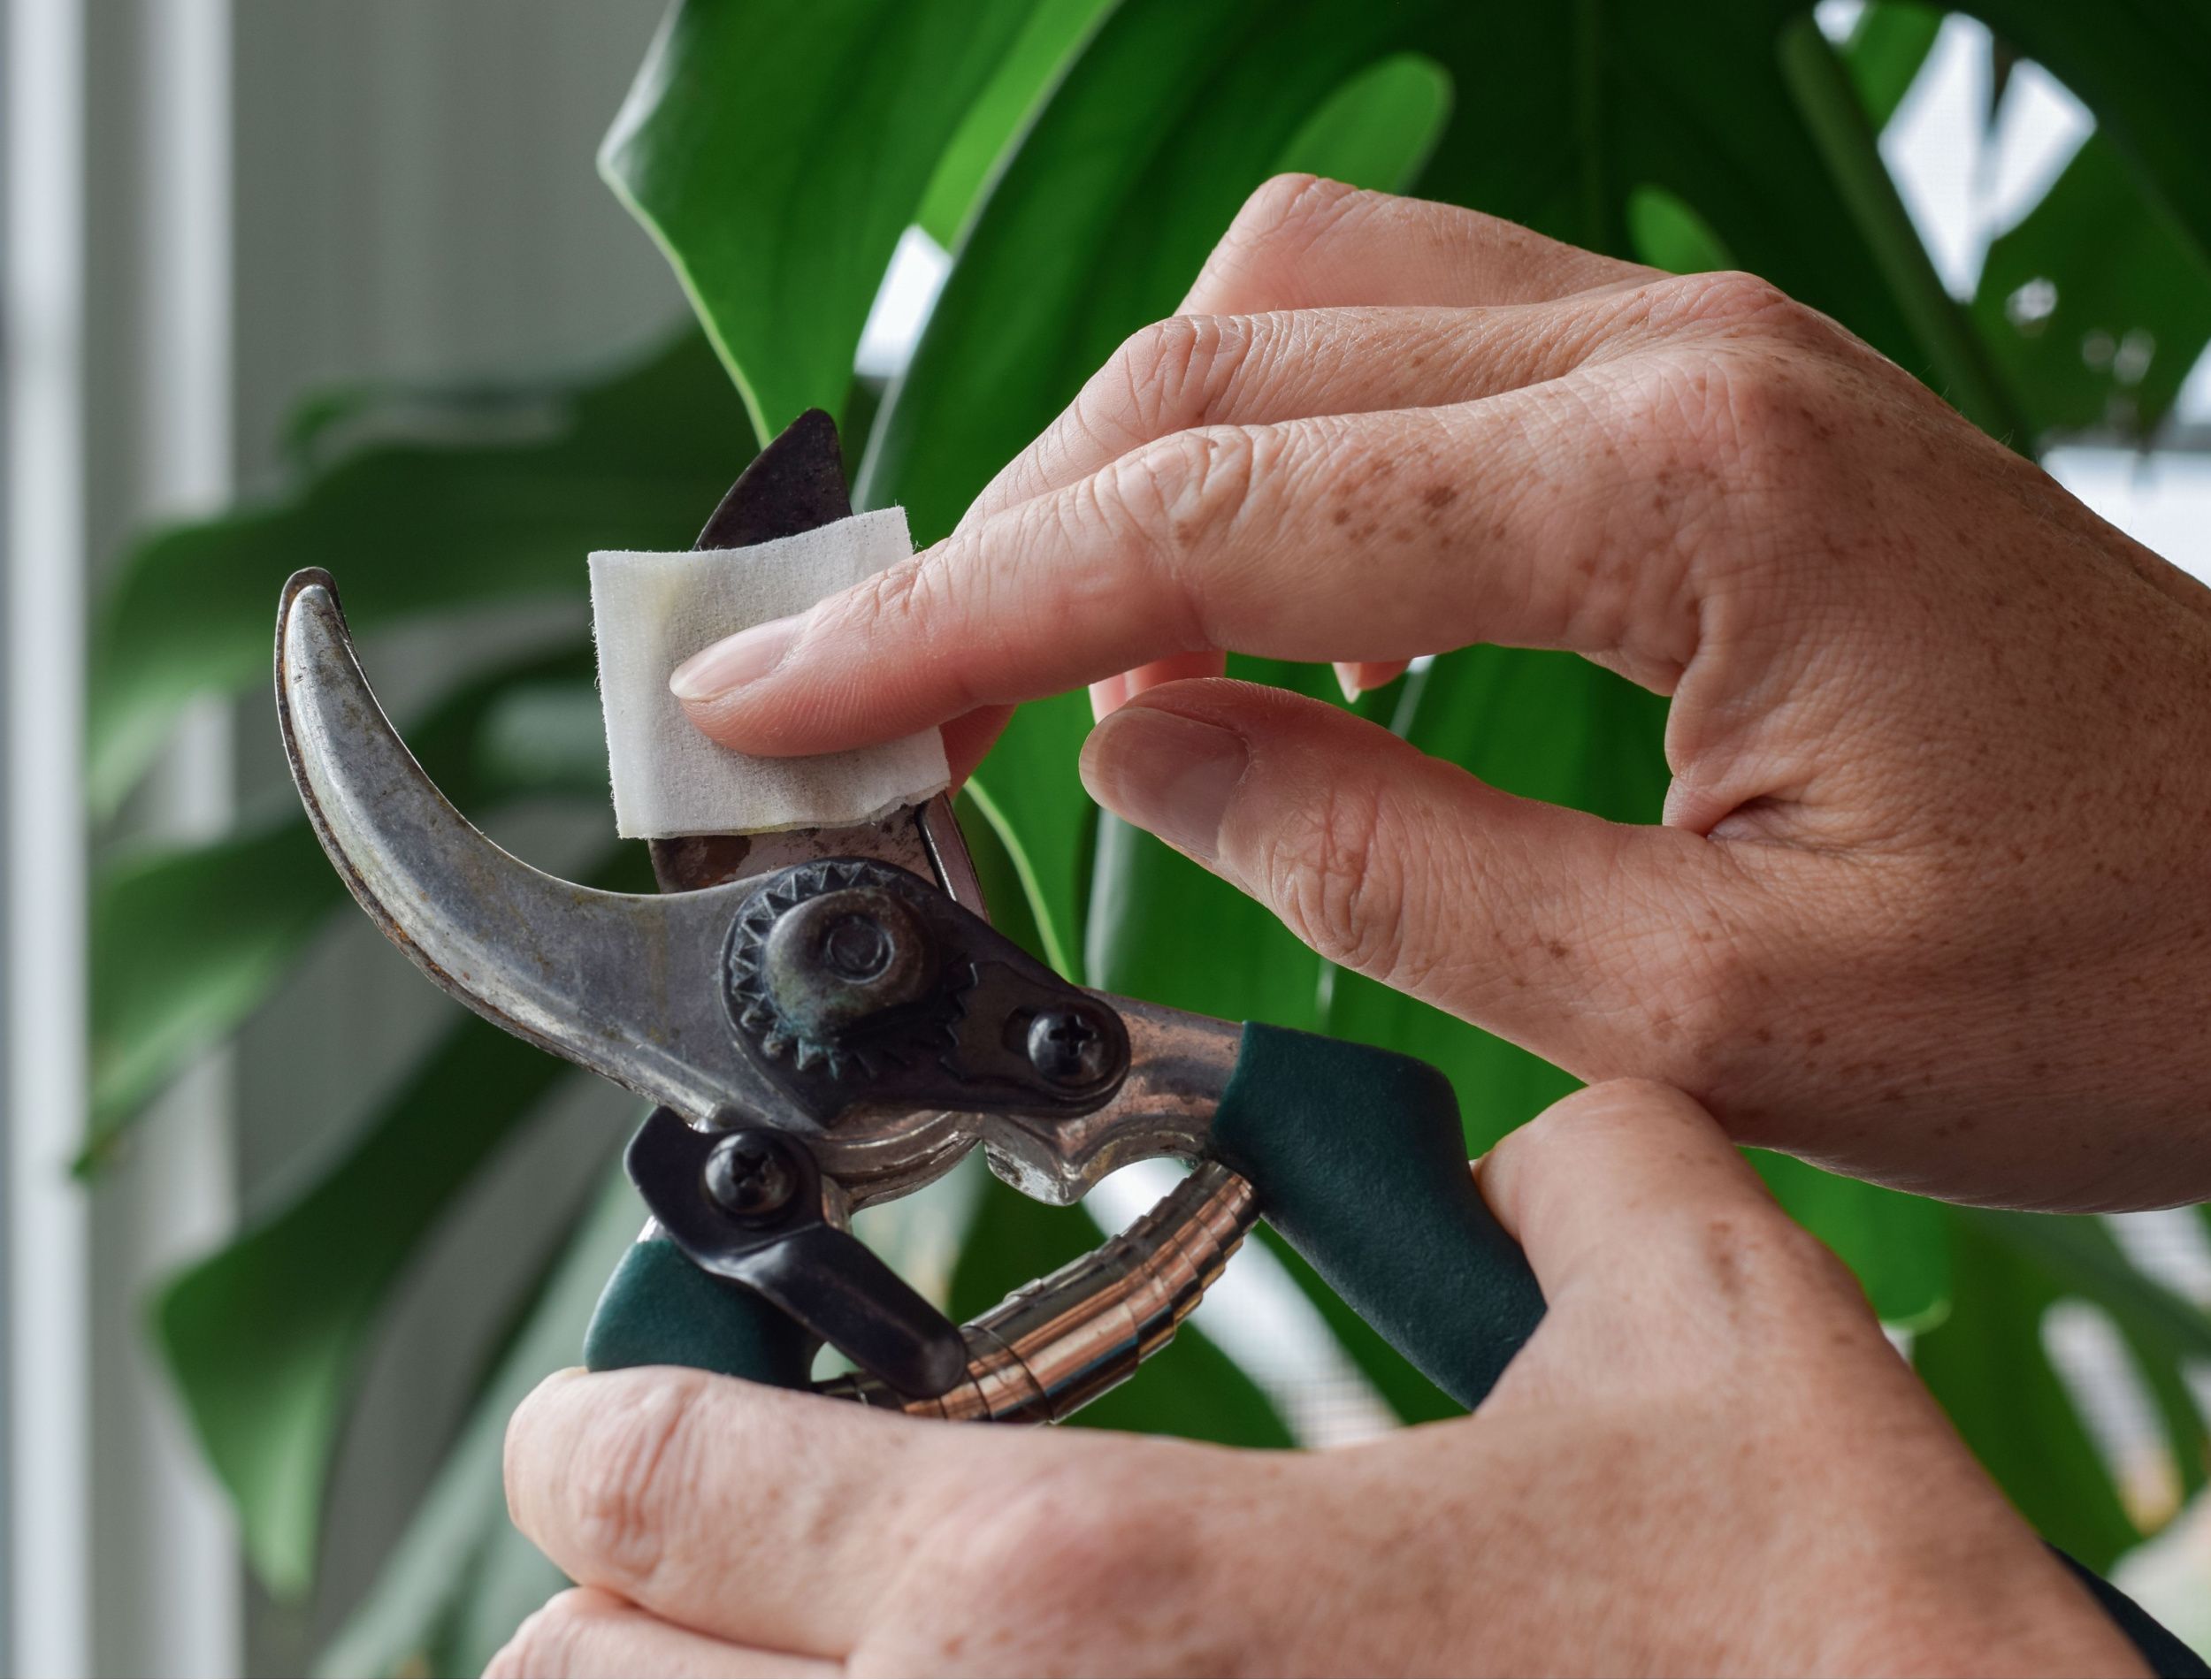 Storing tools in a sealed, dry space with desiccant packets prevents rust from returning after removal.
Credit: www.backyardboss.net
Storing tools in a sealed, dry space with desiccant packets prevents rust from returning after removal.
Credit: www.backyardboss.net
Routine Maintenance Schedule
- Wipe down all tools with a dry cloth after every use to remove moisture and debris
- Inspect tools monthly for early signs of surface rust, especially during humid summer months or winter when tools are exposed to melting snow and de-icing salt
- Do a full baking soda rust removal treatment every 3-6 months, or as soon as you spot small rust spots (catching rust early prevents it from pitting and weakening the metal)
- Apply a thin coat of tool oil to all metal parts every 1-2 months to maintain the moisture barrier, even if no rust is visible
Alternative Rust Removal Methods
Baking soda is ideal for light to moderate rust and delicate tool finishes, but there are other effective methods for heavy rust buildup that you may want to use in tandem or as an alternative.
Vinegar and Lemon Juice Soaks
White vinegar (acetic acid) and lemon juice (citric acid) dissolve rust chemically, making them faster for heavy, widespread rust that baking soda can’t tackle on its own. To use, submerge the tool in undiluted white vinegar for 2 to 4 hours (never leave it longer than 8 hours, as prolonged acid exposure can damage metal), then scrub with a nylon brush, rinse thoroughly, and dry immediately. For lemon juice, squeeze it onto rust spots, sprinkle with coarse salt to act as an abrasive, let sit for 2 hours, then scrub and rinse.
Note that acidic methods can damage painted tool handles or chrome plating if left on too long, so always rinse immediately after scrubbing. They also produce strong odors, so work in a well-ventilated area.
Commercial Rust Removers
For extremely heavy, pitted rust on tools that are too damaged for baking soda or vinegar to fix, commercial rust removers like Evapo-Rust or WD-40 Rust Remover are a convenient option. Many modern formulas are non-toxic and biodegradable, though they are more expensive than household ingredients.
Always follow the manufacturer’s instructions, wear gloves and eye protection, and work in a well-ventilated area. Rinse the tool thoroughly after use to avoid leaving behind residue that can cause new rust.
Frequently Asked Questions
Is baking soda safe for all types of tools?
Baking soda is safe for carbon steel, stainless steel, cast iron, and chrome-plated tools, but avoid using it on aluminum. The alkaline paste can cause permanent discoloration and corrosion on soft aluminum surfaces, which are common on some lightweight garden and automotive tools.
Can I use baking soda on power tools?
Yes, but never submerge a power tool in water. Instead, make a thick baking soda paste, apply it only to rusted metal parts, let sit, scrub with a nylon brush, then wipe away with a damp cloth and dry immediately. Avoid getting moisture in the motor or electrical components to prevent damage.
How long do I need to leave baking soda on rust?
For light surface rust, leave the paste on for 1 to 2 hours. For moderate rust, 2 to 4 hours. For heavy, pitted rust, let the paste sit overnight (up to 8 hours) for best results. If the paste dries out before the wait time is up, spritz it lightly with water to keep it active.
Can I use baking soda and vinegar together for rust removal?
While mixing baking soda and vinegar creates a fizzing reaction that can loosen some surface rust, it is not as effective as using the two ingredients separately. The reaction neutralizes both ingredients within minutes, so you lose the abrasive lifting power of baking soda and the rust-dissolving power of vinegar. For best results, use baking soda as a scrubbing paste, or vinegar as a standalone soak, but do not mix them.
Will baking soda scratch my tools?
No, as long as you use a nylon or plastic brush instead of steel wool or wire brushes. Baking soda is a mild abrasive that lifts rust without scratching the underlying metal or removing factory protective coatings.
Final Tips for Rust-Free Tool Maintenance
- Address rust as soon as you see it: Small surface rust can be removed in minutes with baking soda, but left untreated, it will pit the metal and require more intensive repair.
- Never store tools while damp: Even if you’re in a hurry, wipe tools down with a dry cloth before putting them away to avoid triggering the rust formation process.
- Reapply protective coatings regularly: Even if your tools don’t show signs of rust, reapply a thin layer of tool oil or paste wax every 1-2 months to maintain the moisture barrier.
- Keep tools off the floor: Storing tools on workbenches or shelves instead of concrete floors reduces exposure to ground moisture.
Conclusion
Removing rust from tools with baking soda is a safe, low-cost, and effective method that avoids the harsh fumes and high costs of commercial chemical rust removers. With just a few household supplies and a small time investment, you can restore even heavily rusted tools to like-new condition without damaging their finish or structural integrity.
The key to long-term tool care is consistency: catching small rust spots early, drying tools thoroughly after every use, and storing them in a dry, protected space will keep your tools in top working order for decades, saving you money on replacements and reducing waste.
If you found this guide helpful, bookmark it for your next tool maintenance day, and share it with fellow DIYers, gardeners, and tradesworkers who are tired of fighting rust on their favorite tools.

I’m Abby Lu, a passionate home cook who loves simplifying everyday meals. At PlugChef.com, I share product reviews and cooking guides to help you find the best tools for your kitchen.
Related posts:
 How Do You Pronounce Colander: Clear Guide & Tips
 Is Nylon Or Silicone Better for Cooking Utensils: Ultimate Guide
 How to Cut Skirt Board for Stair: Expert Tips & Techniques
 Vintage First Aid Kit Metal Box: Timeless Safety and Style
 First Aid Kit for Restaurant: Essential Safety Gear You Need Today
 First Aid Kit for Sports: Essential Items for Quick Injury Care

