Do you want a new look for your kitchen? Painting your appliances can help. You don’t need to buy new ones. Just add some color. This guide will show you how.
Why Paint Your Kitchen Appliances?
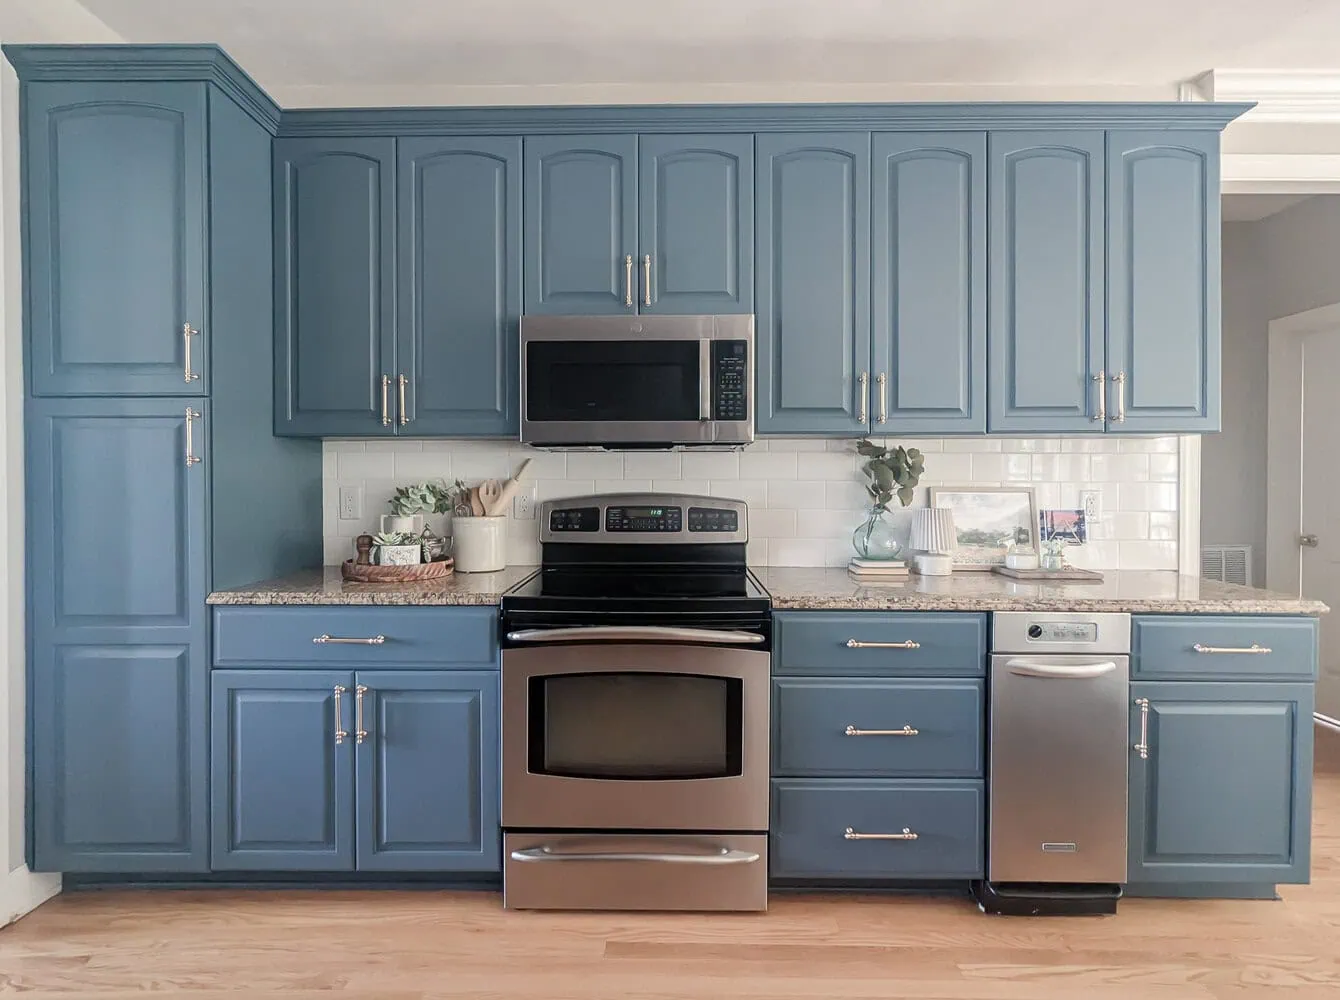
Old appliances can look worn out. New paint makes them fresh. It also saves money. You don’t need to buy new appliances. Just paint the old ones. It’s fun and easy.

Credit: sweetsouthernoaks.com
What You Need
Here is a list of things you need:
- Sandpaper
- Painter’s tape
- Primer
- Appliance paint
- Paintbrush or spray gun
- Drop cloth
These items will help you paint your appliances.
Step-by-Step Guide
Step 1: Clean The Appliance
First, clean the appliance. Use soap and water. Remove grease and dirt. Let it dry completely.
Step 2: Sand The Surface
Next, sand the appliance. Use sandpaper. This helps the paint stick. Make the surface smooth.
Step 3: Tape The Edges
Use painter’s tape. Cover areas you don’t want to paint. This includes handles and buttons.
Step 4: Apply Primer
Now, apply primer. This helps the paint stick. Use a brush or spray. Let it dry completely.
Step 5: Paint The Appliance
Choose your paint color. Use appliance paint. Apply with a brush or spray gun. Paint in thin layers. Let each layer dry.
Step 6: Let The Paint Dry
After painting, let it dry. This may take a few hours. Be patient.
Step 7: Remove The Tape
Once dry, remove the tape. Be careful not to peel the paint.
Step 8: Enjoy Your New Look
Now, admire your work. Your kitchen looks new. All with just paint!
Tips for Success
- Choose the right paint. Use appliance paint only.
- Work in a well-ventilated area.
- Follow drying times. Be patient.
These tips will help you succeed.
Safety First
Wear a mask while painting. Protect your lungs. Paint fumes can be harmful. Open windows for fresh air. Also, wear gloves. Keep your skin safe.
Frequently Asked Questions
Can You Paint Kitchen Appliances?
Yes, you can paint kitchen appliances. Use appliance-safe paint for a durable finish.
What Type Of Paint Is Best For Appliances?
Appliance epoxy paint is best. It offers a smooth, durable, and heat-resistant finish.
How Do I Prepare Appliances For Painting?
Clean the surface. Sand lightly. Apply a primer for better adhesion.
Do I Need To Remove Parts Before Painting?
Yes, remove handles and detachable parts. It ensures even coverage and avoids paint mishaps.
Conclusion
Painting kitchen appliances is easy. It gives a fresh look. You save money. Follow these steps. Enjoy your new kitchen.
Credit: www.lovelyetc.com
Table: Painting Steps Overview
| Step | Action |
|---|---|
| 1 | Clean the appliance |
| 2 | Sand the surface |
| 3 | Tape the edges |
| 4 | Apply primer |
| 5 | Paint the appliance |
| 6 | Let the paint dry |
| 7 | Remove the tape |
| 8 | Enjoy your new look |
Painting is a simple way to refresh your kitchen. No need to buy new appliances. Just paint them. Follow the steps and enjoy your new kitchen.

Hi, I’m Daniel Brooks—a food lover and kitchen gear enthusiast. I enjoy testing cookware, utensils, and gadgets to see what really works in everyday cooking. At PlugChef.com, I share honest reviews, comparisons, and simple guides to help you choose the best tools for a safer, smarter, and more enjoyable kitchen.
Related posts:
 What Type of Cooking Utensils are Safe: Expert Picks
 What Innovations Could Blenders Make: Unleashing Future Tech
 Smart Strategies to Organize a Small Kitchen: Maximize Space
 How to Organize a Kitchen Cabinet: Expert Tips & Tricks
 How to Organize Kitchen Drawers: Expert Tips and Tricks
 How to Organize a Corner Kitchen Cupboard: Expert Tips

