Are you passionate about baking but frustrated by worn-out tools and equipment? Maintaining your baking gear is crucial to getting the perfect results every time.
Imagine the joy of creating delicious treats without the hassle of broken mixers or rusty baking pans. This article is your guide to keeping your baking tools in top shape, ensuring they last longer and perform better. You’ll discover simple techniques that will save you money and enhance your baking experience.
Dive in to learn how easy it is to maintain your baking essentials and take your culinary creations to the next level!
Cleaning Essentials
Proper care keeps baking tools in top shape. Wash them with warm, soapy water after each use. Dry thoroughly to prevent rust. Regular maintenance extends their life and ensures perfect baking results.
Maintaining your baking tools and equipment is essential for quality results. Clean tools ensure your baked goods taste great. Neglecting cleaning can lead to poor performance and shorter tool life. Let’s explore some cleaning essentials to keep your baking tools in top shape.Daily Cleaning Routine
After each use, clean your baking tools promptly. Use warm, soapy water for washing. Soft sponges help remove residue without scratching surfaces. Rinse thoroughly and dry with a clean towel. This prevents bacteria growth and maintains tool quality. Avoid using harsh chemicals that can damage your tools.Deep Cleaning Techniques
Deep cleaning should happen at least once a month. Soak tools in a mixture of baking soda and water. This loosens stubborn stains and residues. For non-stick surfaces, use a vinegar solution. It helps restore their non-stick properties. Ensure all parts are cleaned, including handles and seams. Dry all tools completely before storing them away. This prevents rust and keeps your tools in top condition.Proper Storage
Proper storage keeps baking tools and equipment in top condition. Clean, dry, and neatly organize items to prevent rust and damage. Use labeled containers and keep frequently used tools accessible.
Proper storage of baking tools and equipment is crucial for maintaining their quality and extending their lifespan. Imagine reaching for your favorite baking sheet, only to find it scratched or bent because it wasn’t stored correctly. With a little effort and organization, you can keep your tools in top shape and ready for your next baking adventure.Organizing Your Space
Start by evaluating your kitchen space. Do you have a dedicated drawer or cabinet for your baking tools? If not, consider designating one. Group similar items together: mixing bowls with measuring cups, spatulas with whisks. Use drawer dividers or small baskets to keep everything neat. This prevents items from getting jumbled and makes it easier to find what you need. You’ll save time and avoid the frustration of searching for that elusive rolling pin. Labeling can be a game-changer. Use simple stickers or tags to identify different sections. It might seem unnecessary, but it helps everyone in the household put things back in their proper place.Avoiding Common Mistakes
Many people stack their baking pans and trays directly on top of each other. This can lead to scratches or bending. Instead, try using a pan rack or place a soft cloth between each one to protect them. Storing knives and sharp tools loosely in a drawer is another common mistake. It dulls the blades and can be dangerous. Use a knife block or magnetic strip to keep them safely in place. Keep your heavy equipment, like stand mixers, on a sturdy shelf. Storing them on weak surfaces can cause accidents. If you don’t use them often, consider storing them in a lower cabinet to free up counter space. Have you ever found a forgotten bag of flour in the back of a cabinet? Consider using clear containers for ingredients and label them with expiration dates. This not only helps with organization but also ensures your ingredients stay fresh. By implementing these simple storage tips, you can maintain your baking tools and equipment efficiently. What changes will you make in your kitchen today to ensure your tools are stored properly?Preventing Rust And Corrosion
Keep baking tools and equipment rust-free by drying them thoroughly after washing. Store in a dry place to prevent moisture. Regularly check for any signs of corrosion and address immediately to maintain their longevity and efficiency.
Preventing rust and corrosion is crucial for the longevity of baking tools. Rust not only makes tools unsightly but can also affect their performance. Corrosion weakens the metal, leading to breakages and inefficiency. Keeping your equipment rust-free ensures they remain safe and effective. Regular maintenance and proper storage are essential. Discover easy ways to protect your baking tools from these harmful elements.Material-specific Tips
Different materials require unique care techniques. Stainless steel is resistant to rust but can corrode if exposed to harsh chemicals. Clean it with mild soap and water. Dry immediately to prevent water spots. For aluminum tools, avoid acidic substances as they cause corrosion. Wash and dry thoroughly after each use. Cast iron needs special attention. Keep it dry and oiled to prevent rust. Never soak cast iron in water for long periods. Use a soft cloth to dry it immediately after washing.Using Protective Coatings
Protective coatings can greatly extend the life of baking equipment. Apply a thin layer of mineral oil on metal surfaces. This creates a barrier against moisture and air. For cast iron, seasoning with vegetable oil helps maintain its integrity. This process prevents rust formation. Silicone coatings are effective for aluminum tools. They offer protection without altering the tool’s performance. Regularly check coatings for wear and reapply as needed.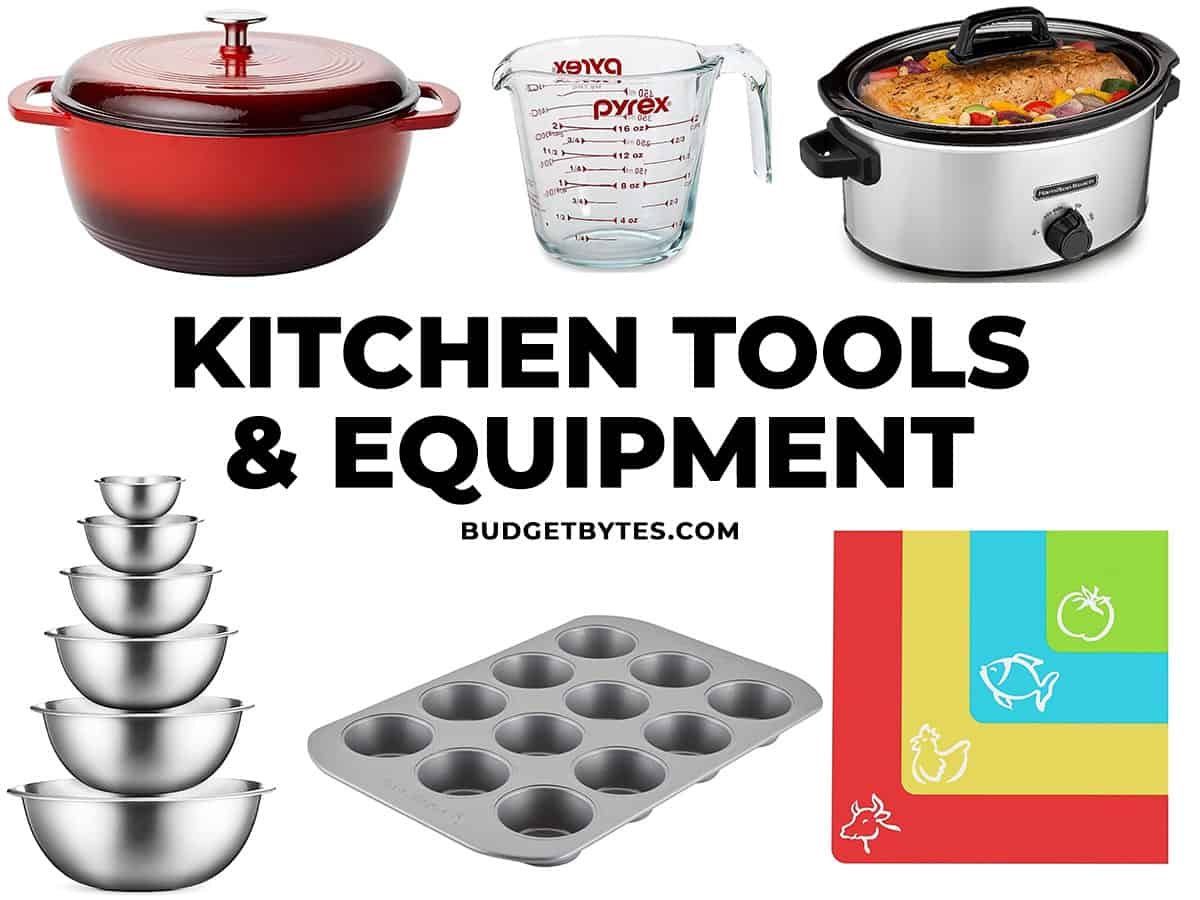
Credit: www.budgetbytes.com
Maintaining Cutting Tools
Maintaining cutting tools in the kitchen is vital for safe baking. These tools, including knives and scissors, need regular care to perform well. Proper maintenance ensures longevity and safety, making your baking experience enjoyable.
Sharpening Techniques
Sharp tools are safer and more effective. Regular sharpening prevents accidents. Use a honing steel weekly to maintain edge sharpness. For dull knives, a whetstone is ideal. Soak the stone in water, then gently slide the blade across it. Maintain a consistent angle for best results.
Electric sharpeners offer convenience. They quickly restore sharpness. Follow instructions to avoid blade damage. Always clean tools after sharpening. Wipe with a damp cloth and dry thoroughly.
Safe Handling Practices
Safe handling reduces injury risks. Always use a cutting board. It stabilizes the tool and protects surfaces. Hold knives firmly with a proper grip. Keep fingers away from the cutting edge.
Store cutting tools properly. Use a knife block or magnetic strip. This prevents dulling and accidental cuts. Avoid leaving tools in the sink. They can be hidden under water or dishes, posing a hazard.
Teach young bakers safe practices. Supervise their use of cutting tools. Encourage focus and caution during use.
Care For Non-stick Surfaces
Proper cleaning extends the life of non-stick baking tools. Use gentle sponges and avoid metal utensils. Store them carefully to prevent scratches.
Non-stick surfaces are a blessing in the world of baking, offering easy release and effortless cleaning. However, maintaining their quality requires special care. If you’ve ever faced the frustration of food sticking despite using non-stick pans, you’re not alone. Understanding how to care for these surfaces can save you time and money, extending the life of your baking tools.Avoiding Damage
The first rule of thumb is to treat non-stick surfaces gently. Metal utensils can scratch and damage the coating, so opt for wooden or silicone tools instead. Have you ever noticed tiny scratches on your pans? Those are often the culprits behind sticking issues. Temperature is another enemy. High heat can warp your non-stick surface, leading to uneven cooking. Keep your stove at medium or low heat to prevent damage. Remember, patience is key to achieving that perfect bake without compromising your tools.Choosing The Right Cleaning Products
Using abrasive cleaners can strip away the non-stick coating. Instead, choose mild dish soap and a soft sponge to clean your pans. It’s tempting to use steel wool for stubborn stains, but resist the urge. A gentle touch preserves the surface’s quality. Consider natural cleaning alternatives like baking soda for tougher spots. It’s an excellent option that’s gentle yet effective. Have you tried this method? You might be surprised at how well it works without damaging your equipment. By taking these steps, you ensure your non-stick surfaces remain reliable partners in your baking adventures. What’s one change you can make today to improve the care of your baking tools?Electrical Equipment Maintenance
Maintaining your electrical baking tools ensures they function properly. It also extends their lifespan. Regular care prevents malfunctions and ensures safety in your kitchen. Following essential maintenance practices keeps your equipment in top shape.
Regular Inspections
Conduct regular inspections of your electrical baking tools. Check cords and plugs for any damage. Look for frayed wires or loose connections. Inspect the equipment’s body for cracks or wear. Ensure all parts are in good condition. Catching problems early saves time and money.
Safe Usage Tips
Always unplug equipment after use. This prevents accidental starts and saves energy. Avoid using tools near water to prevent electric shock. Keep cords away from hot surfaces. Ensure your hands are dry before handling electrical items. Store equipment in a dry, safe place. Follow the manufacturer’s instructions for best results.
Natural Cleaning Solutions
Baking is an art that demands precision and care. Maintaining your baking tools and equipment is crucial. Natural cleaning solutions offer a safe and effective way to keep them in top shape. These solutions are not only gentle on your tools but also kind to the environment.
Benefits Of Eco-friendly Products
Eco-friendly products are safe for the environment. They reduce harmful chemicals in your kitchen. This protects your family’s health and keeps your tools in good condition. Natural cleaners are biodegradable, minimizing waste. They are also cost-effective compared to commercial cleaners. Most eco-friendly products are gentle on your skin, preventing allergies.
Diy Cleaning Recipes
Try a simple vinegar solution for your baking tools. Mix equal parts of water and vinegar. Use this to wipe down surfaces and remove stains. For a deeper clean, sprinkle baking soda over stains. Then, spray with vinegar and let it bubble. This breaks down grime and leaves tools sparkling.
Lemon juice is another natural cleaner. Its acidity cuts through grease effectively. Squeeze lemon juice onto a cloth and scrub your tools gently. This not only cleans but also leaves a fresh scent.
For stubborn stains, make a paste with baking soda and water. Apply it to the stain and let it sit for 15 minutes. Rinse thoroughly to reveal a clean surface.

Credit: www.youtube.com
Routine Checks
Routine checks are essential for keeping baking tools in good condition. Regular inspections prevent unexpected issues during baking. These checks ensure tools function properly and prolong their lifespan. Let’s explore how to identify wear and tear and determine when to replace your baking equipment.
Identifying Wear And Tear
Examine your baking tools closely. Look for cracks in mixing bowls. Check handles for looseness. Inspect spatulas for broken edges. Scratches on non-stick pans can affect baking results. Uneven surfaces on rolling pins may cause dough problems. Regular checks help spot these issues early.
When To Replace Tools
Sometimes, repairs aren’t enough. Consider replacing tools with severe damage. Warped baking sheets can ruin cookies. Old mixers may struggle with dough. Damaged measuring cups cause inaccurate measurements. Replace tools that compromise your baking quality. Investing in new tools saves time and effort in the long run.

Credit: www.scribd.com
Frequently Asked Questions
How Do We Maintain Baking Tools And Equipment?
Clean baking tools immediately after use with warm soapy water. Dry them thoroughly to prevent rust. Regularly inspect for damage and replace worn-out items. Store tools in a dry, cool place. Sharpen knives and other cutting tools as needed. Follow manufacturer’s care instructions for specific equipment.
How Do You Maintain Cooking Tools And Equipment?
Clean tools after each use with warm, soapy water. Dry them immediately to prevent rust. Store in a dry, organized space. Regularly sharpen knives and oil wooden handles. Check equipment for wear and replace damaged parts promptly.
What Is The Proper Maintenance Of Tools And Equipment?
Proper maintenance involves regular cleaning, inspection, and lubrication of tools. Store them in a dry, safe place. Sharpen blades and replace worn parts promptly. Follow manufacturer guidelines for specific maintenance tasks. Prioritize safety and efficiency to extend the lifespan of tools and equipment.
What Are The Pointers For Proper Care And Use Of Baking Tools And Equipment?
Clean tools immediately after use to prevent residue buildup. Store equipment in dry places to avoid rust. Regularly check for any damage. Use tools as intended to prevent wear. Keep baking tools organized for easy access and better efficiency.
Conclusion
Taking care of baking tools ensures they last longer. Regular cleaning prevents rust and damage. Proper storage keeps them safe and organized. Inspect tools for wear and replace them as needed. Use gentle cleaners to avoid harming surfaces. Dry tools thoroughly to prevent mold and bacteria.
Sharpen blades for efficient cutting. Handle delicate items with care to maintain their quality. By following these steps, your baking tools stay in top shape. Enjoy seamless baking experiences with well-maintained equipment. Happy baking!

I’m Abby Lu, a passionate home cook who loves simplifying everyday meals. At PlugChef.com, I share product reviews and cooking guides to help you find the best tools for your kitchen.
Related posts:
 What Type of Cooking Utensils are Safe: Expert Picks
 What Innovations Could Blenders Make: Unleashing Future Tech
 Smart Strategies to Organize a Small Kitchen: Maximize Space
 How to Organize a Kitchen Cabinet: Expert Tips & Tricks
 How to Organize Kitchen Drawers: Expert Tips and Tricks
 How to Organize a Corner Kitchen Cupboard: Expert Tips

