Imagine the satisfaction of admiring a beautifully finished cutting board that you’ve crafted with your own hands. Whether you’re a seasoned woodworker or a DIY enthusiast, completing this project isn’t just about aesthetics; it’s about creating something functional and durable.
You want your cutting board to be more than just a kitchen tool—something that reflects your style and skill. But here’s the catch: finishing a cutting board the right way is crucial. It ensures longevity, safety, and enhances its natural beauty.
Get it wrong, and you could end up with a board that warps, splinters, or harbors bacteria. Luckily, by following some simple steps, you can achieve a professional-level finish that will make you proud every time you use it. In this guide, you’ll discover the secrets to achieving that perfect finish. Whether you’re looking to enhance the wood’s natural grain or ensure it withstands daily use, we’ve got you covered. Dive in, and let’s make sure your cutting board becomes an indispensable part of your culinary adventures.

Credit: www.youtube.com
Choosing The Right Wood
Selecting the right wood is crucial for crafting a durable cutting board. Opt for hardwoods like maple or walnut for their strength and antibacterial properties. Apply food-safe mineral oil to seal and protect the surface, enhancing both durability and appearance.
Choosing the right wood for your cutting board is crucial to its durability and appearance. A well-chosen wood not only enhances the board’s functionality but also adds character to your kitchen. So, how do you decide on the perfect wood for this essential kitchen tool?Hardwood Vs. Softwood
When selecting wood, understanding the difference between hardwood and softwood is key. Hardwoods like maple, walnut, and cherry are popular choices for cutting boards. They are dense, which means they’re less likely to get deep cuts from knives and are more resistant to bacteria. Softwoods, on the other hand, are generally not recommended. They tend to be less durable and can easily get damaged. Pine, for example, while affordable, might not withstand the daily wear and tear of chopping. Which wood would you prefer for a board that lasts and stays hygienic? Consider how often you’ll use it and what kind of tasks you’ll perform.Grain Orientation
Grain orientation affects both the board’s strength and its appearance. End grain cutting boards are highly durable. They show the cross-section of the wood and can heal themselves from knife cuts, which extends their lifespan. Edge grain boards, while less durable than end grain, offer a smooth surface and are often more affordable. They are a good option if you want a balance between durability and cost. Think about the look and functionality you want from your cutting board. Do you prefer the unique checkerboard pattern of end grain or the sleek lines of edge grain? Each has its charm and practical benefits. Choosing wisely impacts the board’s longevity and how much you enjoy using it daily.Preparing The Board
Preparing a cutting board is crucial for its durability and appearance. A well-prepared board ensures a smooth finish and longevity. This process involves careful sanding and dust removal. Each step impacts the board’s final look and feel. Let’s explore these essential techniques.
Sanding Techniques
Sanding is key to achieving a smooth surface. Start with a coarse grit sandpaper to remove rough patches. Gradually move to finer grits for a polished finish. Sand along the grain to avoid scratches. Ensure even pressure to maintain uniformity. A well-sanded board feels smooth and pleasing to touch.
Removing Dust
Dust removal is vital after sanding. Use a soft brush or cloth to wipe away particles. Compressed air can help with stubborn dust. Ensure all dust is cleared for a clean finish. This step prepares the board for oiling and sealing. A dust-free surface enhances the final appearance.
Selecting The Finish
Choosing the right finish for your cutting board is essential. The finish protects the wood and keeps it looking great. It also impacts how safe the board is for food use. Understanding the options available is key to making the best choice.
Oil Vs. Wax
Oil finishes penetrate the wood deeply. They provide moisture resistance and enhance the wood grain. Mineral oil is a popular choice due to its affordability. It is easy to apply and doesn’t spoil. Tung oil offers a durable finish that cures well. It creates a protective barrier on the surface.
Wax finishes sit on the surface. They create a smooth, shiny appearance. Beeswax offers a natural option that is easy to apply. Carnauba wax provides a hard finish. It increases durability and shine. Wax finishes require regular maintenance to maintain effectiveness.
Food-safe Options
Ensuring the finish is food-safe is crucial. Many oils are safe for direct food contact. Mineral oil is non-toxic and safe for use. Tung oil is also safe once fully cured. Beeswax and carnauba wax are naturally food-safe. They provide a protective layer that is safe for food preparation.
Always check labels for food safety information. Some finishes may contain additives. These additives can be harmful if ingested. Choose finishes labeled as food-safe. Protect your health and the quality of your board.
Applying The Finish
Applying the finish to a cutting board enhances its durability and appearance. Begin with sanding to smooth the surface. Then, use food-safe mineral oil or beeswax to seal and protect the wood. Repeat regularly to maintain the board’s quality and longevity.
Applying a finish to your cutting board enhances its beauty and durability. It seals the wood, protecting it from moisture and bacteria. This step is crucial for maintaining your board’s longevity. Let’s explore the tools, materials, and steps required to apply a perfect finish.Tools And Materials
You’ll need a few essential tools and materials. Gather a clean cloth, sandpaper, and mineral oil. Beeswax is optional for added protection. Choose food-safe products to ensure safety.Step-by-step Application
Start by sanding the cutting board’s surface. Use fine-grit sandpaper for a smooth finish. Wipe away any dust with a clean cloth. Pour a small amount of mineral oil onto the board. Spread it evenly using the cloth. Work in circular motions for full coverage. Let the board absorb the oil for several hours. Reapply if necessary for deeper penetration. Optional: Apply a beeswax coating. This adds an extra layer of protection. Melt the beeswax and mix with a bit of mineral oil. Apply the mixture with a clean cloth. Buff the board for a subtle shine. Remember, regular maintenance keeps your cutting board in top shape.Curing And Maintenance
Curing and maintenance are crucial for your cutting board’s longevity. Proper curing enhances the board’s durability and appearance. Regular maintenance keeps it functional and safe for food preparation.
Drying Time
Allow the cutting board to dry completely after oiling. This ensures the oil penetrates deeply. Typically, drying takes 24 hours. Place the board in a well-ventilated area. Keep it away from direct sunlight and heat sources.
Reapplication Tips
Reapply oil every month for optimal results. Use a food-safe mineral oil. Rub oil in a circular motion. Cover the entire surface evenly. Let it absorb for several hours. Wipe off excess oil with a clean cloth.

Credit: ardec.ca
Common Mistakes To Avoid
Choosing the right sandpaper grit is crucial to avoid a rough finish. Apply oil evenly to prevent blotches. Ensure the board is completely dry before use to maintain its quality.
Finishing a cutting board might seem straightforward, but it’s easy to slip up if you’re not careful. Whether you’re a woodworking enthusiast or just someone looking to spruce up a kitchen essential, avoiding common mistakes can make all the difference. You might wonder, what are these pitfalls that can turn a fun project into a frustrating endeavor?Over-sanding
It’s tempting to think that the more you sand, the smoother your cutting board will be. However, over-sanding can actually damage the wood fibers, making the surface uneven. I’ve learned this the hard way—my first cutting board ended up looking more like a wavy ocean than a flat surface. The key is to sand just enough to achieve a smooth finish without compromising the board’s integrity. Use a range of sandpaper grits, starting from coarse and moving to fine. Remember, the goal is to enhance the wood’s natural texture, not erase it.Inappropriate Finish Choices
Choosing the wrong finish can be a costly mistake, both in terms of time and effort. Imagine spending hours crafting your board only to see it ruined by an unsuitable finish. Some finishes can be toxic or not food-safe, which is crucial for a cutting board. Opt for food-safe oils like mineral oil or beeswax. They not only protect the wood but also enhance its natural beauty. Avoid finishes that might flake off or affect the taste of food—nobody wants their veggies tasting like varnish. Have you ever faced these challenges while working on your cutting board? Share your experiences and tips in the comments. Your insights could be just what someone needs to perfect their project!Expert Tips And Tricks
Discover essential tips to finish a cutting board with ease. Sand the surface smoothly for a fine texture. Apply food-safe oil generously to protect and enhance wood grain.
When you aim to craft the perfect cutting board, finishing it with expert precision can make all the difference. This not only enhances its appearance but also extends its life. From my personal experience, a well-finished cutting board becomes a cherished kitchen tool. Here are some expert tips and tricks to guide you through the process.Enhancing Longevity
To ensure your cutting board lasts for years, consider using food-safe oils like mineral oil or beeswax. These oils penetrate the wood, creating a barrier against moisture and bacteria. Regularly applying oil, at least once a month, keeps the board hydrated and prevents cracking. Another tip is to avoid soaking your cutting board in water. Instead, wipe it clean with a damp cloth. This simple action prevents the wood from warping. Have you tried storing your cutting board upright? This allows air circulation on all sides, further preventing moisture buildup.Achieving A Smooth Finish
The key to a smooth finish lies in sanding. Start with a coarse grit sandpaper and gradually move to a finer grit. This step-by-step approach removes scratches and leaves your board feeling silky smooth. For a flawless finish, wipe down the board with a damp cloth after sanding. This removes any lingering dust particles. A smooth surface is not only pleasant to touch but also makes chopping easier. Consider adding a final coat of beeswax for extra shine. This not only enhances the board’s appearance but also adds an extra layer of protection. Have you ever noticed how a glossy cutting board brightens up your kitchen? By following these expert tips, you’re not just finishing a cutting board. You’re creating a functional piece that adds beauty and utility to your kitchen. Are you ready to transform your cutting board into a masterpiece?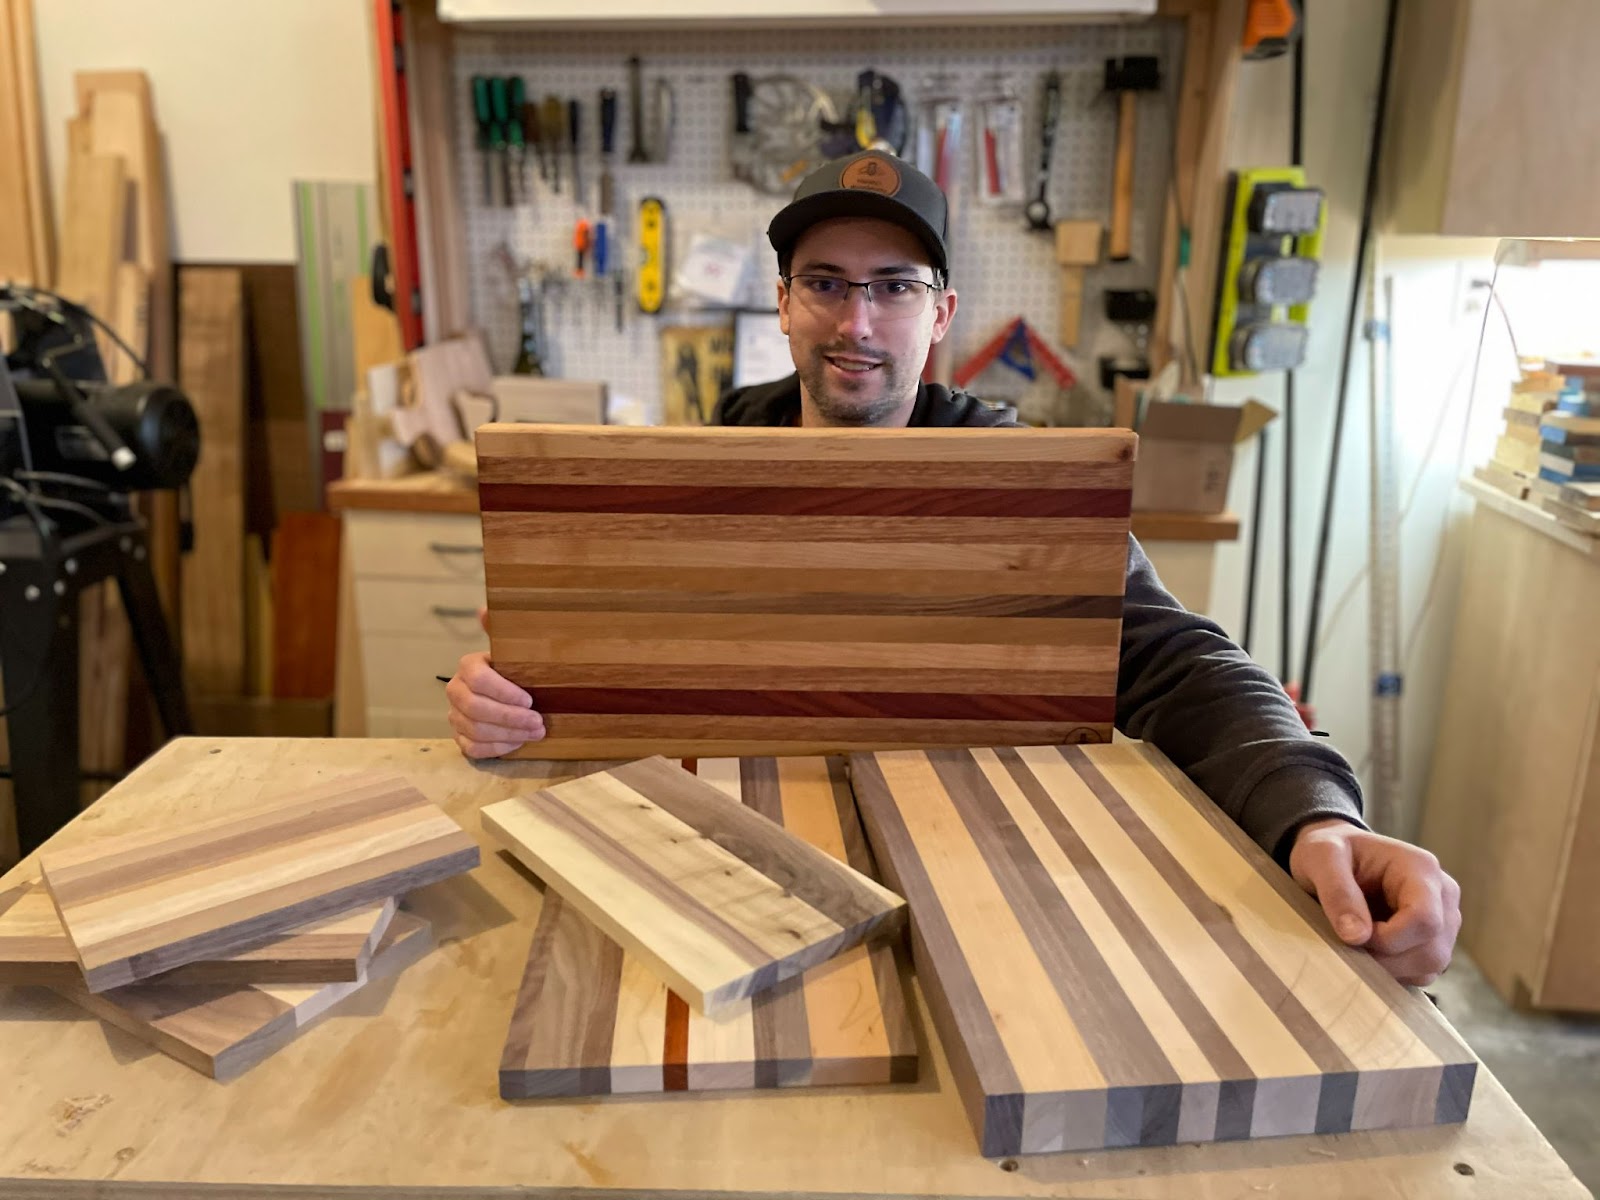
Credit: www.gearheartindustry.com
Frequently Asked Questions
What Is The Best Thing To Finish A Cutting Board With?
Use food-grade mineral oil to finish a cutting board. It penetrates wood, prevents cracks, and is safe. Beeswax or coconut oil can also provide a protective layer. Reapply oil monthly for best results. Avoid vegetable oils; they can turn rancid.
How Do You Finish Off A Cutting Board?
To finish a cutting board, sand it smoothly. Apply food-safe mineral oil evenly, letting it absorb. Wipe excess oil and let it dry. Optionally, apply a beeswax finish for added protection. Repeat the oiling process monthly to maintain the board’s condition.
Is It Better To Oil Or Wax A Cutting Board?
Oil is better for cutting boards as it penetrates wood, providing moisture and protection. Wax offers a top-layer seal but doesn’t penetrate deeply. For optimal care, use food-grade mineral oil regularly and occasionally apply wax for added surface protection. This combination ensures longevity and maintains the board’s condition.
How To Finish A Cutting Board Food Safe Diy?
Sand the board with fine-grit sandpaper for a smooth finish. Clean thoroughly to remove dust. Apply food-safe mineral oil generously and let it soak overnight. Wipe off excess oil and allow it to dry completely. Repeat the oiling process monthly to maintain the board.
Conclusion
Finishing a cutting board can be simple and rewarding. Follow the steps carefully. Sand it smoothly for a sleek surface. Apply oil for protection and shine. Let it dry well before use. This preserves the wood and enhances its beauty.
Regular maintenance keeps your cutting board in top shape. Check it often for scratches or dryness. Reapply oil if needed. With care, your cutting board will last for years. It becomes a handy kitchen tool and a lovely piece of decor.
Enjoy your creation and happy cooking!

Hi, I’m Daniel Brooks—a food lover and kitchen gear enthusiast. I enjoy testing cookware, utensils, and gadgets to see what really works in everyday cooking. At PlugChef.com, I share honest reviews, comparisons, and simple guides to help you choose the best tools for a safer, smarter, and more enjoyable kitchen.
Related posts:
 What Type of Cooking Utensils are Safe: Expert Picks
 What Innovations Could Blenders Make: Unleashing Future Tech
 Smart Strategies to Organize a Small Kitchen: Maximize Space
 How to Organize a Kitchen Cabinet: Expert Tips & Tricks
 How to Organize Kitchen Drawers: Expert Tips and Tricks
 How to Organize a Corner Kitchen Cupboard: Expert Tips

