Are you ready to tackle your next home improvement project with confidence? Cutting Hardie Board cement board might seem intimidating at first, but with the right guidance, you’ll find it easier than you think.
Whether you’re updating your kitchen backsplash or refreshing your bathroom walls, mastering this skill is essential for achieving a professional finish. Imagine the satisfaction of seeing perfectly cut edges that fit seamlessly into your design. In this guide, you’ll discover simple techniques and tips that will help you cut Hardie Board like a pro, saving you time and frustration.
Get ready to transform your home into a masterpiece, starting with the perfect cut.
Tools Required
Cutting Hardie Board Cement Board requires precision and the right tools. Having the correct tools makes the task easier and ensures a smooth finish. Let’s explore the essential tools needed for this task.
1. Circular Saw with Carbide-Tipped BladeA circular saw with a carbide-tipped blade is crucial. It cuts through the cement board efficiently. Ensure the blade is sharp to avoid chipping.
2. Dust MaskAlways wear a dust mask. Cutting cement board generates harmful dust. Protect your lungs by wearing a quality mask.
3. Safety GlassesSafety glasses protect your eyes from debris. They are essential for any cutting task. Never skip this safety step.
4. Measuring TapeAccurate measurements are vital. Use a measuring tape to mark precise cutting lines. Measure twice, cut once.
5. Utility KnifeA utility knife helps in scoring the board. It’s useful for making straight cuts. Ensure the blade is sharp.
6. SquareA square ensures straight lines and angles. It’s essential for precise cuts. Keeps your work neat and aligned.
7. ClampsClamps hold the board steady. They prevent movement during cutting. This results in cleaner, straighter cuts.

Credit: www.youtube.com
Preparation Steps
Start by marking your cutting line on the Hardie board with a pencil. Use a carbide-tipped scoring knife to score the board along the line. Snap the board along the score for a clean break.
Preparing to cut Hardie Board Cement Board is crucial to achieving a clean and accurate finish. If you’ve ever tried cutting without proper prep, you might have ended up with jagged edges and a lot of frustration. Let’s ensure you get it right this time by focusing on the preparation steps, which are often overlooked but make all the difference.Gather Your Tools
Start by collecting everything you’ll need. This includes a circular saw with a diamond blade, safety goggles, and dust masks. You don’t want to stop mid-project to fetch missing tools. Have a measuring tape and pencil handy for marking precise cuts.Set Up A Clean Workspace
Find a spacious area to work. Cement board dust is messy, so it’s best to work outside or in a well-ventilated space. Lay down a tarp to catch debris and make cleanup easier. Ensure your workspace is free from obstacles to avoid accidents.Measure Twice, Cut Once
Double-check your measurements before you start cutting. A small error can lead to wasted material and extra costs. Use a straight edge for marking lines; this ensures accuracy and saves time in the long run. Consider cutting a small piece first to test your setup.Safety First
Safety should never be an afterthought. Cement board generates a lot of dust that can be harmful. Wear protective gear like safety goggles and a dust mask. These simple steps keep your eyes and lungs safe, allowing you to focus on the task at hand.Secure The Board
Before cutting, ensure the Hardie Board is stable. Use clamps to keep it from shifting. A moving board can lead to uneven cuts and potential injuries. Secure it on a flat surface to maintain control and precision. Have you ever started a project and realized you forgot an essential step in the preparation? Taking the time to properly prepare not only saves time but also enhances the quality of your work. What other preparation tips can you think of?Measuring And Marking
Accurate measuring and marking are crucial for cutting Hardie Board cement board. Use a tape measure for precise dimensions. Mark with a pencil to ensure clean, straight cuts.
Cutting Hardie Board cement board can seem daunting, especially if you’re new to DIY projects. But the key to a successful and smooth cut lies in the initial steps: measuring and marking. These foundational steps ensure precision and save you time and frustration. Let’s dive into how you can make these processes efficient and error-free.Understanding The Project Requirements
Before you even pick up a tape measure, it’s crucial to understand your project’s needs. Are you installing siding or flooring? Knowing the purpose helps you determine the exact dimensions needed. Visualize the finished project and identify critical areas that require precise fitting. This mental blueprint guides your measurements.Using The Right Tools
Accurate measurements depend on having the right tools. A sturdy tape measure is a must-have. Consider using a carpenter’s square for perfect angles. If you’re dealing with larger pieces, a chalk line can be a lifesaver for long, straight markings. These tools ensure that your measurements are precise and your cuts are straight.Measuring With Precision
Measure twice, cut once—this saying holds true. Double-checking your measurements prevents costly mistakes. Keep your tape measure taut and avoid sagging to ensure accuracy. Always measure from the same starting point to maintain consistency throughout the project. These habits make your work more professional.Marking The Cut Lines
Once your measurements are set, it’s time to mark your cut lines. Use a pencil or chalk for visible markings. For intricate cuts, consider using a template as a guide. Ensure your markings are clear and easy to follow when you begin cutting. This clarity helps you avoid mistakes and reduces stress.Handling Odd Shapes And Angles
Projects often include odd shapes or angles that challenge conventional measuring. Don’t let this intimidate you. Use tracing paper or cardboard to create a template of the tricky areas. Transfer this template onto the Hardie Board for an accurate cut. This technique is especially handy for areas like corners or around fixtures.Checking Your Work
Before you start cutting, review your measurements and markings. Look for any inconsistencies or errors. Ask yourself if you’ve accounted for all necessary dimensions. Checking your work saves you from potential mishaps and gives you confidence as you move forward. — These steps ensure that your Hardie Board cutting process is smooth and efficient. Have you ever faced difficulties in measuring and marking? How did you overcome them? Share your thoughts below!Cutting Techniques
Cutting Hardie Board Cement Board requires precision and the right tools. A carbide-tipped scoring knife works well for clean cuts. Safety gear is essential to protect from dust and debris.
Cutting Hardie board cement board can seem daunting, especially if you’re new to home improvement projects. However, with the right techniques, you can achieve clean and precise cuts. Understanding different cutting methods can help you choose the best approach for your project. Let’s dive into some popular cutting techniques that can make your task easier and more efficient.Scoring Method
The scoring method is ideal for straight cuts and requires minimal tools. You’ll need a utility knife and a straight edge or ruler. Place the straight edge along your desired cut line. Firmly drag the utility knife across the surface of the board to score it. Repeat this process a few times to deepen the score line. Once the board is sufficiently scored, simply bend it back and forth until it snaps cleanly along the line. This technique is dust-free and perfect for small projects.Circular Saw Method
If you’re handling a larger project or need to make long cuts, a circular saw is your best friend. Equip your saw with a carbide-tipped blade designed for cement board. Secure the board on a stable surface and mark your cutting line. When using the saw, ensure you wear safety goggles and a mask to protect against dust. Cut slowly and steadily along your marked line. The circular saw method offers speed and precision, but be prepared for some dust and noise.Jigsaw Method
For curved cuts or intricate shapes, a jigsaw is the tool to use. Choose a blade specifically for cutting cement board to ensure smooth results. Clamp the board securely to avoid movement. Carefully guide the jigsaw along your marked line, allowing the blade to do the work. Don’t rush the process; patience ensures a clean cut. The jigsaw method is versatile, making it ideal for custom shapes and detailed projects. Each method has its unique advantages, but which one will you choose? Consider your project needs and available tools. Whether you’re aiming for speed, precision, or flexibility, mastering these techniques will boost your DIY confidence. Have you tried any of these methods before? Share your experiences and tips in the comments below!Safety Precautions
Cutting Hardie Board Cement Board requires attention to safety. Dust from the cutting process can harm your health. Sharp edges might cause injury. Proper safety precautions can reduce risks.
Wear Protective Gear
Safety gear is essential. Use safety goggles to protect your eyes. Wear a dust mask to avoid inhaling harmful particles. Gloves protect your hands from sharp edges. Choose sturdy work gloves for best protection.
Ensure Adequate Ventilation
Work in a well-ventilated area. Good airflow helps disperse dust. Open windows or use fans to circulate air. This reduces dust concentration in the air. Ventilation is crucial for health safety.
Secure The Board Firmly
Keep the board stable during cutting. Use clamps to hold it in place. A stable board prevents slippage. Slippage can cause accidents. Ensure the board is securely positioned before you start cutting.
Use The Right Tools
Choose the correct cutting tools. Use carbide-tipped blades for best results. These blades cut the board effectively. Avoid using worn-out tools. Sharp tools reduce cutting time and effort.
Follow Manufacturer’s Guidelines
Read and follow the manufacturer’s instructions. They provide specific safety recommendations. Instructions help ensure correct cutting techniques. Following guidelines minimizes risks and errors.

Credit: www.youtube.com
Common Mistakes To Avoid
Avoid using the wrong tools when cutting Hardie Board Cement Board. Ensure precise measurements to prevent misaligned cuts. Remember to wear safety gear to protect from dust and sharp edges.
Cutting Hardie Board cement board can seem like a straightforward task, but even small mistakes can lead to big problems. Whether you’re a DIY enthusiast or a seasoned professional, avoiding common pitfalls is crucial for a smooth and successful project. Let’s dive into the typical errors people make and how you can steer clear of them.1. Not Using The Right Tools
Using the wrong tools can make cutting Hardie Board a nightmare. Many people think any saw will do, but you really need a carbide-tipped blade for a clean cut. Using a basic wood blade can lead to rough edges and can even damage your tools. Always choose the right tool for the job to save time and frustration.2. Skipping Safety Gear
Safety should never be an afterthought. Hardie Board produces silica dust, which is hazardous if inhaled. Not wearing a dust mask or protective eyewear is a mistake that can affect your health. Always gear up with the appropriate safety equipment to protect yourself.3. Ignoring Proper Measurements
Failing to measure accurately is a rookie mistake that leads to wasted materials. Double-check your measurements before making a cut. It might seem tedious, but it ensures you don’t end up with pieces that are too short or too long. Precision is your best friend.4. Cutting In Poor Lighting
Overlooking the importance of good lighting can lead to inaccurate cuts. Working in dim conditions makes it hard to see your lines clearly. Ensure your workspace is well-lit to maintain accuracy and avoid costly mistakes.5. Not Supporting The Board Properly
Improper support can cause the board to crack or break. Many people make the mistake of cutting with the board hanging over an edge without adequate support. Always ensure the board is well-supported on both sides to prevent damage.6. Rushing The Process
Hurrying through the cutting process can lead to errors and poor results. Take your time and focus on each step. Rushing can lead to uneven cuts and wasted materials. Remember, patience is key to a perfect cut.7. Forgetting To Clean Up
Neglecting cleanup might seem minor, but it can cause significant issues later. Dust and debris can affect the finish of your project and even pose safety hazards. Always tidy up your workspace to keep it safe and efficient. Have you made any of these mistakes before? How did you overcome them? By staying alert to these common errors, you can ensure your Hardie Board project is both safe and successful.Finishing Edges
Cutting Hardie Board cement requires precision and the right tools. Use a carbide-tipped scoring knife for straight lines. Wet saws or circular saws with diamond blades handle curves and edges smoothly. Proper technique ensures clean cuts and reduces dust.
Finishing edges on Hardie board cement board is a crucial step that ensures a professional and polished look to your home improvement projects. This process not only enhances the aesthetic appeal but also helps protect the board from potential damage. Knowing how to finish the edges correctly can make a significant difference in the durability and appearance of your work.Understanding The Importance Of Finishing Edges
Finishing edges isn’t just about looks. Properly finished edges prevent moisture from seeping into the board. This helps prolong the life of your installation. Imagine spending hours cutting and fitting your Hardie board, only to have it damaged by water. Protect your investment by taking the time to finish the edges properly.Tools You’ll Need For Finishing
Before you start, gather the right tools. A sanding block or a fine grit sandpaper will smooth rough edges. You may also need a good-quality primer or sealant. These materials help protect the edges and prepare them for paint or other finishes.Step-by-step Process
First, inspect the edges after cutting. Look for any jagged or rough spots that need attention. Use your sanding block to gently smooth these areas. Take care not to sand too much. You want to maintain the board’s structural integrity. Next, apply a primer or sealant to the edges. This step is crucial in protecting the board from moisture. Let the sealant dry completely before proceeding to the next stage of your project. Rushing through the finishing process can lead to problems. Don’t skip sanding, even if the edges look smooth at a glance. Another common error is not allowing enough drying time for the sealant. Patience pays off here.Personal Insight: Learning From Experience
In my early DIY days, I underestimated the importance of finishing edges. I skipped the sealing step, thinking it was unnecessary. Months later, I noticed the edges of my bathroom installation starting to warp and swell. Lesson learned: finishing edges is not optional.Ask Yourself
Do you want your Hardie board project to stand the test of time? Are you willing to invest a little extra time now for long-term durability? Finishing the edges properly can save you from future headaches. It’s the small details that often make the biggest difference.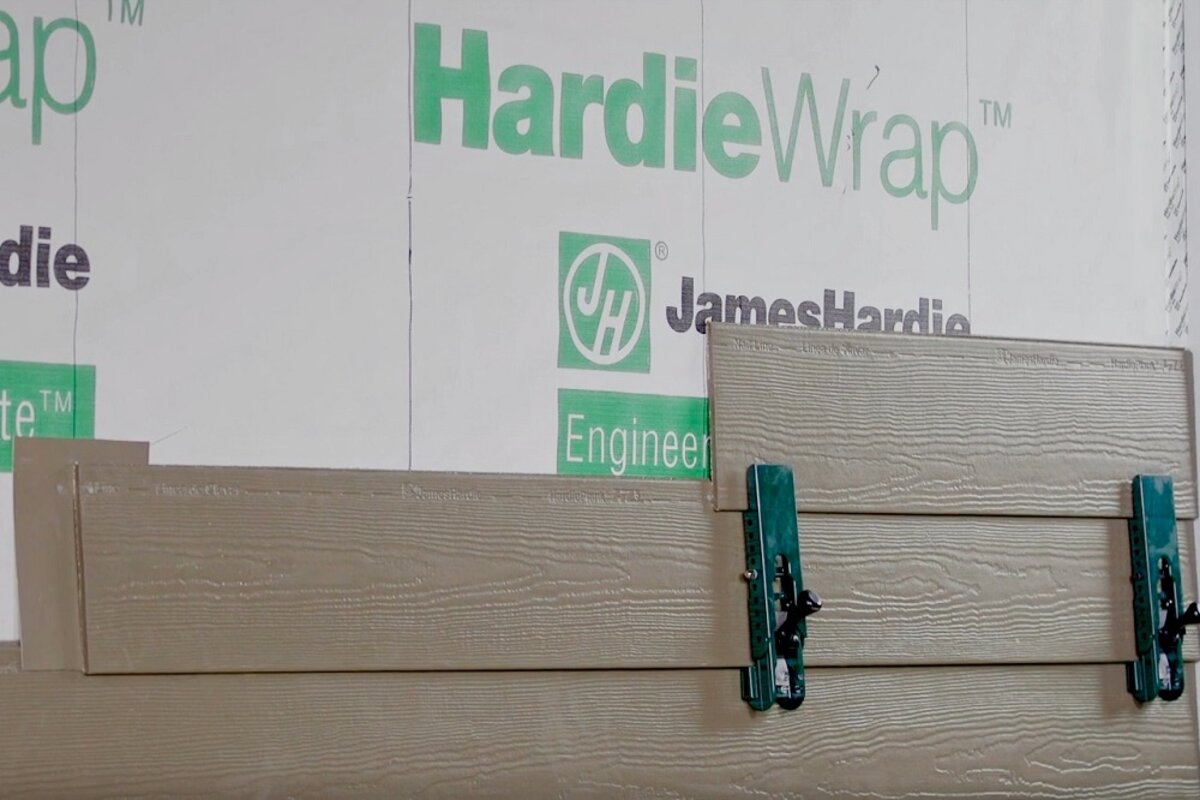
Credit: fairwayexteriors.com
Maintenance Tips
Maintaining your Hardie Board Cement Board is crucial for its longevity and performance. Regular care ensures the board remains strong and resistant to damage. Proper maintenance techniques can prevent costly repairs down the line.
Cleaning Your Cement Board
Keep your Hardie Board clean for optimal appearance. Use a mild detergent mixed with water. Gently scrub the surface with a soft brush. Rinse thoroughly to remove soap residues. Avoid harsh chemicals that might damage the surface.
Inspecting For Damage
Regularly inspect your cement board for cracks or chips. Promptly address any visible damage to prevent further issues. Check for signs of moisture infiltration. Moisture can weaken the board over time.
Sealing Joints And Edges
Sealing is vital to protect against water damage. Inspect the joints and edges for gaps. Use a quality sealant to fill any spaces. Ensure the sealant is suitable for outdoor use.
Preventing Mold And Mildew
Keep the area dry to prevent mold growth. Ensure proper ventilation around your cement board. Consider installing a moisture barrier. This reduces the risk of mildew.
Proper Storage
Store unused boards in a dry, sheltered area. Protect them from direct sunlight and rain. Stack them flat to prevent warping. Ensure they remain clean and dust-free.
Frequently Asked Questions
What Do You Cut Hardie Cement Board With?
Use a carbide-tipped scoring knife or a circular saw with a diamond-tipped blade to cut Hardie cement board. Wear a dust mask and goggles for protection. Ensure clean, precise cuts by measuring accurately and using a straightedge. These tools minimize dust and deliver smooth cuts.
What Is The Best Tool To Use To Cut Cement Board?
A carbide-tipped scoring knife is ideal for cutting cement board. It ensures clean, precise cuts. For larger tasks, use a power saw with a carbide blade. Always wear protective gear to prevent dust inhalation and injuries. These tools guarantee efficiency and safety in your cement board cutting projects.
Do You Need A Special Saw Blade To Cut A Hardie Board?
Yes, you need a special saw blade for cutting Hardie board. Use a blade with diamond-tipped or carbide edges. These blades reduce dust and ensure cleaner cuts. Regular saw blades may wear quickly and produce excessive dust, compromising safety and efficiency.
How To Cut Hardie Cement Board Without A Saw?
Use a carbide-tipped scoring knife to cut Hardie cement board. Score the board along the desired line. Snap it by applying pressure on the scored line. Smooth edges using a rasp or sandpaper for a clean finish. Wear safety goggles and a mask to protect against dust.
Conclusion
Cutting Hardie Board cement board requires patience and precision. Start by gathering the right tools. Follow safety measures to avoid injuries. Mark the cut lines carefully. Always use a carbide-tipped blade for clean cuts. Slow and steady wins the race when cutting.
Practice on scraps before the actual board. Rushing can lead to mistakes. Double-check measurements to ensure accuracy. Clean up debris after cutting. Proper disposal is important. Cutting Hardie Board might seem tricky, but with practice, it becomes easier. Follow these steps, and you’ll achieve professional results.
Happy cutting!

Hi, I’m Daniel Brooks—a food lover and kitchen gear enthusiast. I enjoy testing cookware, utensils, and gadgets to see what really works in everyday cooking. At PlugChef.com, I share honest reviews, comparisons, and simple guides to help you choose the best tools for a safer, smarter, and more enjoyable kitchen.
Related posts:
 What Type of Cooking Utensils are Safe: Expert Picks
 What Innovations Could Blenders Make: Unleashing Future Tech
 Smart Strategies to Organize a Small Kitchen: Maximize Space
 How to Organize a Kitchen Cabinet: Expert Tips & Tricks
 How to Organize Kitchen Drawers: Expert Tips and Tricks
 How to Organize a Corner Kitchen Cupboard: Expert Tips

