Imagine the joy of baking your favorite cookies or a delicious cake. The aroma fills your kitchen, and the satisfaction of creating something delightful is unmatched.
But what happens after the last crumb is devoured? Your baking tools and equipment need some love too! If you’re like most home bakers, you want your tools to last, ensuring every bake is as perfect as the last. So, how do you properly clean and store them?
It’s easier than you think. By learning how to care for your baking essentials, you not only extend their lifespan but also enhance your baking experience. Dive into these simple yet effective tips, and never worry about rusty pans or sticky spatulas again. This guide is designed to help you cherish your baking tools, making sure they’re ready for every culinary adventure you embark on. Ready to transform your baking routine? Let’s get started!

Credit: www.cleanipedia.com
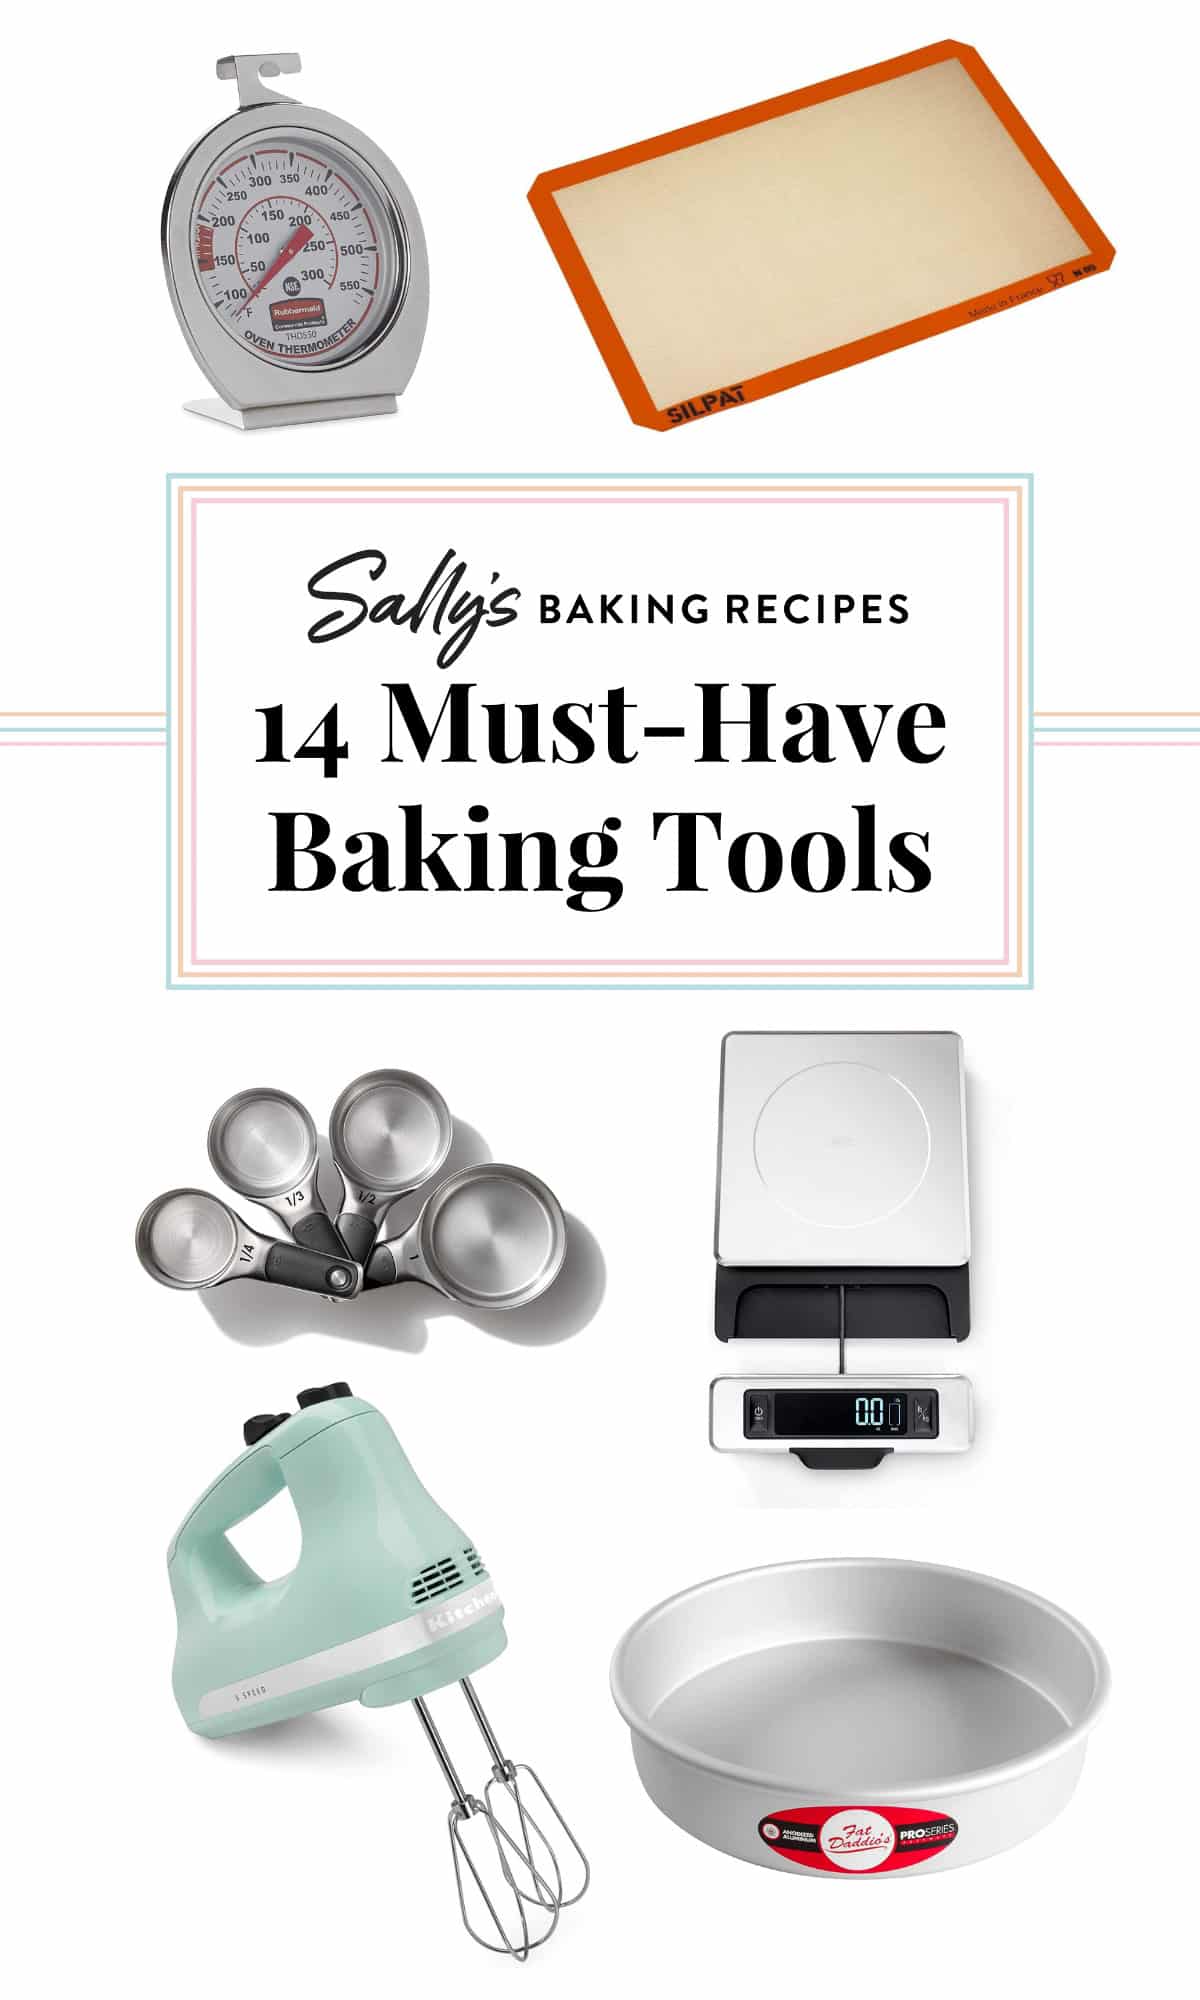
Essential Baking Tools
Properly cleaning and storing baking tools ensures longevity. Wash tools with mild soap and warm water. Dry them thoroughly to prevent rust. Store in a cool, dry place to avoid moisture damage. Organize neatly for easy access. This simple care keeps tools in great condition for your next baking adventure.
When it comes to baking, having the right tools can make all the difference. Whether you’re a beginner or a seasoned pro, essential baking tools are crucial to your success. But what exactly are these tools, and how do you care for them?Mixing Bowls
Mixing bowls are the backbone of any baking endeavor. They come in various materials like glass, stainless steel, and plastic. Stainless steel bowls are durable and resist stains, making them a great choice. Always wash mixing bowls in warm, soapy water after use. Dry them immediately to prevent water spots. Stack them neatly in a cupboard to save space.Measuring Cups And Spoons
Accurate measurements can make or break a recipe. Invest in a set of reliable measuring cups and spoons. Opt for metal ones as they tend to last longer and resist warping. Rinse them after each use, especially when measuring sticky ingredients like honey. Keep them in a drawer within easy reach of your baking station.Baking Pans And Sheets
From cookies to cakes, baking pans are indispensable. Consider non-stick varieties for easy release. A silicone mat can also prevent sticking and make cleanup a breeze. Wash pans and sheets immediately after cooling to avoid baked-on residue. Store them upright or stack them with protective layers to prevent scratches.Whisks And Spatulas
These are the unsung heroes of the baking world. A good whisk can blend ingredients effortlessly, while a silicone spatula can scrape every last bit of batter from a bowl. Rinse them quickly after use to prevent residue buildup. Hang them on hooks or place them in a utensil holder for easy access.Cooling Racks
Cooling racks are essential for achieving that perfect bake. They allow air to circulate around your baked goods, preventing sogginess. Wipe them down after each use to remove crumbs and residue. Store them flat to avoid bending. Baking is as much about the tools you use as it is about the recipe itself. Have you ever wondered how a simple tool can transform your baking experience? Investing a little time in cleaning and storing your essential baking tools will ensure they last for years and always perform at their best.Daily Cleaning Routine
Maintaining a clean kitchen ensures tasty and hygienic baked goods. A daily cleaning routine for your baking tools is essential. This practice keeps your tools in top condition. It also prevents the buildup of food residues. Below, we explore effective cleaning methods for your baking essentials.
Handwashing Techniques
Handwashing is vital for delicate baking tools. Use warm, soapy water. Gently scrub each item with a soft sponge. Focus on any grooves or tight spots. Rinse thoroughly to remove soap residue. Dry each tool with a clean towel. This prevents rust and keeps tools ready for the next use.
Dishwasher Tips
Some baking tools are dishwasher-safe. Check the manufacturer’s instructions first. Place these items securely in the dishwasher. Avoid overcrowding to ensure thorough cleaning. Use a mild detergent to protect your tools. After the cycle, remove items promptly. Dry them with a towel to prevent water spots.
Deep Cleaning Methods
Deep cleaning baking tools ensures they stay in great condition. Regular cleaning might not remove tough stains or bacteria. Deep cleaning keeps tools hygienic and efficient.
Removing Stubborn Stains
Some stains refuse to budge with regular washing. For metal tools, use a mixture of baking soda and water. Scrub gently with a brush for effective stain removal. For plastic items, soak them in vinegar for an hour. This softens stains, making them easier to clean.
Glass tools require special care. Mix lemon juice and salt, then rub the stained area. This method naturally lifts stubborn marks. Silicone tools stain less but still need attention. Use warm soapy water and a soft sponge for best results.
Sanitizing Tools
Sanitizing is crucial for safe baking. Boil metal tools to kill germs. This simple method keeps them sterile. Plastic tools need gentle care. Use diluted bleach and soak them for ten minutes. Rinse thoroughly afterward.
Silicone and rubber tools can harbor bacteria. Use hydrogen peroxide as a sanitizer. Apply it directly, then rinse with warm water. Glass tools require a different approach. Use steam or hot water to sanitize them effectively. These methods ensure your tools are safe for use.

Credit: www.cleanipedia.com
Materials-specific Care
Cleaning baking tools requires gentle soap and warm water. Dry them completely to prevent rust. Store in a cool, dry place to maintain quality.
Cleaning and storing baking tools requires specific care for each material. Not all tools can be treated the same way. Using the correct method ensures durability and hygiene. Let’s explore how to care for metal, silicone, rubber, and wooden tools.Metal Utensils
Metal utensils need thorough cleaning. Use warm water and mild soap. Avoid abrasive cleaners that scratch surfaces. Dry them immediately to prevent rust. Store them in a dry place.Silicone And Rubber
Silicone and rubber tools are flexible but can stain. Wash them with hot water and soap. Use baking soda for tough stains. Rinse thoroughly to remove residue. Store them flat to maintain shape.Wooden Tools
Wooden tools require gentle care. Clean with warm water and mild soap. Avoid soaking them to prevent swelling. Dry them completely before storing. Apply mineral oil monthly for longevity.Proper Drying Techniques
Dry baking tools and equipment completely to prevent rust and bacteria. Use a clean towel or air dry. Store them in a dry place, ensuring they’re completely moisture-free for longevity. Proper drying ensures your baking essentials stay in top condition.
Cleaning and storing baking tools and equipment is crucial for maintaining their longevity and ensuring safe food preparation. One of the most important steps in this process is proper drying. It might seem straightforward, but the drying technique you choose can make a big difference in preventing rust and mold. Let’s dive into the best practices for drying your baking essentials.Air Drying Vs. Toweling
Air drying is a simple and effective method. Just place your baking tools on a drying rack, allowing air to circulate freely around them. This method is hands-off and reduces the risk of scratching delicate surfaces. It’s ideal for items like cookie sheets and cooling racks. On the other hand, toweling provides a quicker drying option. Use a clean, dry towel to gently pat down your tools. This is particularly useful for larger items like mixing bowls that might retain moisture in crevices. Remember to use a lint-free towel to avoid leaving fibers on your equipment.Avoiding Rust And Mold
Rust can be a baker’s worst enemy, especially for metal tools. Ensure your tools are completely dry before storing them. Even a small amount of moisture can lead to rust over time. Mold is another concern, particularly for wooden tools like rolling pins and spoons. These items can absorb water and encourage mold growth. Make sure to dry them thoroughly. If you’re air drying, place them in a well-ventilated area. If using a towel, pay extra attention to corners and grooves. Do you ever wonder why some tools seem to rust or develop mold despite your best efforts? It might be time to rethink your drying technique. Proper drying is more than just wiping off water; it’s about ensuring no moisture lingers. By choosing the right method, you can extend the life of your baking tools and keep your kitchen safe.Storage Solutions
Proper cleaning ensures baking tools last longer. Begin by washing thoroughly with warm, soapy water. Dry completely to prevent rust. Store in a cool, dry place, using containers or racks to organize. Keep small items together for easy access. Regular maintenance helps maintain functionality and hygiene.
Cleaning and storing your baking tools and equipment is crucial for maintaining their longevity and ensuring your kitchen remains a haven for culinary creativity. Efficient storage solutions can transform a cluttered kitchen into an organized space, making it easier for you to find what you need when inspiration strikes. Whether it’s the rolling pin that’s always missing or the measuring cups that somehow get tangled with whisks, having a systematic storage plan can save you time and frustration.Organizing Drawers And Cabinets
The secret to a well-organized kitchen lies in how you utilize your drawers and cabinets. Start by categorizing your baking tools—group similar items together like spatulas, measuring spoons, and cookie cutters. This makes it easier to locate them quickly. Consider installing drawer dividers to keep everything in its place. You can even use small trays or baskets to further organize these categories. If your cabinets are deep, place lesser-used items at the back and frequently used ones at the front. Think about vertical storage solutions for cabinets. Hanging racks inside cabinet doors can store rolling pins or even smaller tools like pastry brushes. This not only saves space but also keeps your tools easily accessible.Using Storage Containers
Storage containers can be a game-changer for organizing your baking tools. Clear containers allow you to see what’s inside without opening them, saving you time when you’re in a rush. Label each container so you can easily identify its contents. Choose stackable containers to make the most of your vertical space. You can store items like cookie cutters, piping tips, and cupcake liners in separate containers, ensuring they don’t get mixed up. For those odd-shaped tools like a bundt pan or a rolling pin, consider using a large bin to keep them together. This can be stored on a shelf or in a closet, freeing up drawer and cabinet space. Have you ever noticed how much more fun baking is when everything is organized? It’s like a breath of fresh air, knowing exactly where each tool is. What storage solutions have you tried that made a difference in your kitchen?Seasonal Maintenance
Properly clean baking tools with warm soapy water to remove residue. Dry completely before storing them in a cool, dry place. Protect sensitive items by wrapping them in soft cloth or parchment paper to avoid damage.
Seasonal maintenance of your baking tools and equipment is vital for ensuring they perform well throughout the year. By dedicating time to this task, you extend their lifespan and maintain hygiene. Just like changing your wardrobe with the seasons, your baking arsenal needs attention too.Preparing For Holiday Baking
As the holiday season approaches, your baking tools are about to become your best friends. Do they look ready? Start by gathering all the essentials you know you’ll need. Inspect your baking sheets for stains and rust. A simple scrub with baking soda and vinegar can work wonders. Check your mixing bowls for chips or cracks—it’s always better to replace them sooner rather than later. Sharpen your cookie cutters, ensuring they cut cleanly through dough. A little olive oil on a cloth can keep them rust-free. Are your measuring cups and spoons still legible? If not, it might be time for a new set.Off-season Storage Tips
Once the baking frenzy is over, proper storage of your tools is crucial. Begin by thoroughly cleaning each item. A simple dish soap and warm water solution will suffice for most tools. Dry everything completely before storage to prevent mold and rust. Consider using silica gel packets in storage containers to absorb moisture. Organize your tools in a way that makes sense to you. Perhaps by frequency of use or type. Keep an eye on the longevity of your silicone molds and replace them if they become brittle. Are there tools you didn’t use this season? Donate them or store them separately to declutter. This thoughtful organization now will save time and effort when the next baking season rolls around. By consciously preparing your baking tools for the holiday season and storing them correctly during the off-season, you keep them in top shape for years. What steps will you take today to ensure your baking adventures are as sweet as possible?Troubleshooting Common Issues
Cleaning and storing baking tools can sometimes present challenges. Addressing common issues ensures your equipment stays in top shape. In this section, we explore solutions to frequent problems faced by home bakers.
Dealing With Odors
Baking tools can absorb odors from food items. Metal and plastic often retain smells longer. To remove odors, soak tools in a mixture of vinegar and water. Vinegar neutralizes odors effectively. For persistent smells, try baking soda paste. Coat the tools and leave overnight. Rinse thoroughly the next day.
Handling Wear And Tear
Baking tools experience wear and tear over time. Scratches and dents are common on metal tools. To manage these, polish metal surfaces with a fine abrasive pad. It helps restore shine and smoothness. Wooden tools may splinter or warp. Sand them gently to smooth rough edges. Always dry wood completely to prevent warping.
Credit: sallysbakingaddiction.com
Frequently Asked Questions
What Are The Guidelines In Cleaning And Storing Baking Tools And Equipment?
Clean baking tools with warm soapy water and a soft sponge. Rinse and dry them thoroughly. Store in a dry, cool place. Keep sharp tools covered to ensure safety. Regularly inspect for damage or rust, replacing items as needed.
How To Clean And Store Cooking Tools And Equipment?
Clean tools with warm soapy water immediately after use. Dry thoroughly to prevent rust. Store in a dry, organized space, using hooks or shelves. Ensure sharp tools are safely covered. Regularly check and maintain equipment for longevity.
Does Baking Equipment Need To Be Cleaned?
Yes, baking equipment must be cleaned after each use to prevent bacteria and food residue buildup. Regular cleaning enhances equipment longevity and ensures safe food preparation. Use warm water and mild detergent for effective cleaning. Dry thoroughly to prevent rust and maintain hygiene standards.
Why Is It Important To Properly Store And Keep The Baking Tools And Equipment?
Properly storing baking tools ensures longevity and efficiency. It prevents rust, damage, and contamination, keeping tools hygienic. Organized equipment saves time during baking and improves productivity. Good storage practices also reduce the need for frequent replacements, saving money. Clean, well-maintained tools contribute to better baking results and overall kitchen safety.
Conclusion
Proper care of baking tools ensures they last longer. Clean them right after use. Use gentle soap and warm water. Dry thoroughly to prevent rust. Store neatly in a dry place. Keep tools organized for easy access. Regular checks help maintain their condition.
Replace worn-out items promptly. A little effort saves money over time. Enjoy baking with well-kept equipment. Happy baking leads to delicious treats!

I’m Abby Lu, a passionate home cook who loves simplifying everyday meals. At PlugChef.com, I share product reviews and cooking guides to help you find the best tools for your kitchen.
Related posts:
 What Type of Cooking Utensils are Safe: Expert Picks
 What Innovations Could Blenders Make: Unleashing Future Tech
 Smart Strategies to Organize a Small Kitchen: Maximize Space
 How to Organize a Kitchen Cabinet: Expert Tips & Tricks
 How to Organize Kitchen Drawers: Expert Tips and Tricks
 How to Organize a Corner Kitchen Cupboard: Expert Tips

