Imagine waking up to the aroma of freshly brewed coffee, ready to kickstart your day. But what if your beloved pod coffee maker isn’t delivering that perfect cup anymore?
It could be time for a thorough cleaning. You may not realize it, but over time, coffee residue, mineral deposits, and limescale can build up inside your machine, affecting both the taste of your coffee and the efficiency of your brewer.
By learning how to clean your pod coffee maker properly, you not only ensure a delicious cup every time but also extend the lifespan of your machine. Dive into this guide, and discover simple yet effective techniques to bring your coffee maker back to its peak performance. From descaling to daily maintenance, we’ve got you covered with easy steps that will make you wonder why you didn’t clean it sooner. Ready to make your coffee maker sparkle? Let’s get started!
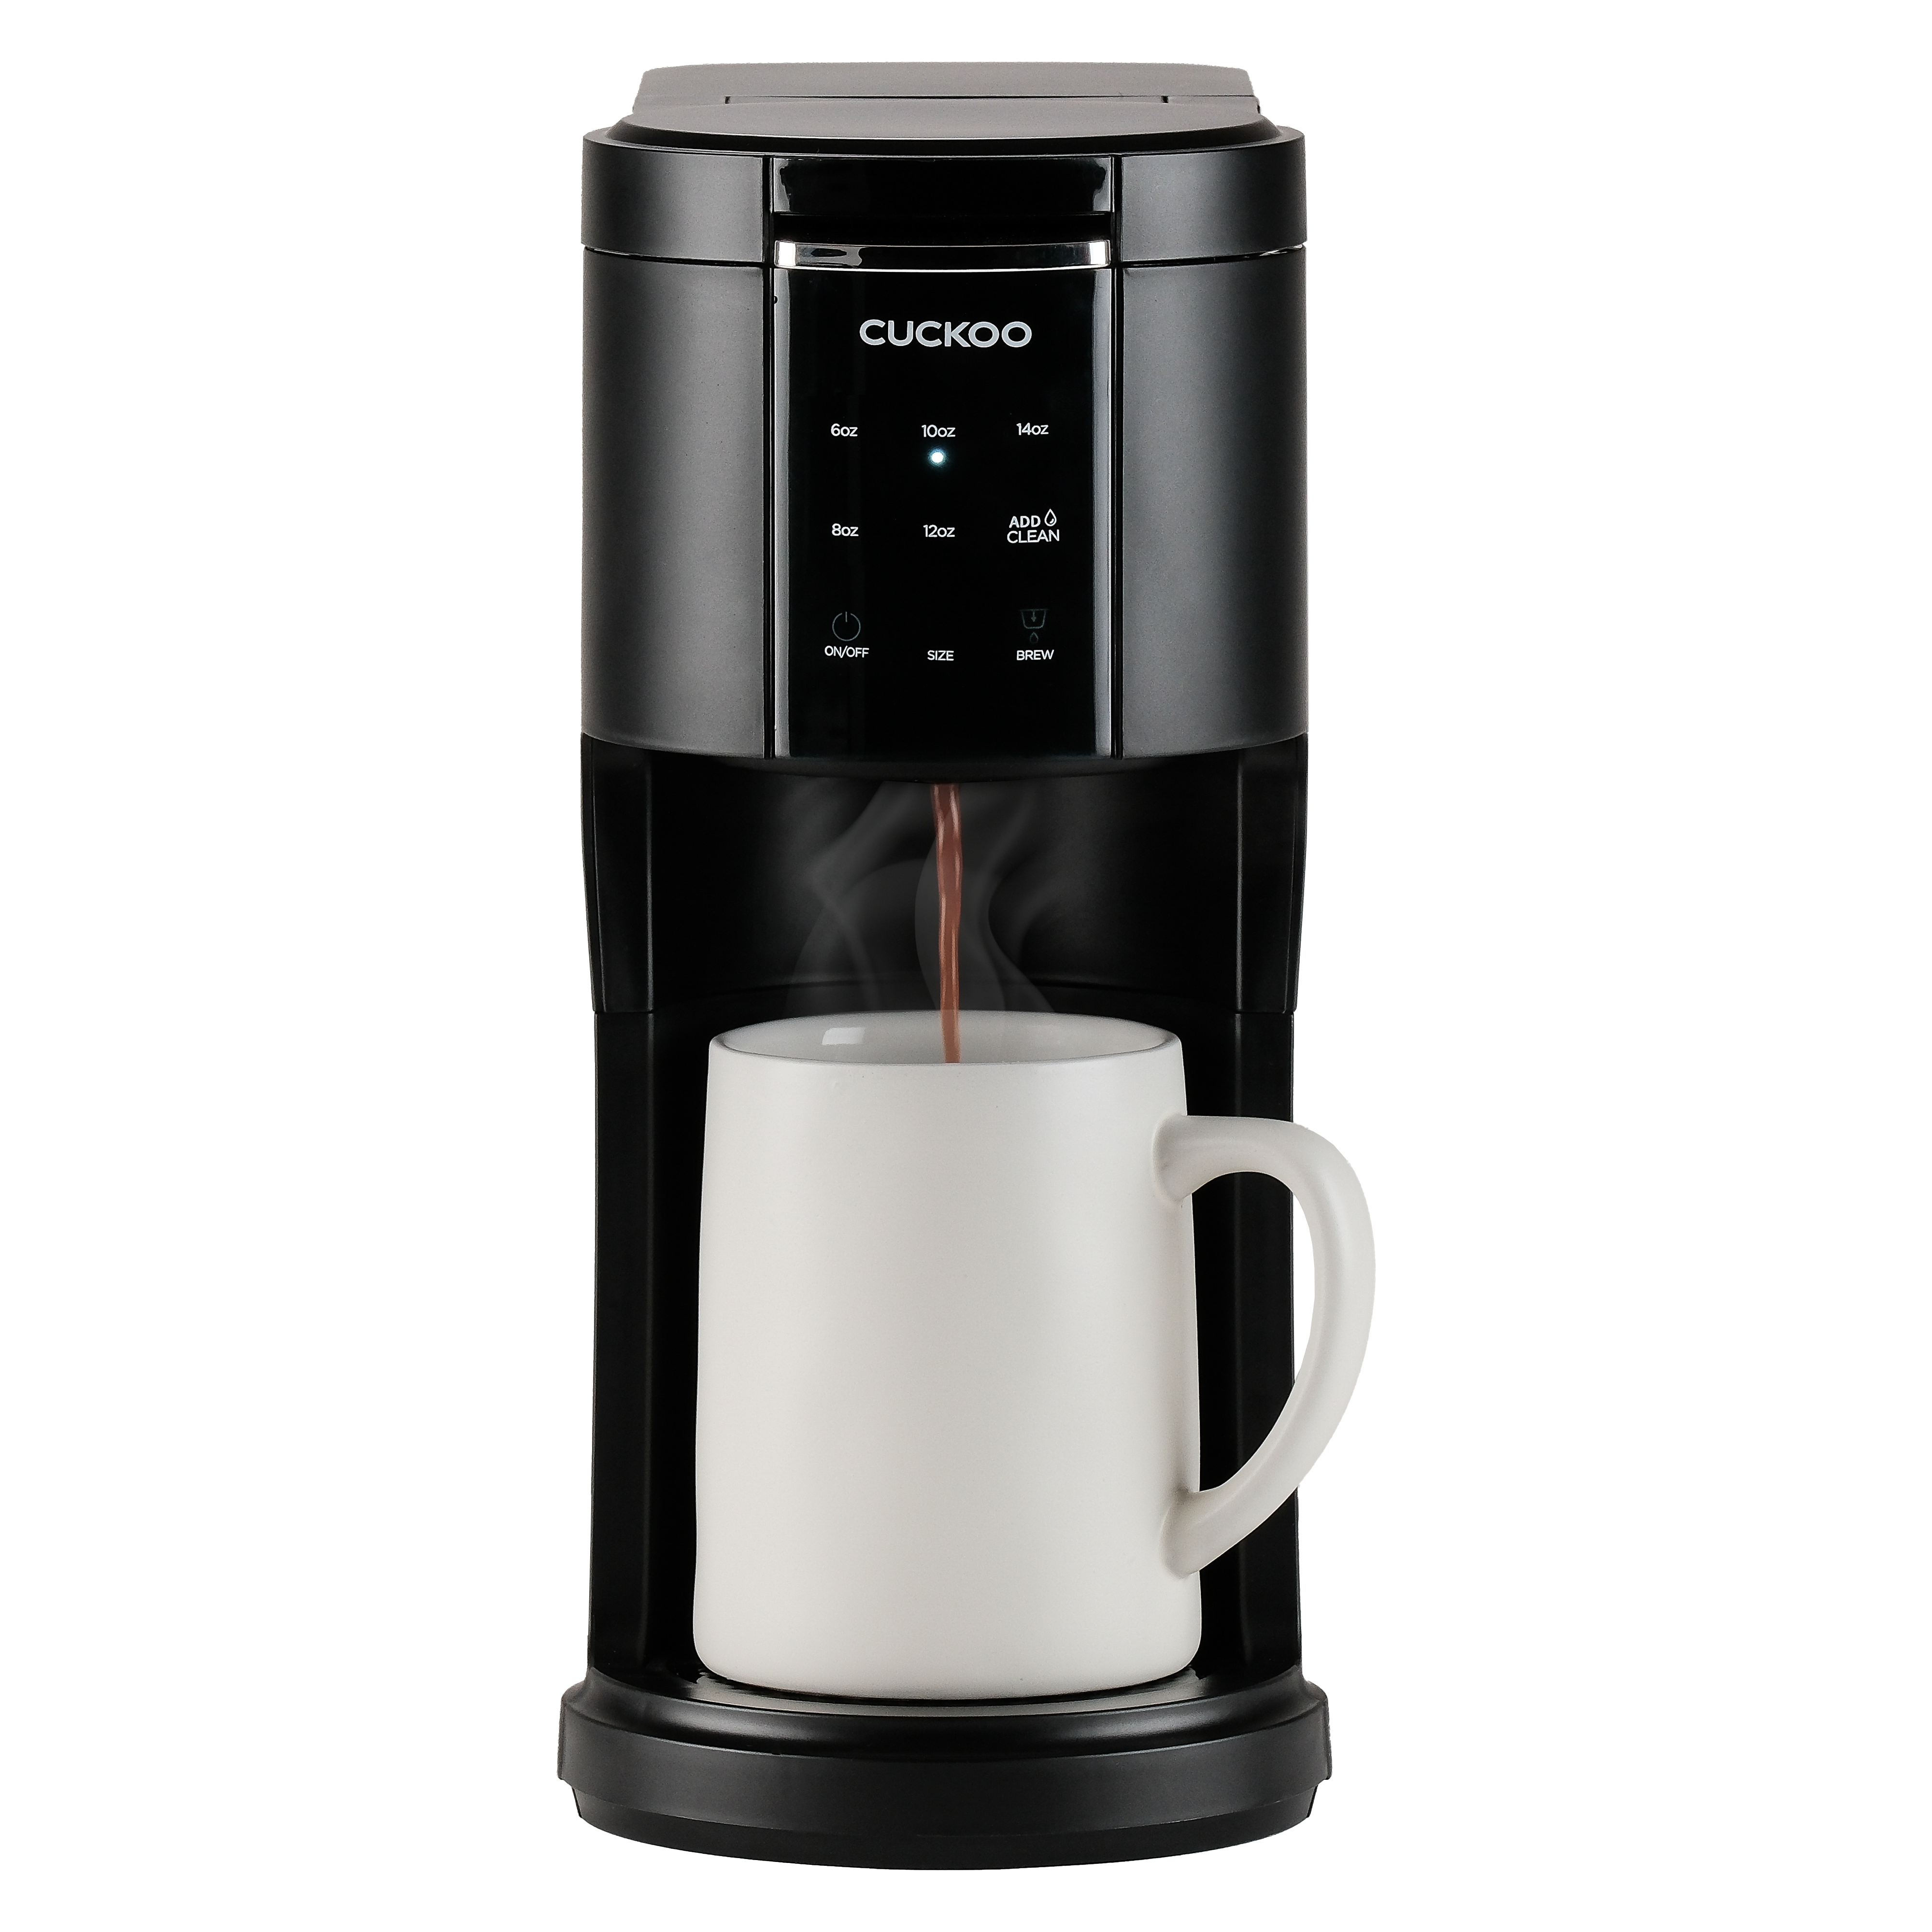
Credit: cuckooamerica.com
How To Make A Coffee Pod
Cleaning your pod coffee maker keeps the coffee fresh and tasty. First, unplug the machine and remove any used pods. Then, mix water and vinegar to run through the machine, removing residue and buildup. Wipe surfaces with a damp cloth, ensuring all parts are dry before reassembling.
A cup of coffee can brighten your day. But, a clean coffee maker is key to a great brew. If you want your coffee pod to taste amazing, start with a clean machine. Let’s explore. Understanding Coffee Pods Coffee pods are convenient and easy.
They come in different flavors and strengths. Each pod contains pre-measured coffee grounds. The machine punctures the pod and hot water flows through it. This process creates your cup of coffee. Steps to Make a Coffee Pod Making a coffee pod is simple.
Here are the steps: – Choose a pod: Pick your favorite brand and flavor. – Fill the water tank: Use clean, fresh water for the best taste. – Insert the pod: Place it in the designated slot. – Press the brew button: Let the machine work its magic.
– Enjoy your coffee: Sip and savor the aroma. Tips for the Perfect Cup Crafting that perfect cup requires attention. Consider these tips: – Use filtered water: Enhances the flavor and prevents scale. – Clean regularly: Keeps your machine running smoothly.
– Store pods properly: Retain freshness and flavor. Troubleshooting Common Issues Sometimes, things go wrong. Here are some common issues: – Weak coffee: Check for clogs or scale buildup. – Leaking machine: Ensure parts are aligned and sealed. – Bitter taste: Clean the machine and use fresh pods.
A clean coffee maker and the right pod can elevate your coffee experience. Follow these steps and tips for a delightful brew every time.
How To Descale A Pod Coffee Maker
Descaling a pod coffee maker involves removing mineral buildup for better taste. Mix equal parts water and vinegar. Run a brew cycle, then rinse with fresh water. Repeat if necessary to maintain optimal performance and ensure a fresh cup every time.
Cleaning your pod coffee maker is essential for great coffee. Descaling removes mineral buildup, ensuring optimal performance. Let’s dive into the steps needed to descale a pod coffee maker effectively. Gather Your Supplies Before you begin, collect necessary items. You’ll need: – White vinegar or descaling solution: Essential for breaking down mineral deposits.
– Clean water: Needed to rinse out the machine afterward. – A clean cloth: Helps wipe down the machine’s exterior. Prepare the Machine Getting your coffee maker ready is simple. Follow these steps: – Empty the water reservoir: Remove any remaining water.
– Place a large mug or bowl: Position it under the spout for catching liquid. – Remove any pods: Ensure no pods are inside the machine. Mix Your Solution Creating the cleaning solution is quick. Here’s how: – Use equal parts vinegar and water: Mix them in the reservoir.
– Alternatively, use a descaling solution: Follow package instructions. Run the Descaling Cycle It’s time to clean the machine. Ensure these steps are followed: – Start the brew cycle: Run the mixture through the machine. – Repeat as needed: Continue until the reservoir is empty.
– Let it sit: Allow the solution to work for at least 30 minutes. Rinse Thoroughly Rinsing ensures no vinegar taste remains. Complete these tasks: – Fill the reservoir with fresh water: Use clean water only. – Run several brew cycles: Ensure all traces are removed.
– Check for any residue: Repeat rinsing if necessary. Clean External Parts Don’t forget the exterior. Here’s how to ensure it looks good: – Wipe down with a cloth: Use a damp cloth for best results. – Pay attention to buttons: Clean around buttons and corners.
– Dry thoroughly: Ensure no moisture remains.
How To Clean A Keurig Coffee Maker
Cleaning a pod coffee maker is easy. Start by unplugging the machine. Remove the water reservoir and wash it with soap. Wipe the exterior with a damp cloth. Run a cycle with vinegar and water. Finally, rinse with water to remove any vinegar residue.
Enjoy your fresh coffee!
Cleaning your Keurig coffee maker regularly ensures a fresh cup every time. Neglecting this simple task can lead to mineral buildup and stale coffee. Let’s dive into the steps for keeping your machine in top shape. Unplug and Disassemble Begin by unplugging your Keurig.
This ensures safety while cleaning. Then, disassemble the removable parts: – Water reservoir: Take it out for a thorough wash. – Drip tray: Remove it and rinse thoroughly. – Pod holder: Detach for cleaning and better access. Clean the Removable Parts Once disassembled, focus on cleaning these parts.
Use warm soapy water to scrub gently: – Water reservoir: Wash with soap to remove residue. – Drip tray: Rinse to eliminate any coffee stains. – Pod holder: Clean to ensure no coffee grounds remain. Descale the Machine Descaling prevents mineral buildup.
This process keeps your coffee tasting fresh. Follow these steps: – Vinegar solution: Mix equal parts of water and vinegar. – Run cycle: Pour the solution into the reservoir and brew. – Rinse: Run a few cycles with clean water to flush.
Clean the Exterior Don’t forget the outside of your Keurig. Use a damp cloth to wipe down: – Machine body: Remove dust and spills with a cloth. – Control panel: Clean gently to avoid damaging buttons. Reassemble and Test After cleaning, put everything back together.
Plug it in and run a test cycle: – Test brew: Make a cup of water to ensure all parts function. – Check for leaks: Ensure everything is sealed properly. Regular cleaning keeps your Keurig running smoothly. Enjoy fresh coffee with every brew!
How To Clean Pod Coffee Maker With Vinegar
Cleaning your pod coffee maker with vinegar is simple. First, empty the water reservoir. Then, fill it with a mix of equal parts water and vinegar. Start a brew cycle without a pod, allowing the solution to clean the inner components.
Repeat the process with plain water to rinse thoroughly.
Cleaning your pod coffee maker with vinegar is simple and effective. Vinegar is a natural cleaner that helps remove stubborn buildup and ensures your coffee tastes fresh. Follow these steps to restore your coffee maker’s performance with ease. Preparing Your Coffee Maker Start by gathering necessary supplies.
Preparation is key to efficient cleaning. – Gather vinegar: White vinegar is ideal for cleaning. – Have water ready: You’ll need it to dilute the vinegar. – Find a large bowl: Use it for mixing and soaking parts. – Grab a clean cloth: Essential for wiping surfaces.
Mixing the Vinegar Solution Creating the right mixture is crucial. Here’s a straightforward guide. Combine equal parts vinegar and water. This mix is gentle yet effective. Pour the mixture into the water reservoir. This ensures a thorough clean. For large machines, adjust the quantity.
Make sure the solution fills the reservoir. Running the Cleaning Cycle Initiate the cleaning process. Let the vinegar do the hard work. – Start the machine: Run a brewing cycle without coffee pods. – Pause midway: Let the vinegar sit for 30 minutes.
– Complete the cycle: Finish brewing to remove deposits. – Repeat if necessary: For heavy buildup, run another cycle. Rinsing Your Coffee Maker Finish by rinsing thoroughly. This step removes any vinegar taste. Fill the reservoir with fresh water. Run several cycles without pods.
This clears out any vinegar residue. Check for lingering smell. Repeat rinsing if needed.
How To Clean A Nespresso Pod Coffee Maker
Cleaning a Nespresso pod coffee maker involves simple steps for freshness. Remove the pod container and drip tray, then wash them. Use a damp cloth to wipe the machine’s exterior. Regular cleaning keeps your coffee maker in top condition, ensuring delicious coffee every time.
Cleaning a Nespresso pod coffee maker can seem daunting, but it’s quite simple. With regular maintenance, your machine will deliver delicious coffee for years. Here, you’ll find easy steps to keep your Nespresso spotless and efficient. Preparing the Machine Before cleaning, a few preparatory steps will help ensure efficiency: – Unplug the machine: Safety first, so disconnect from the power source.
– Remove capsules: Ensure no pods are left in the holder. – Empty the drip tray: Dispose of any accumulated water or coffee grounds. Cleaning the Exterior Maintaining the machine’s exterior is straightforward. Follow these steps to keep it looking new: – Use a damp cloth: Wipe down the machine’s surface gently.
– Avoid harsh chemicals: They might damage the finish. – Pay attention to details: Clean around buttons and seams carefully. Descaling the Machine Descaling is crucial for optimal performance. Here’s a guide to descaling your Nespresso: – Purchase a descaling kit: Use products recommended by Nespresso.
– Mix the solution: Follow instructions for correct ratios. – Run the machine: Let it cycle through as if brewing coffee. Cleaning the Water Tank The water tank can harbor bacteria if neglected. Regular cleaning is essential: – Remove the tank: Detach it carefully from the machine.
– Use warm, soapy water: Clean the inside thoroughly. – Rinse and dry: Ensure no soap residue remains before reattaching. Final Steps After cleaning, a few final touches will complete the process: – Reassemble the machine: Put all parts back in place.
– Run a rinse cycle: Use plain water to clear any residual cleaner. – Test the machine: Brew a cup to ensure everything works smoothly.
How To Clean Pod Coffee Maker Drip Tray
Cleaning the pod coffee maker’s drip tray is simple. Remove the tray, wash it with warm soapy water, and dry thoroughly. Regular cleaning prevents stains and odors.
Cleaning your pod coffee maker’s drip tray is essential. It ensures your coffee stays tasting fresh and your machine functions well. Let’s dive into how you can keep your drip tray spotless. Remove the Drip Tray Start by taking out the drip tray from the machine.
Most trays slide out easily. Check for any clips or locks. Handle it carefully to avoid spills. Rinse Off Loose Debris Before deep cleaning, rinse the tray. This removes coffee grounds and other particles: – Use warm water: Helps dissolve residue.
– Shake gently: Loosens stuck-on debris. Scrub with Soap Next, give it a good scrub. Soap helps remove oils and stains: – Use mild dish soap: Gentle on surfaces. – Soft sponge or cloth: Avoids scratching. – Circular motion: Ensures thorough cleaning.
Check for Hard-to-Reach Spots Inspect the tray for hidden grime. Pay attention to corners and grooves: – Use a toothbrush: Reaches tight areas. – Focus on grooves: Often missed during cleaning. Dry Completely Ensure the tray is completely dry before reinserting it: – Air dry: Prevents moisture buildup.
– Towel dry: Speeds up the process. Cleaning the drip tray regularly keeps your coffee maker in top shape. Enjoy better-tasting coffee and a longer-lasting machine.
How To Maintain A Pod Coffee Maker
Regular cleaning keeps your pod coffee maker in top shape. Remove the pod holder and rinse it. Use vinegar to clear any mineral buildup. Wipe the exterior with a damp cloth for a fresh look.
Keeping your pod coffee maker in top shape ensures a fresh brew every time. Regular maintenance not only extends its life but also preserves flavor. Let’s explore some simple steps to keep your machine running smoothly. Daily Care Daily care is essential for your coffee maker.
It helps maintain its performance. – Empty the water reservoir: Prevents stale water from affecting taste. – Wipe the exterior: Keeps dust and spills at bay. – Remove used pods: Ensures the machine is ready for the next brew. Weekly Maintenance Weekly checks are crucial.
They prevent buildup and maintain efficiency. – Clean the drip tray: Avoids overflow and keeps it tidy. – Rinse the pod holder: Removes coffee residue and oils. – Check for clogs: Ensures water flows smoothly. Monthly Deep Clean Every month, a deep clean is necessary.
It tackles stubborn buildup. – Descale the machine: Removes mineral deposits for better performance. – Clean with vinegar: Natural solution for deep cleaning. – Wipe internal components: Reaches hidden areas for thorough cleaning. Seasonal Check-Up Seasonal maintenance ensures long-term reliability.
It’s a good habit to form. – Inspect the power cord: Look for wear or damage. – Test brewing: Ensures everything is functioning properly. – Replace old parts: Keeps the machine in optimal condition. Incorporating these steps into your routine will enhance your coffee experience.
Enjoy a perfect cup every time.
How To Clean Pod Coffee Maker Pod Holder
Cleaning a pod coffee maker’s pod holder involves removing it, washing with warm soapy water, and rinsing thoroughly. Ensure it’s completely dry before reassembling to prevent mold. Regular cleaning keeps your coffee tasting fresh.
A sparkling coffee maker means a fresh cup every time. The pod holder in your pod coffee maker plays a crucial role. Over time, it gathers residue and oils from the coffee pods. Cleaning it regularly ensures great taste and a longer-lasting machine.
Let’s see how to tackle this task effectively. Remove the Pod Holder First, ensure the machine is unplugged. Safety first! Then, follow these simple steps: – Locate the pod holder: Find where your coffee pod sits. – Gently detach: Pull it out carefully from the machine.
– Read your manual: Some machines may have specific instructions. Wash the Pod Holder Cleaning the pod holder is simple. Use these steps for a thorough clean: – Warm water rinse: Remove loose coffee grounds and oils. – Mild soap: Use gentle soap to prevent damage.
– Soft brush or cloth: Clean crevices and hard-to-reach areas. – Rinse thoroughly: Ensure no soap remains, as this can affect coffee taste. Dry and Reassemble After washing, ensure the pod holder is completely dry. Moisture can cause mold or damage the machine.
Here’s how to do it: – Air dry: Let it sit on a clean towel. – Check for dryness: Ensure no moisture remains in crevices. – Reattach carefully: Align it properly to avoid damage. Regular Maintenance Tips Keep your coffee maker in top shape with regular maintenance.
Here are a few easy tips: – Daily wipe: Clean the pod holder area with a damp cloth. – Weekly wash: Deep clean the pod holder once a week. – Check for wear: Inspect the holder for cracks or damage regularly.
How To Remove Limescale From Pod Coffee Maker
Removing limescale from a pod coffee maker involves a few simple steps. Mix equal parts of water and vinegar, and run it through the machine. Rinse thoroughly with water to ensure no vinegar taste remains. Regular cleaning keeps your coffee maker efficient and your coffee tasting fresh.
Limescale build-up can affect your coffee maker’s performance. It can also alter the taste of your coffee. Regular cleaning is essential to maintain its efficiency and flavor. Let’s explore how to tackle limescale effectively. Identify the Problem Spotting limescale is the first step.
You might notice these signs: – White deposits: These can form on the water tank or inside the machine. – Slower brewing: Limescale can slow down the coffee-making process. – Odd taste: Coffee may taste different due to mineral build-up.
Gather Necessary Supplies Before starting, ensure you have the right tools. Here’s what you’ll need: – White vinegar: Effective at dissolving limescale deposits. – Clean water: Essential for rinsing after descaling. – Soft cloth: Use for wiping the exterior and removable parts.
– Brush or toothbrush: Handy for scrubbing stubborn deposits. Descale with Vinegar Using vinegar is a simple method. It’s both effective and affordable. Follow these steps: – Mix a solution: Combine equal parts of white vinegar and water. – Fill the reservoir: Pour the mixture into the water tank.
– Start the cycle: Run the machine without a pod. – Rinse thoroughly: After descaling, run a few cycles with water only. Use Commercial Descalers Sometimes vinegar isn’t enough. Commercial descalers are another option. Consider the following: – Follow instructions: Each product has specific usage guidelines.
– Safe for machines: Designed to protect your coffee maker. – Effective results: Often quicker and more efficient than homemade solutions. Regular Maintenance Tips Prevent limescale build-up with regular care. Simple habits can extend your machine’s life: – Use filtered water: Reduces mineral deposits in your machine.
– Clean weekly: Wipe down parts and run clean cycles regularly. – Monitor performance: Notice any changes in taste or speed. Keeping your coffee maker clean ensures delicious coffee every time. Regular maintenance is key. Enjoy a better brew by tackling limescale head-on.
How To Clean A Pod Coffee Maker Daily
Keep your pod coffee maker in top shape with daily cleaning. Remove the pod, wipe the tray, and empty the drip tray. Rinse the water reservoir to prevent buildup. Regular maintenance ensures fresh, delicious coffee every time.
Keeping your pod coffee maker clean is essential for the best-tasting coffee. A daily cleaning routine ensures your machine runs smoothly and your coffee remains fresh. Consistent maintenance prevents buildup and prolongs the life of your coffee maker. Let’s explore the daily steps to keep your pod coffee maker in top shape.
Unplug and Cool Down Before starting, make sure your coffee maker is safe to handle: – Unplug: Disconnect from the power source. – Cool Down: Wait until the machine is cool to touch. Empty the Drip Tray Clean the drip tray daily to avoid overflow: – Remove: Take out the drip tray carefully.
– Rinse: Wash with warm, soapy water. – Dry: Let it air dry completely before placing it back. Wipe the Exterior Keep the outside of your coffee maker looking fresh: – Damp Cloth: Use a damp cloth to wipe the surface.
– Avoid Chemicals: Do not use harsh chemicals or abrasives. Clean the Pod Holder Pod holders can accumulate residue, so clean them regularly: – Remove Pod Holder: Detach it from the machine. – Rinse Thoroughly: Wash under running water. – Dry Properly: Ensure no moisture remains before reinserting.
Run a Clean Water Cycle A water cycle helps remove any leftover coffee: – Fill Reservoir: Use clean water without pods. – Run Cycle: Start the machine as if brewing coffee. – Discard Water: Pour out the water after the cycle ends.
With these steps, your pod coffee maker will stay clean and efficient. Enjoy your coffee with the assurance of a fresh brew each day!
How To Deep Clean A Pod Coffee Maker
Regular cleaning is crucial for keeping a pod coffee maker in good shape. Start by emptying the water reservoir and removing the used pod. Run a cycle with equal parts water and vinegar to remove built-up residue. Rinse thoroughly with clean water to ensure no vinegar taste remains.
Cleaning a pod coffee maker can be a breeze. But sometimes, it needs a deeper clean. Dirt and grime can hide in unseen places. To keep your coffee fresh, a deep clean is essential. Gather Supplies Start by collecting what you need.
A few items will make the job easier: – White vinegar: natural cleaner and descaler. – Baking soda: helps scrub away stubborn stains. – Soft cloth: gentle on surfaces, avoids scratches. – Toothbrush: perfect for reaching tight spaces. Disassemble the Coffee Maker Prepare to take apart your machine.
This step allows for a thorough clean. Remove the pod holder and any removable parts. Check for hidden dirt. Inspect each piece for residue. This helps identify areas that need extra attention. Clean the Exterior The outside of your machine needs care too.
Use a damp cloth. Wipe down the surfaces gently. Pay special attention to buttons and seams. Dirt can build up in these areas over time. Clean the Pod Holder The pod holder often collects residue. Here’s a simple way to clean it: – Remove it from the machine: allows for easy access.
– Rinse under warm water: removes loose particles. – Use a toothbrush: scrubs away stuck residue. Descale the Machine Mineral buildup can affect performance. Descaling removes these deposits. Mix equal parts vinegar and water. Pour the mixture into the water reservoir.
Run a brew cycle without a pod. Repeat if necessary for stubborn buildup. Clean the Water Reservoir The reservoir can harbor grime. A quick clean can help. – Empty the reservoir: remove old water. – Scrub with baking soda: helps remove stains.
– Rinse thoroughly: ensures no residue remains. Reassemble and Test Put your machine back together. Ensure all parts are secure. Run a test brew with plain water. This checks if the cleaning was successful. Enjoy your fresh, clean coffee maker!
How To Clean Ninja Pods And Grounds Coffee Maker
Cleaning a pod coffee maker like the Ninja is simple. First, unplug and remove any used pods. Then, wash the removable parts with warm, soapy water. For the machine’s interior, run a cycle with a water-vinegar mix to remove any buildup.
Rinse thoroughly with fresh water before use.
Cleaning a Ninja pod and grounds coffee maker is essential for optimal performance. Regular maintenance ensures delicious coffee and prolongs the machine’s life. With just a few steps, you can keep your coffee maker in top shape. Unplug and Disassemble Start by unplugging the machine to ensure safety: – Unplug the coffee maker: Prevents any electrical accidents.
– Remove all detachable parts: Enables thorough cleaning. – Take out the water reservoir: Allows easy access for cleaning. Cleaning the Pod Holder The pod holder can accumulate grime and coffee residue. Here’s how to clean it effectively: – Remove the pod holder: Allows for easy cleaning.
– Rinse under warm water: Removes loose coffee grounds. – Use a soft brush: Cleans hard-to-reach areas. – Dry thoroughly: Prevents mold and mildew. Descaling the Coffee Maker Descaling is vital to remove mineral build-up: – Use a descaling solution: Cleans internal components.
– Fill the reservoir with the solution: Ensures complete coverage. – Run a brew cycle: Flushes the system. – Repeat with water: Removes any remaining solution. Cleaning the Grounds Basket The grounds basket needs regular cleaning to avoid odor: – Empty the basket: Removes old coffee grounds.
– Wash with soap and water: Cleans any residue. – Dry completely: Prevents moisture build-up. Wipe Down Exterior Regularly clean the outside of your coffee maker: – Use a damp cloth: Removes dust and spills. – Wipe all surfaces: Keeps the machine looking new.
– Dry with a soft towel: Prevents water spots. Reassemble and Test After cleaning, reassemble the machine: – Reattach all parts: Ensures proper function. – Plug in the coffee maker: Prepares it for use. – Run a test brew: Checks for any issues.
Regular cleaning keeps your Ninja coffee maker running smoothly. Enjoy fresh, flavorful coffee every day!

Credit: www.walmart.com
Frequently Asked Questions
How To Clean A Pod Coffee Machine?
Unplug and disassemble the machine. Wipe parts with a damp cloth. Use vinegar to descale the interior. Rinse thoroughly. Clean the pod holder with a brush. Reassemble the machine and run a water cycle to remove residues. Regular cleaning ensures optimal performance.
How To Descale A Coffee Pod Machine With Vinegar?
Descale a coffee pod machine by mixing equal parts vinegar and water. Pour the mixture into the reservoir. Run a brew cycle without a pod. Repeat until the tank is empty. Rinse with clean water by running several cycles. This removes mineral buildup and improves machine performance.
What Is The Best Way To Clean A Coffee Maker?
Clean a coffee maker by mixing equal parts of water and vinegar. Run the solution through a brewing cycle. Rinse with two cycles of fresh water to remove vinegar residue. Clean any removable parts with warm, soapy water. Dry thoroughly before reassembling and using again.
How To Clean A One Pod Coffee Maker?
Unplug the coffee maker and remove the pod holder. Wash removable parts with warm, soapy water. Use a vinegar-water solution to descale the machine. Run a water cycle to rinse. Wipe the exterior with a damp cloth. Reassemble and enjoy a clean coffee maker.
Conclusion
Regular cleaning keeps your pod coffee maker in top shape. Follow the steps to prevent clogs and ensure smooth operation. Use vinegar for effective descaling and limescale removal. Clean the drip tray and pod holder often. This reduces bacteria buildup.
Daily maintenance ensures fresh, tasty coffee. Deep cleaning reaches hidden spots. Try these tips for a hassle-free coffee experience. A well-maintained machine brews better coffee every time. Enjoy your coffee moments without worries. Keep your coffee maker clean and enjoy every sip!

I’m Abby Lu, a passionate home cook who loves simplifying everyday meals. At PlugChef.com, I share product reviews and cooking guides to help you find the best tools for your kitchen.
Related posts:
 What Type of Cooking Utensils are Safe: Expert Picks
 What Innovations Could Blenders Make: Unleashing Future Tech
 Smart Strategies to Organize a Small Kitchen: Maximize Space
 How to Organize a Kitchen Cabinet: Expert Tips & Tricks
 How to Organize Kitchen Drawers: Expert Tips and Tricks
 How to Organize a Corner Kitchen Cupboard: Expert Tips

