Have you ever wondered how a simple drawing of a first aid kit can make a big difference? Whether you’re a student, a teacher, or just someone who wants to be prepared, knowing how to draw a first aid kit is surprisingly useful.
It helps you understand what essentials belong inside and reminds you to keep your own kit ready. You’ll discover easy steps to create your own clear and helpful first aid kit drawing. By the end, you’ll feel confident and inspired to take better care of yourself and those around you.
Keep reading—your safety starts with this simple sketch.
Basic Shapes For First Aid Kits
Creating a drawing of a first aid kit begins with understanding its basic shapes. These shapes form the foundation for a realistic and practical illustration. Think of simple geometric forms like rectangles and squares. They help define the typical structure of a first aid kit. These shapes are essential to capturing the essence of this critical health tool.
Common Forms And Dimensions
First aid kits typically have a rectangular shape. This shape allows for efficient storage and easy access to supplies. The dimensions vary but often fit into small spaces. Some kits are square, providing compactness for travel. Others are more elongated, designed for comprehensive medical supplies. Knowing these forms helps in sketching a proportional drawing.
Sketching The Outline
Start by drawing a large rectangle for the kit’s body. Ensure the edges are straight and proportionate. Add small squares or rectangles for compartments. These show where items are stored within the kit. Include a handle at the top. This is often a small half-circle or rectangle. Marking these elements completes the basic outline.
Key Features To Include
Drawing a first aid kit requires attention to key features. These features make the kit easy to recognize and use. Clear details help viewers understand its purpose quickly. Focus on simple but essential elements in your drawing.
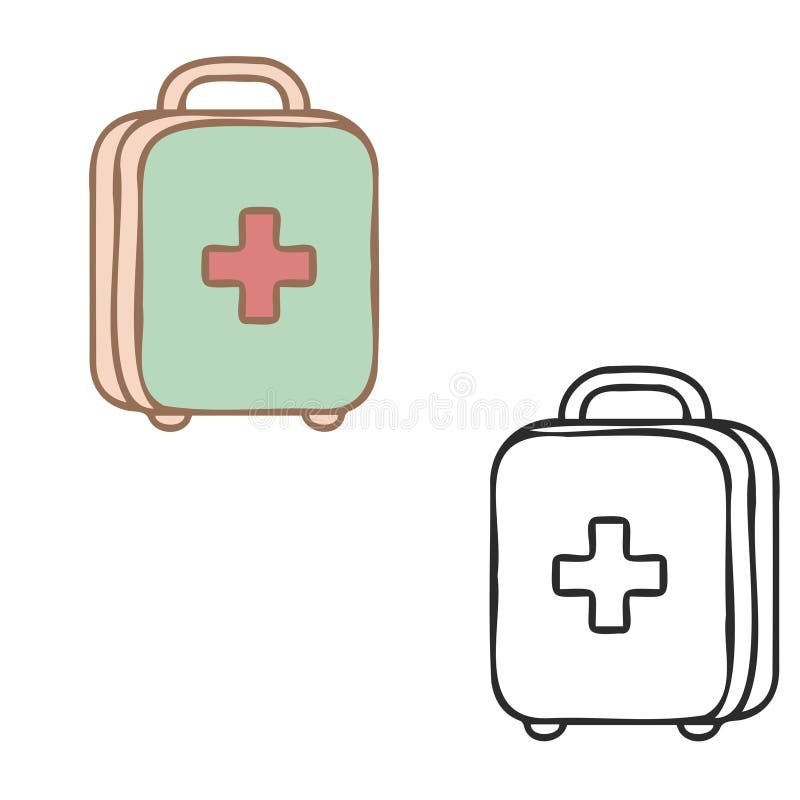
The Cross Symbol
The red or white cross is the most important sign on a first aid kit. It shows the kit is for emergencies. Make the cross bold and centered on the box. Use a bright color that stands out against the background. This symbol must be clear from a distance.
Latches And Handles
Include latches to show how the kit opens. They add realism and detail to your drawing. Draw simple, sturdy latches on the front or sides. Add a handle on top for carrying. The handle should look strong and easy to grip. These parts make the kit look functional.
Texture And Material Details
Show the texture of the kit’s surface for a realistic touch. Use shading to suggest plastic, metal, or fabric. Add small lines or dots to give a sense of material. Smooth surfaces reflect light differently than rough ones. These subtle details improve your drawing’s quality.
Drawing Techniques
Drawing a first aid kit requires careful attention to detail and technique. Using the right drawing methods helps create a clear and realistic image. Focus on line work, perspective, and depth to make your sketch stand out.
Line Work And Shading
Start with clean, confident lines to outline the shape of the first aid kit. Use varied line thickness to show different parts and edges. Thin lines can represent small details, while thicker lines highlight main shapes.
Shading adds texture and form. Use soft strokes to create smooth shadows. Darker shading shows areas not hit by light. This contrast makes the drawing more lifelike and interesting.
Using Perspective
Perspective gives your drawing a sense of space. Draw the first aid kit at an angle to avoid flatness. Use vanishing points to guide the lines of the box.
This technique helps show the kit’s three-dimensional shape. It also gives a better idea of size and position in space. Perspective makes the drawing appear more natural and believable.
Adding Depth And Volume
To add depth, layer your shading from light to dark. Highlight edges that catch light, and deepen shadows in corners. This layering creates volume and a solid look.
Use subtle gradients to show curved surfaces. Adding small details like highlights on metal parts or text on labels also helps. These touches bring the drawing to life and give it character.

Credit: www.freepik.com
Coloring Tips
Coloring your drawing of a first aid kit can bring it to life and make it more visually appealing. The right colors not only add vibrancy but also help communicate the purpose of the kit clearly. Let’s look at some tips to help you choose colors and add depth through highlights and shadows.
Choosing The Right Palette
Think about the purpose of your first aid kit. Red and white are classic colors associated with medical supplies because they are easy to recognize. You can stick to these traditional colors or add a few complementary shades to make your drawing stand out.
Try using a limited palette to keep the look clean and focused. For example, pair red with soft grays or muted greens to give a modern feel without overwhelming the viewer. What mood do you want your kit to convey? Bright and urgent, or calm and reassuring?
- Use bright red for the cross symbol to catch attention.
- Apply white or light gray for the body of the kit for a clean background.
- Add subtle accents in muted colors to suggest details like zippers or handles.
Highlighting And Shadows
Adding highlights and shadows gives your drawing depth and realism. Imagine where your light source is coming from and shade accordingly. This makes the first aid kit look three-dimensional and tactile.
Use lighter tones on the edges facing the light to create highlights. Darker shades on the opposite sides will form natural shadows. This contrast guides the eye and makes your drawing pop off the page.
Don’t be afraid to experiment with soft gradients or sharp contrasts. Sometimes a subtle shadow under the kit can anchor it to the surface, preventing it from looking like it’s floating. How can you use light to make your drawing more engaging?
Common Mistakes To Avoid
Drawing a first aid kit seems simple but many make common errors. These mistakes can spoil the look and clarity of your drawing. Avoiding them helps create a clear and balanced image. Focus on key points to improve your drawing skills.
Proportion Errors
Proportion is the size relationship between parts of your drawing. A first aid kit with wrong proportions looks odd and confusing. For example, the cross symbol should not be too big or too small compared to the box. Keep the box shape neat and balanced. Use simple shapes like rectangles and squares to guide your proportions. Check your work often to keep sizes correct.
Overcomplicating Details
Adding too many details can make your drawing messy. A first aid kit should look simple and easy to understand. Avoid drawing tiny objects inside the kit unless necessary. Too many lines and small features distract from the main shape. Use clean lines and basic shapes for a clear drawing. Focus on the main features like the box, handle, and cross sign only.
Credit: www.dreamstime.com
Practice Exercises
Practice is key to improving your drawing skills. Simple exercises help you understand shapes and details better. Drawing a first aid kit is no different. Regular practice builds confidence and sharpens your eye for accuracy. Try different drawing styles and focus on capturing the essential elements.
Step-by-step Sketches
Start with basic shapes like rectangles and crosses. These form the main structure of the first aid kit. Add details slowly, such as the handle and the symbol on the box. Keep your lines light to adjust as needed. Focus on proportions to keep the drawing balanced. Practice this routine several times to see progress.
Quick Gesture Drawings
Use quick sketches to capture the general shape fast. Set a timer for 30 seconds to 1 minute. Draw the outline and main features without worrying about details. This exercise improves hand speed and observation skills. Repeat often to become comfortable with drawing the first aid kit quickly and confidently.

Credit: www.shutterstock.com
Frequently Asked Questions
What Essential Items Are In A First Aid Kit Drawing?
A first aid kit drawing should include bandages, antiseptic wipes, scissors, tweezers, gloves, and adhesive tape. These items represent basic emergency supplies needed for minor injuries and quick medical care.
How To Draw A Simple First Aid Kit Step-by-step?
Start with a rectangle for the box, add a cross symbol on the front, and sketch the lid. Include details like hinges, handles, and visible medical supplies inside for realism.
Why Include A Red Cross On First Aid Kit Drawings?
The red cross is a universal symbol for medical aid. It instantly identifies the kit’s purpose, making the drawing clear and easy to recognize in emergencies.
What Colors Are Best For Drawing A First Aid Kit?
Use white or light colors for the kit’s body with a bright red cross. These colors improve visibility and follow international first aid kit standards.
Conclusion
Drawing a first aid kit helps you learn its important parts. It shows what items you need for safety. Simple drawings make it easy to remember and use. Practice drawing often to get better and faster. A clear picture can help during emergencies.
Keep your first aid kit ready and easy to find. Everyone should know the basics of first aid supplies. This skill can protect you and those around you. Try drawing your own first aid kit today!

I’m Abby Lu, a passionate home cook who loves simplifying everyday meals. At PlugChef.com, I share product reviews and cooking guides to help you find the best tools for your kitchen.
Related posts:
 What Type of Cooking Utensils are Safe: Expert Picks
 What Innovations Could Blenders Make: Unleashing Future Tech
 Smart Strategies to Organize a Small Kitchen: Maximize Space
 How to Organize a Kitchen Cabinet: Expert Tips & Tricks
 How to Organize Kitchen Drawers: Expert Tips and Tricks
 How to Organize a Corner Kitchen Cupboard: Expert Tips

