Are your grill grates covered in stubborn grease and burnt-on food? Cleaning them can feel like a tough, messy chore.
But what if you could make your grill sparkle again using something simple and natural you probably already have at home? Vinegar is a powerful, affordable cleaner that cuts through grime and leaves your grill ready for your next cookout.
Keep reading to discover easy steps to clean your grill grates with vinegar—and get back to grilling like a pro without the hassle.
Credit: www.rd.com
Why Use Vinegar For Grill Cleaning
Cleaning grill grates with vinegar offers a simple and effective way to keep your grill spotless. Vinegar is a natural cleaner that breaks down grease and grime without harsh chemicals. It works well to remove stuck-on food and buildup, making your grill ready for the next cookout.
Natural Cleaning Properties
Vinegar contains acetic acid, which helps dissolve grease and dirt. It kills bacteria and prevents odors from forming. The acid gently loosens burnt-on residue without damaging metal grill grates. Vinegar also evaporates quickly, leaving no harmful residue behind. It is safe to use around food and easy to rinse off.
Benefits Over Chemical Cleaners
- Non-toxic and safe for the environment
- Less expensive than many commercial cleaners
- No strong, unpleasant chemical odors
- Does not cause skin irritation
- Simple to find and use at home
Vinegar offers a gentle yet powerful clean. It avoids harsh chemicals that can corrode grill parts or leave harmful residues. Using vinegar helps keep your grill and surroundings healthier and safer for cooking. It is a smart choice for anyone who wants an easy, natural way to clean grill grates.
Preparing Your Grill For Cleaning
Remove leftover food and ashes from the grill before cleaning. Spray vinegar on the grates to loosen grease and grime easily. Let it sit for a few minutes, then scrub with a brush for a clean surface.
Preparing your grill for cleaning is an essential step to ensure your barbecue remains in top condition. A clean grill not only enhances flavor but also extends the life of your cooking equipment. Before you dive into the cleaning process, taking a few preparatory measures can make the task easier and more effective.Safety Precautions
Safety should be your first priority. Always ensure the grill is completely cool before you start cleaning. If you’ve just finished grilling, give it time to cool down to avoid burns. Wear gloves to protect your hands from grime and sharp edges. Consider wearing old clothes or an apron, as cleaning can be a messy affair. Ensure you’re working in a well-ventilated area, especially if you’re using vinegar, as fumes can be strong.Tools And Materials Needed
Gather the necessary tools and materials to streamline your cleaning process. A few key items can make a big difference in efficiency and effectiveness. – Vinegar: A natural cleaner that cuts through grease and grime. – Spray Bottle: For easy application of vinegar onto grill grates. – Brush or Scraper: To remove stubborn residue and charred bits. – Cloth or Sponge: For wiping down surfaces and polishing the finish. – Bowl of Water: Useful for rinsing brushes or sponges during the cleaning process. Preparing these tools in advance not only saves time but also ensures you have everything you need at your fingertips. Have you ever struggled mid-cleaning because you forgot an essential item? Preparation is key to a smooth and stress-free cleaning experience.Step-by-step Vinegar Cleaning Method
Cleaning your grill grates with vinegar is a simple and effective way to remove stubborn grease and burnt-on food. This method uses everyday household vinegar to break down grime without harsh chemicals. You can bring your grill back to life with just a few easy steps that anyone can follow.
Mixing The Vinegar Solution
Start by mixing equal parts of white vinegar and water in a spray bottle or a large bowl. This balance is strong enough to cut through grease but gentle enough to protect your grates. If your grates are heavily soiled, you might increase the vinegar ratio slightly for extra cleaning power.
Applying Vinegar To Grates
Spray or pour the vinegar solution generously over the grill grates, making sure to cover all surfaces. Let the solution sit for about 10 to 15 minutes to allow the vinegar to loosen the grime. Have you noticed how vinegar’s natural acidity makes stuck-on food easier to wipe away?
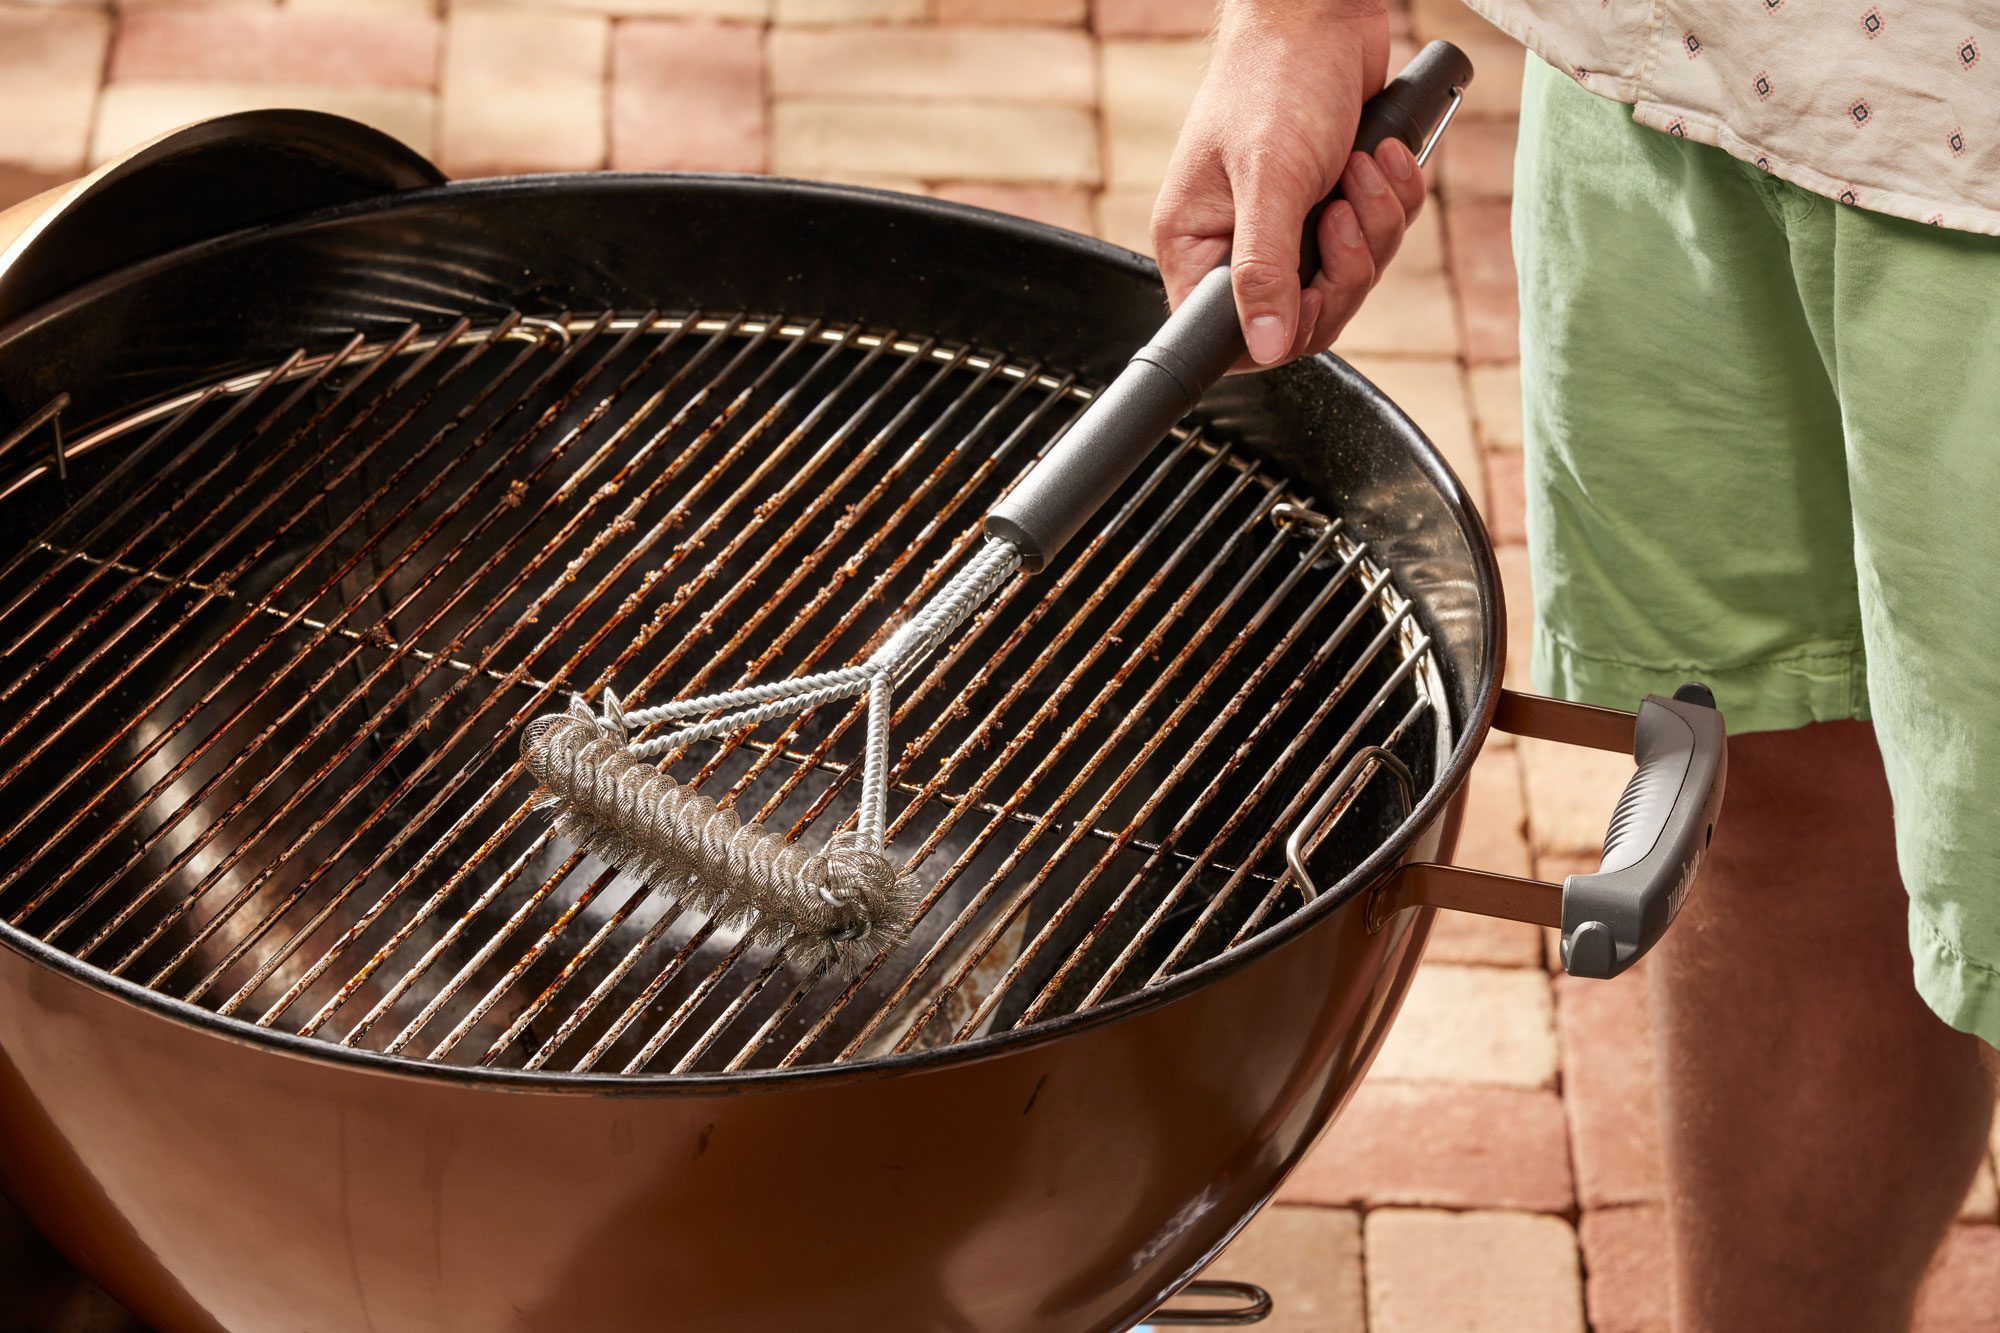
Scrubbing Techniques
Use a grill brush or a scrubbing pad to work on the grates. Focus on areas with the most buildup, applying firm pressure but avoiding damage to the metal. If you don’t have a brush handy, crumpled aluminum foil held with tongs can work surprisingly well as a scrubber.
Rinsing And Drying
Rinse the grates thoroughly with warm water to remove all vinegar residue and loosened debris. Dry the grates completely with a clean cloth or allow them to air dry before putting them back in your grill. This step prevents rust and keeps your grill ready for the next cookout.
Tips For Tough Grill Grime
Tough grill grime can be stubborn and frustrating. Sometimes vinegar alone isn’t enough to clear away the burnt-on grease and residue. To really get your grill grates shining, you need a few extra tricks that work together to break down the grime effectively.
Using Baking Soda With Vinegar
Baking soda adds a gentle scrubbing power that vinegar can’t provide on its own. Sprinkle a generous layer of baking soda over your grill grates, then spray or pour vinegar over it. The fizzing reaction helps lift stubborn grease and charred bits.
After the bubbling stops, scrub the grates with a grill brush or scrubbing pad. You’ll notice the grime loosening up much faster than with vinegar alone. This combo is great for removing layers of buildup without harsh chemicals.
Soaking For Stubborn Residue
Sometimes the grime is so tough that scrubbing isn’t enough. Filling a large container or basin with vinegar and soaking your grill grates overnight can loosen the residue deeply.
Make sure the grates are fully submerged and check them the next day. You’ll find the gunk softened and easy to wipe or scrape away. This method saves you effort and prevents damage to your grill surface.
Maintaining Clean Grill Grates
Maintaining clean grill grates is key to better tasting food and longer grill life. Grease and food bits build up fast and can cause flare-ups. Keeping grates clean prevents rust and keeps heat even. Vinegar is a safe, natural cleaner that breaks down grime easily. Regular care makes grilling easier and more fun.
Regular Cleaning Schedule
Clean grill grates after every use. Heat the grill for 10 minutes to burn off residue. Then, scrub the grates with a wire brush or crumpled foil. Use vinegar spray to remove tough spots. Let the vinegar sit for a few minutes before scrubbing. Wipe with a cloth or paper towel. Deep clean the grates with vinegar once a month to avoid buildup.
Seasoning Grates After Cleaning
Seasoning grates keeps them non-stick and rust-free. After cleaning, dry grates completely with a cloth. Apply a thin layer of cooking oil, like vegetable or canola oil. Use a paper towel to spread oil evenly over the grates. Heat the grill on medium for 15 minutes to set the oil. This protects grates and makes future cleaning easier.

Credit: www.familyhandyman.com
Common Mistakes To Avoid
Cleaning grill grates with vinegar is simple but easy to mess up. Avoiding common mistakes helps keep your grill in top shape. These errors can cause damage or reduce cleaning effectiveness. Watch out for these pitfalls to get the best results.
Using Too Much Vinegar
Applying too much vinegar can harm your grill. The acid may eat away the metal if left too long. It can also leave a strong smell that is hard to remove.
Use a spray bottle for light, even coverage. Wipe with a cloth or brush after a few minutes. Avoid soaking the grates in vinegar for hours.
Neglecting Grill Maintenance
Cleaning with vinegar alone is not enough. Regular grill maintenance keeps it working well and safe to use.
Remove food scraps after every cookout. Check for rust or damage regularly. Clean other parts like burners and drip trays too. This prevents buildup that vinegar cannot fix.

Credit: www.yahoo.com
Frequently Asked Questions
How Does Vinegar Clean Grill Grates Effectively?
Vinegar breaks down grease and burnt food on grill grates. Its acidity dissolves grime, making scrubbing easier and faster. This natural cleaner is safe and non-toxic, ideal for food surfaces. Using vinegar helps maintain your grill’s performance and hygiene without harsh chemicals.
Can I Use Vinegar On All Grill Grate Materials?
Yes, vinegar is safe for most grill grates, including stainless steel and cast iron. Avoid using undiluted vinegar on delicate materials, as acidity may cause damage over time. Always rinse thoroughly after cleaning to prevent corrosion and maintain your grill’s durability.
How Often Should I Clean Grill Grates With Vinegar?
Clean your grill grates with vinegar after every few uses or at least monthly during grilling season. Regular cleaning prevents buildup of grease and food residue, ensuring better flavor and longer grill life. Frequent maintenance also reduces fire hazards caused by grease accumulation.
Is Vinegar Better Than Commercial Grill Cleaners?
Vinegar is a natural, cost-effective alternative to commercial cleaners. It’s non-toxic and safe for food contact surfaces. While some commercial products may work faster, vinegar is eco-friendly and gentle. It effectively cleans without harmful fumes or chemicals, making it ideal for home use.
Conclusion
Vinegar cleans grill grates quickly and safely. It removes grease and burnt food easily. This method saves time and effort. You can keep your grill ready for every cookout. Regular cleaning with vinegar helps your grill last longer. Try this simple trick for a fresh, clean grill.
It makes cooking more enjoyable and tasty. Give your grill the care it needs today.

Hi, I’m Daniel Brooks—a food lover and kitchen gear enthusiast. I enjoy testing cookware, utensils, and gadgets to see what really works in everyday cooking. At PlugChef.com, I share honest reviews, comparisons, and simple guides to help you choose the best tools for a safer, smarter, and more enjoyable kitchen.
Related posts:
 What Type of Cooking Utensils are Safe: Expert Picks
 What Innovations Could Blenders Make: Unleashing Future Tech
 Smart Strategies to Organize a Small Kitchen: Maximize Space
 How to Organize a Kitchen Cabinet: Expert Tips & Tricks
 How to Organize Kitchen Drawers: Expert Tips and Tricks
 How to Organize a Corner Kitchen Cupboard: Expert Tips

