
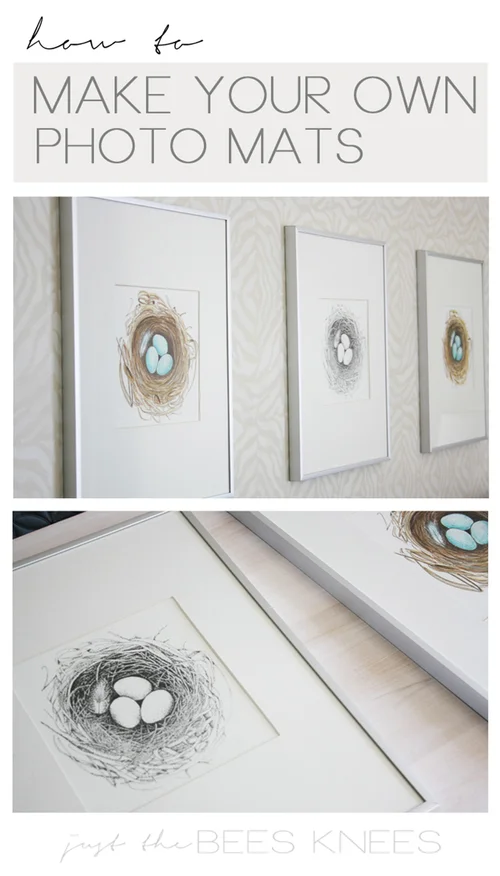
Framing a picture or artwork can make it look beautiful. But to do this well, you need to cut a mat board. A mat board is a thick paper border that goes around your picture inside the frame. It helps protect the picture and makes it stand out. Cutting the mat board right is important. This guide will help you cut your mat board easily and correctly.
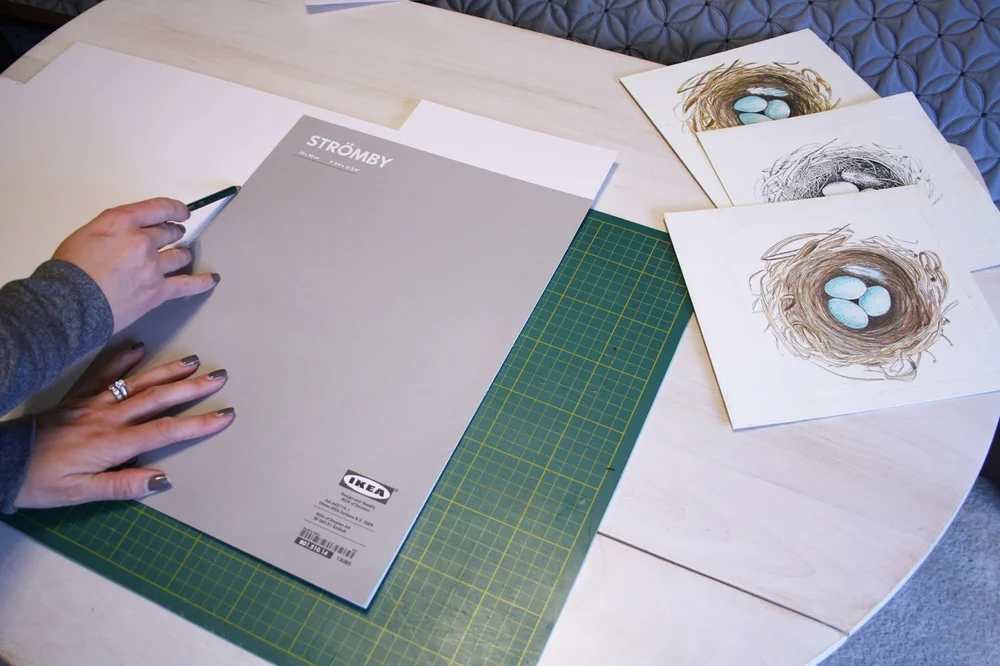
Credit: www.interiorsbysarahlangtry.com
What You Need to Cut a Mat Board
Before starting, gather these tools:
- Mat board: The thick paper border you want to cut.
- Mat cutter or utility knife: A sharp blade to cut the board.
- Ruler or straight edge: To guide your cuts and keep lines straight.
- Measuring tape or ruler: To measure the size you need.
- Pencil: To mark where you will cut.
- Cutting mat or safe surface: To protect your table.
Step 1: Measure Your Picture and Frame
First, measure the picture you want to frame. Use a ruler or tape to find its width and height. Write down these numbers.
Next, measure the frame size. The mat board will fit inside the frame. It should be slightly smaller than the frame to fit well.
Also, decide how wide you want the mat border to be. Usually, 2 to 3 inches is good. You can make it wider if you want.
Step 2: Mark the Outer Edge of the Mat
Take your mat board. Use the ruler and pencil to mark the size of the outer edge. This is the size that fits inside your frame.
Draw straight lines on the mat board. These lines show where to cut the outer edges.
Step 3: Mark the Inner Opening
Now, mark the inner opening. This is the window where your picture will show.
Use the picture size. Add a little bit of extra space, about 1/8 inch, so the picture fits well.
Draw a rectangle inside the outer edge. Use the ruler to keep lines straight.
Step 4: Use the Mat Cutter or Knife Carefully
Place the mat board on a cutting mat or safe surface. This will protect your table.
Use the ruler as a guide. Place it along the line you want to cut.
Hold the ruler firmly. Cut along the line with a sharp knife or mat cutter.
Cut the outer edges first, then the inner opening.
Tips for Cutting the Inner Opening
The inner opening is tricky. The cut edge should be clean and smooth.
When cutting the inner opening, hold the blade at a 45-degree angle. This gives a nice bevel edge.
Cut slowly and carefully to avoid mistakes.
Step 5: Remove the Inner Piece
After cutting the inner rectangle, gently push out the inside piece.
Be careful not to tear the edges. A clean cut is important for a good look.
Step 6: Test the Fit
Place your picture behind the mat board. Check if it fits well in the opening.
Also, place the mat board inside the frame. Make sure it fits tightly.
If the opening is too small, you can carefully trim a little more.
Common Mistakes to Avoid
- Cutting without measuring twice. Always double-check your marks.
- Using a dull blade. A sharp blade gives clean cuts.
- Cutting without a ruler. This makes lines uneven.
- Forgetting to protect your table. Use a cutting mat.
- Cutting too fast. Slow and steady works best.
How to Choose the Right Mat Board
Mat boards come in different colors and thicknesses. Choose one that matches your picture and frame.
White or cream colors work for most pictures. But colored mats can add style.
Thickness is important. Thicker mats look better but are harder to cut.
Why Cut Your Own Mat Board?
Buying a pre-cut mat might not fit your picture exactly. Cutting your own mat lets you choose size and style.
You can save money by cutting it yourself. Also, it can be fun and satisfying.
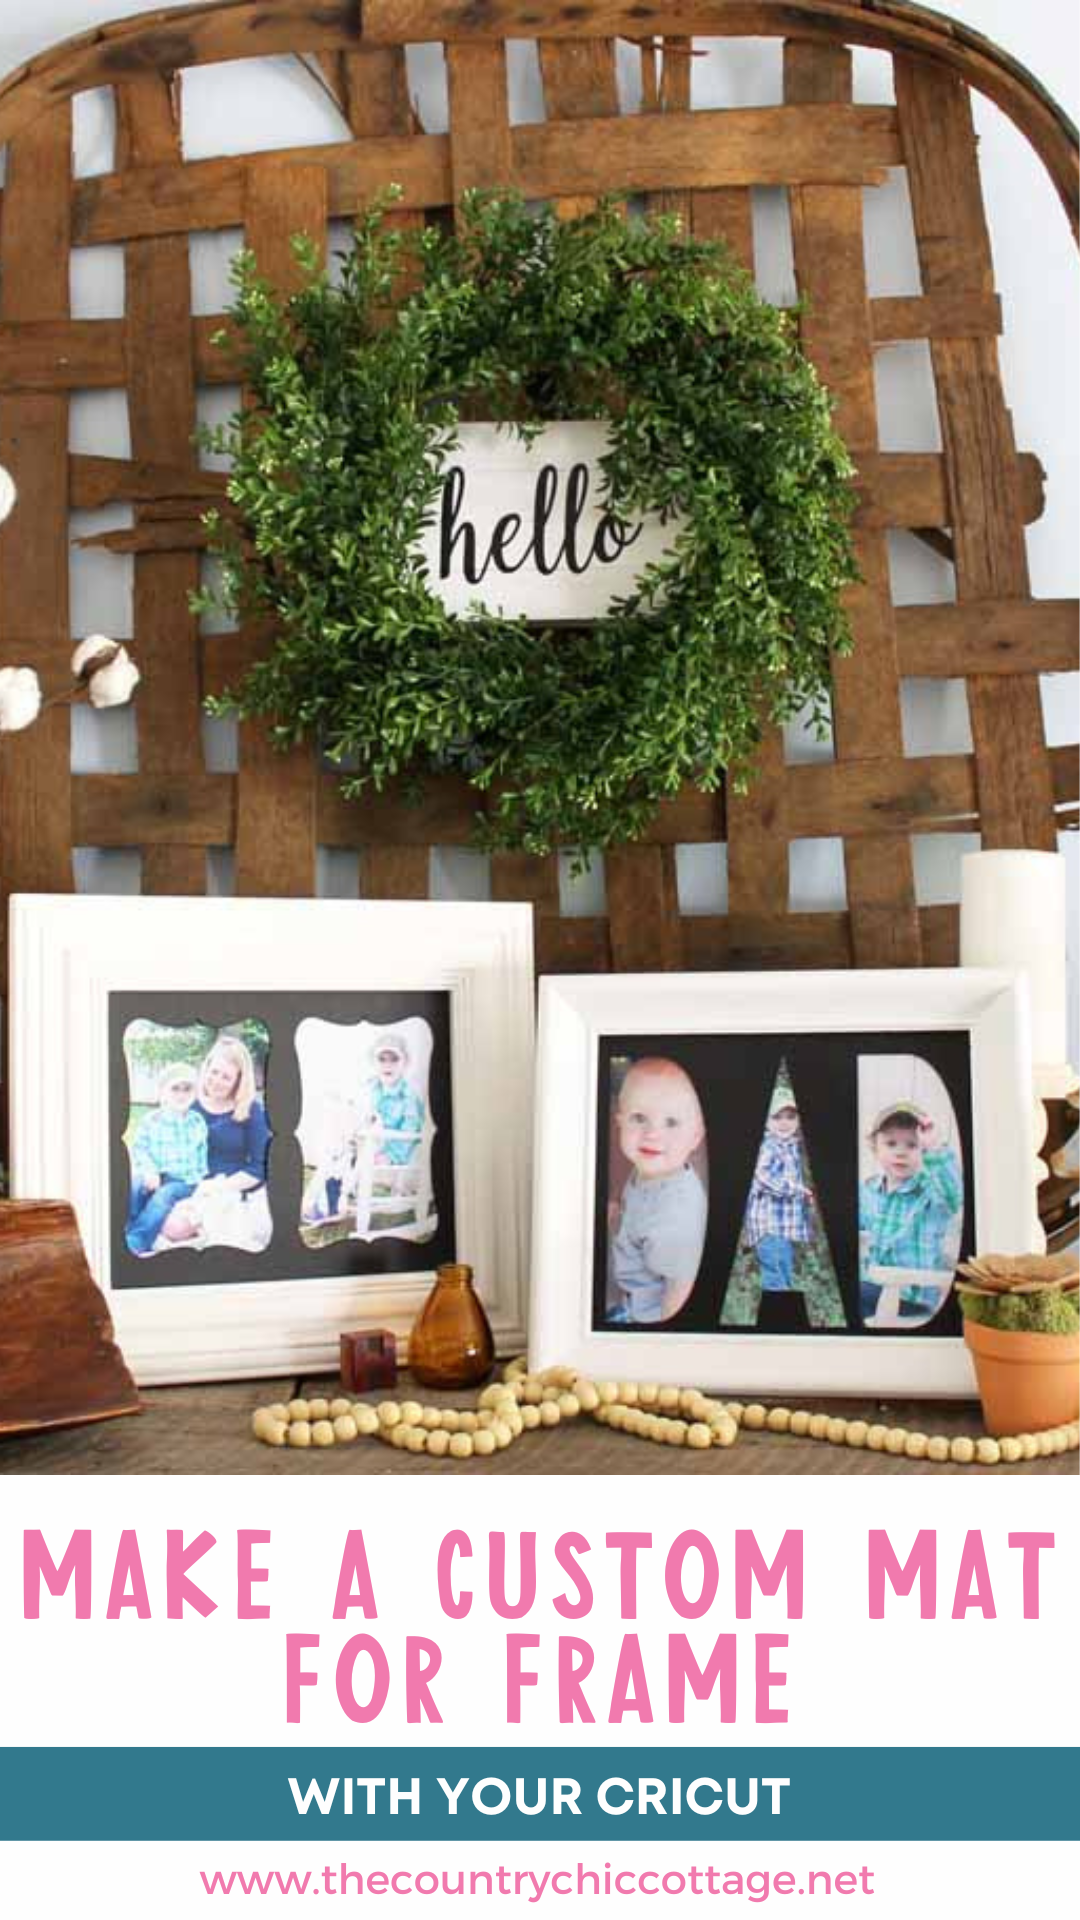
Credit: www.thecountrychiccottage.net
Summary of the Cutting Process
| Step | Action |
|---|---|
| 1 | Measure picture and frame size |
| 2 | Mark outer edge on mat board |
| 3 | Mark inner opening for picture |
| 4 | Cut outer edges with ruler and knife |
| 5 | Cut inner opening at 45-degree angle |
| 6 | Remove inner cut piece |
| 7 | Check fit of picture and frame |
Final Thoughts
Cutting a mat board takes care and patience. But it is easy with the right tools.
Take your time. Measure twice. Cut slowly.
With practice, your mat cuts will look professional. Your framed picture will shine.
Frequently Asked Questions
How Do You Choose The Right Mat Board?
Select a board that complements your artwork. Consider color and thickness.
What Tools Are Needed To Cut Mat Board?
You’ll need a sharp utility knife, a ruler, and a cutting mat.
Why Is Mat Board Important For Framing?
It protects the artwork and enhances its appearance. Adds depth and dimension.
Can You Cut Mat Board Without A Mat Cutter?
Yes, use a utility knife and ruler for straight cuts.

Hi, I’m Daniel Brooks—a food lover and kitchen gear enthusiast. I enjoy testing cookware, utensils, and gadgets to see what really works in everyday cooking. At PlugChef.com, I share honest reviews, comparisons, and simple guides to help you choose the best tools for a safer, smarter, and more enjoyable kitchen.
Related posts:
 What Type of Cooking Utensils are Safe: Expert Picks
 What Innovations Could Blenders Make: Unleashing Future Tech
 Smart Strategies to Organize a Small Kitchen: Maximize Space
 How to Organize a Kitchen Cabinet: Expert Tips & Tricks
 How to Organize Kitchen Drawers: Expert Tips and Tricks
 How to Organize a Corner Kitchen Cupboard: Expert Tips

