
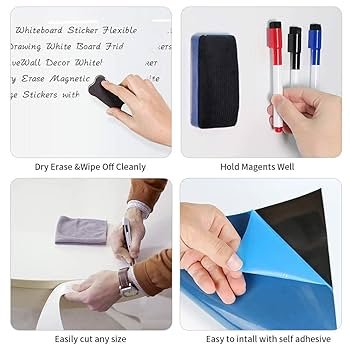
Dry erase boards are useful. They help us write and erase easily. Sometimes, they are too big. We need to cut them. But how do we do this?
Why Cut a Dry Erase Board?
Sometimes, we have a big board. It might not fit in a small space. Or maybe we want a custom size. Cutting is the solution.
What Tools Do You Need?
We need some tools. These tools help us cut the board safely. Here is a list of what you need:
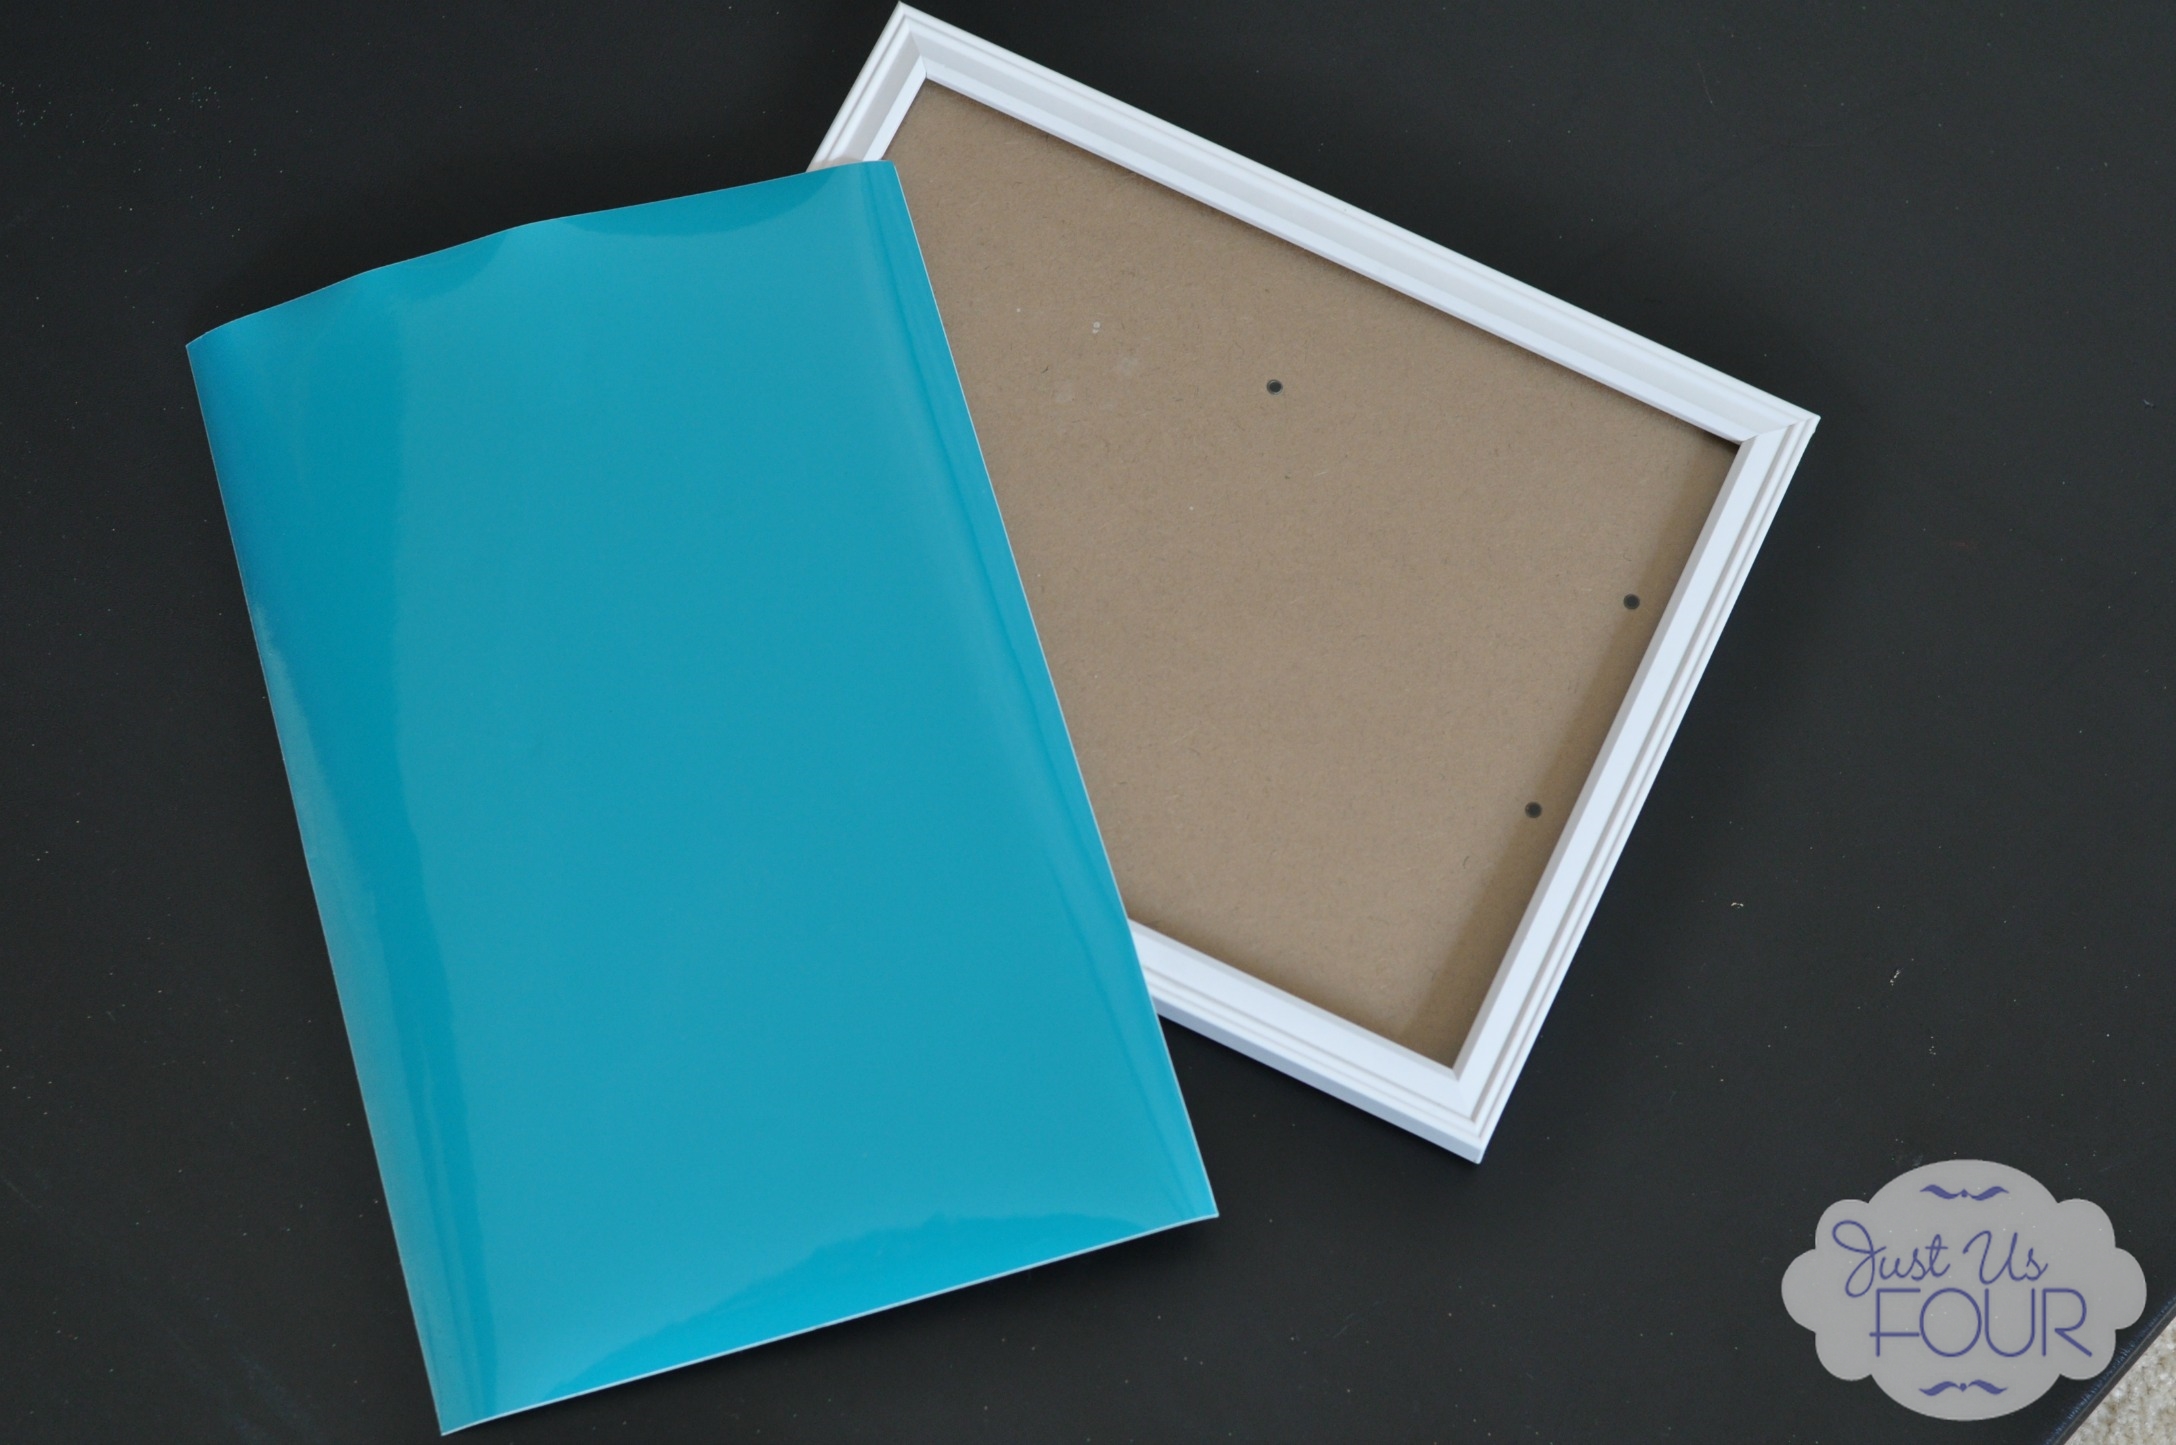
- Dry Erase Board: The board you want to cut.
- Measuring Tape: To measure the board size.
- Pencil: To mark the cutting line.
- Ruler or Straight Edge: For straight lines.
- Safety Goggles: To protect your eyes.
- Masking Tape: To hold the board steady.
- Hand Saw or Utility Knife: To cut the board.
- Sandpaper: To smooth the edges.
- Cloth: To clean the board after cutting.
Step-by-Step Guide to Cutting
Let’s learn how to cut the board. Follow these steps:
Step 1: Measure The Board
First, use the measuring tape. Measure the size you want. Mark it with a pencil. Use the ruler for straight lines.
Step 2: Prepare For Cutting
Put on the safety goggles. Place the board on a steady surface. Use masking tape to hold it. This keeps it from moving.
Step 3: Cut The Board
Use the hand saw or utility knife. Follow the pencil line. Cut slowly and carefully. Make sure your hand is steady.
Step 4: Smooth The Edges
Use sandpaper for the edges. Rub gently. This makes the edges smooth. Be careful not to scratch the surface.
Step 5: Clean The Board
After cutting, clean the board. Use a cloth. Wipe away dust and pencil marks. Now your board is ready.
Safety Tips
Safety is important. Always wear goggles. They protect your eyes. Be careful with sharp tools. Keep them away from kids.
Cutting Different Types of Boards
Dry erase boards are different. Some are thin. Some are thick. Here is how to cut each type:
| Type of Board | Tool to Use |
|---|---|
| Thin Board | Utility Knife |
| Thick Board | Hand Saw |

Credit: afmat.com
Why Smooth Edges Matter
Smooth edges are important. They make the board safe. No sharp edges to cut fingers. Sandpaper helps achieve this.
Common Mistakes
Cutting can be tricky. Here are mistakes to avoid:
- Not Measuring: Measure before cutting.
- Wrong Tools: Use the right tool for the board.
- Skipping Safety: Always wear goggles.
How to Choose the Right Size
Choosing the right size is important. Measure your space. Make sure the board fits well. Think about where you will use it.
Making it Fun
Cutting a board can be fun. Involve your family. Let them help measure and mark. It becomes a team activity.
Credit: www.mysuburbankitchen.com
Frequently Asked Questions
How Do I Cut A Dry Erase Board Safely At Home?
Use a fine-tooth saw or utility knife with a straight edge for clean cuts.
What Tools Are Best For Cutting Dry Erase Boards?
A fine-tooth handsaw, utility knife, or jigsaw works well for cutting.
Can I Cut A Dry Erase Board Without Damaging The Surface?
Cut slowly and use a straight edge to avoid scratches or cracks.
How To Measure Before Cutting A Dry Erase Board?
Measure twice with a tape measure and mark clearly with a pencil.
Conclusion
Cutting a dry erase board is easy. Measure, mark, and cut. Smooth the edges. Remember safety first. Now you can enjoy your board!

I’m Abby Lu, a passionate home cook who loves simplifying everyday meals. At PlugChef.com, I share product reviews and cooking guides to help you find the best tools for your kitchen.
Related posts:
 What Type of Cooking Utensils are Safe: Expert Picks
 What Innovations Could Blenders Make: Unleashing Future Tech
 Smart Strategies to Organize a Small Kitchen: Maximize Space
 How to Organize a Kitchen Cabinet: Expert Tips & Tricks
 How to Organize Kitchen Drawers: Expert Tips and Tricks
 How to Organize a Corner Kitchen Cupboard: Expert Tips

