
Are you ready to take your desserts to the next level? Whipping cream with a hand mixer is easier than you think, and it can transform simple recipes into something truly special.
Whether you’re making a cake topping, a creamy dip, or just want that perfect fluffy texture, knowing how to whip cream the right way will save you time and effort. You’ll discover simple tips and tricks to get the best results every time.
Keep reading, and soon you’ll master the art of whipping cream with your hand mixer like a pro.
Choosing The Right Cream
Choosing the right cream is the first step to achieving perfect whipped cream with your hand mixer. The texture, taste, and stability of your whipped cream depend heavily on the cream you select. Knowing what to look for will save you time and ensure delicious results every time.
Types Of Cream Suitable For Whipping
Not all creams are created equal when it comes to whipping. Heavy cream and whipping cream are your best bets because they contain enough fat to hold air and create volume.
- Heavy Cream:Contains around 36-40% fat and whips up thick and stable. Ideal for most recipes.
- Whipping Cream:Has 30-35% fat, whips well but can be slightly less stable than heavy cream.
- Light Cream:Usually below 30% fat, doesn’t whip well and is better for pouring.
Have you ever tried whipping light cream and ended up with a watery mess? That’s because it lacks the fat needed to trap air and hold its shape.
Importance Of Fat Content
Fat content is the secret behind fluffy, stable whipped cream. The higher the fat, the better the cream can trap air bubbles, giving you that perfect, airy texture.
If the fat content is too low, the cream won’t thicken properly and will separate quickly. Always check the label before buying, aiming for at least 30% fat for whipping purposes.
Think about how cream with lower fat feels thinner and less rich in taste. That’s why fat content affects not just the texture but also the flavor of your whipped cream.
Cold Vs. Room Temperature Cream
Temperature plays a crucial role in how your cream whips. Cream that’s too warm will not whip well and can turn into butter if overmixed.
Keep your cream chilled, ideally straight from the fridge. Cold cream whips faster and holds its shape longer.
Here’s a tip from my experience: chilling the mixing bowl and beaters before whipping can make a noticeable difference in how quickly your cream thickens. Have you tried that yet?

Credit: www.yahoo.com
Preparing Your Tools
Preparing your tools is key to whipping cream smoothly and quickly. The right equipment helps achieve perfect peaks without much effort. Clean, cold tools improve the whipping process. Organizing everything before starting saves time and keeps the process hassle-free.
Selecting The Best Hand Mixer
Choose a hand mixer with multiple speed settings for better control. Lightweight mixers reduce hand fatigue during whipping. Look for beaters that are easy to clean and sturdy. A powerful motor helps whip cream faster and more evenly.
Chilling The Mixing Bowl And Beatters
Place the mixing bowl and beaters in the fridge for at least 15 minutes. Cold tools keep the cream cold, which helps it whip better. Use a metal or glass bowl for best results. Avoid plastic bowls as they retain warmth and slow whipping.
Gathering Additional Ingredients
Use fresh heavy cream with at least 30% fat content. Keep sugar and vanilla extract ready for flavoring. Measure ingredients accurately before starting. Having everything at hand speeds up the whipping process and keeps it smooth.
Step-by-step Whipping Process
Pour cold cream into a chilled bowl and beat with a hand mixer on medium speed. Watch for soft peaks forming, then continue until firm peaks appear. Stop mixing to avoid overwhipping and turning the cream into butter.
Whipping cream can transform a dessert from simple to spectacular. The process is straightforward, but it does require attention to detail. Whether you’re topping a pie or making a mousse, mastering the art of whipping cream with a hand mixer ensures your creations are always on point. Let’s explore the step-by-step whipping process to achieve perfectly fluffy cream every time.Starting At Low Speed
Begin by pouring cold heavy cream into a chilled mixing bowl. It’s important to start with low speed on your hand mixer. This helps the cream gradually thicken without splattering everywhere. Ever tried racing through a crowded room? That’s what high speed feels like to cream—chaotic! Keep it calm and controlled at first.Increasing To Medium-high Speed
Once the cream starts to thicken, it’s time to increase the speed to medium-high. This step is where the magic begins. The cream will start forming bubbles and gaining volume. Keep an eye on the mixer; you don’t want to overdo it. Have you ever noticed how a gentle push on a swing gives the best ride? That’s medium-high speed for your cream.Watching For Soft Peaks
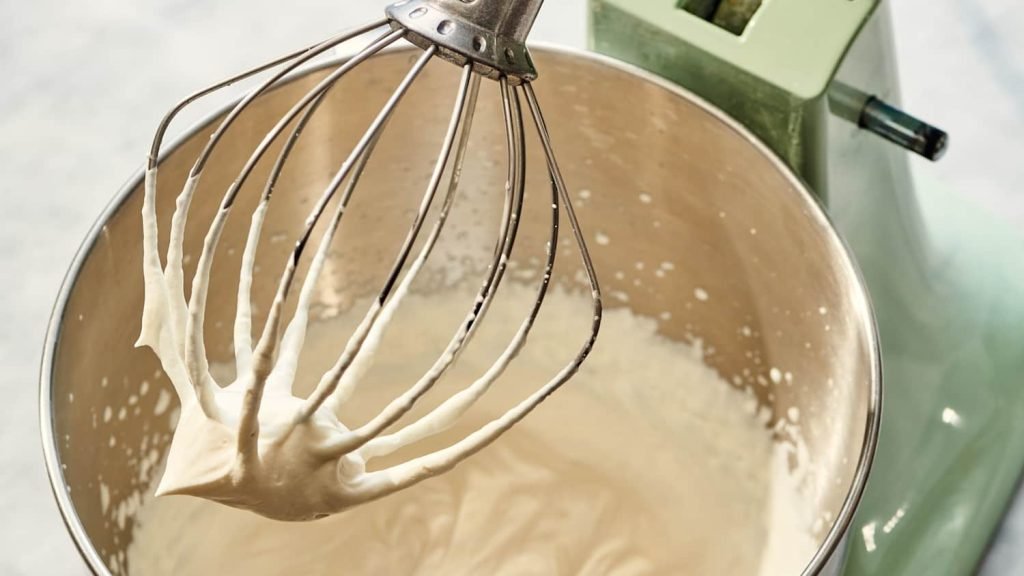
Soft peaks are the sweet spot for many desserts. You’ll notice the cream holds its shape for a moment before softly collapsing back. This stage is perfect for a light and airy topping. Imagine the sensation of gently sinking into a plush pillow—soft peaks offer that kind of luscious texture.Reaching Stiff Peaks
For a more structured cream, continue mixing until stiff peaks form. At this stage, the cream stands tall without falling over. This is perfect for piping or when you need the cream to hold its shape. Picture a mountain peak standing firm against the wind—that’s the resilience you’re aiming for. Remember, practice makes perfect. Each batch of cream may react slightly differently, so trust your instincts. What will your next whipped cream creation be?:max_bytes(150000):strip_icc()/whipped-cream-_7885_Step03_204-4fa215f3b7a746c7b3b441d25054c10b.jpg)
Credit: www.southernliving.com
Common Mistakes To Avoid
Whipping cream with a hand mixer sounds simple until you hit a snag. Mistakes can turn your fluffy dream into a dense disaster or a runny mess. Knowing what to avoid can save you time and frustration while delivering perfect whipped cream every time.
Overwhipping And Butter Formation
Have you ever whipped cream only to find it turning grainy and then separating into butter and liquid? That’s overwhipping. It happens when you keep mixing past the soft or stiff peaks stage.
Stop the mixer as soon as you see firm peaks hold their shape but still look smooth. If you catch it early, you can salvage slightly overwhipped cream by folding in a small amount of fresh cream gently.
Undermixing Issues
On the flip side, undermixing leaves your cream too soft and runny. It won’t hold peaks and can collapse quickly after serving. This is often due to not whipping long enough or using too low a speed.
Try whipping at a medium speed and watch for the cream to thicken and hold shape. Think about how long you’ve whipped—sometimes a minute more makes all the difference.
Using Warm Cream
Warm cream is a common culprit behind slow whipping or failure to whip at all. Cold cream whips faster and holds air better. If your cream is room temperature or warm, it won’t reach the desired volume or texture.
Keep your cream refrigerated until just before whipping. You might even chill your mixing bowl and beaters for better results. How often do you check the temperature of your ingredients before starting?
Flavoring And Sweetening Tips
Adding flavor and sweetness to whipped cream can transform it from a simple topping into a delightful treat. The timing and choice of ingredients make a big difference in texture and taste. Let’s explore some practical tips to help you get the best results when whipping cream with a hand mixer.
When To Add Sugar
Adding sugar too early can prevent the cream from whipping properly. Wait until the cream starts to thicken, then slowly add sugar while continuing to whip. This helps the sugar dissolve evenly without weighing down the cream.
Try using powdered sugar for a smoother texture, or experiment with granulated sugar if you prefer a slight crunch. Have you noticed how a slow, steady addition of sugar makes your whipped cream fluffier and sweeter without collapsing?
Incorporating Vanilla And Other Flavors
Vanilla is a classic choice, but don’t hesitate to try other extracts like almond, peppermint, or coconut. Add these after the cream has started to thicken but before it reaches stiff peaks to ensure even distribution.
Sometimes, a splash of liqueur or a sprinkle of cinnamon can add unexpected depth. Think about what flavor will complement your dessert—what about a dash of espresso powder for your chocolate cake?
Using Stabilizers For Longer Hold
If you need your whipped cream to hold its shape for hours, stabilizers are your best friend. Gelatin, cornstarch, or cream of tartar can be added during whipping to maintain texture.
For example, dissolve gelatin in a bit of warm water and add it slowly as you whip. This trick helped me keep whipped cream looking fresh during a summer picnic, even in the heat. What occasions do you find yourself needing extra stability for your whipped cream?
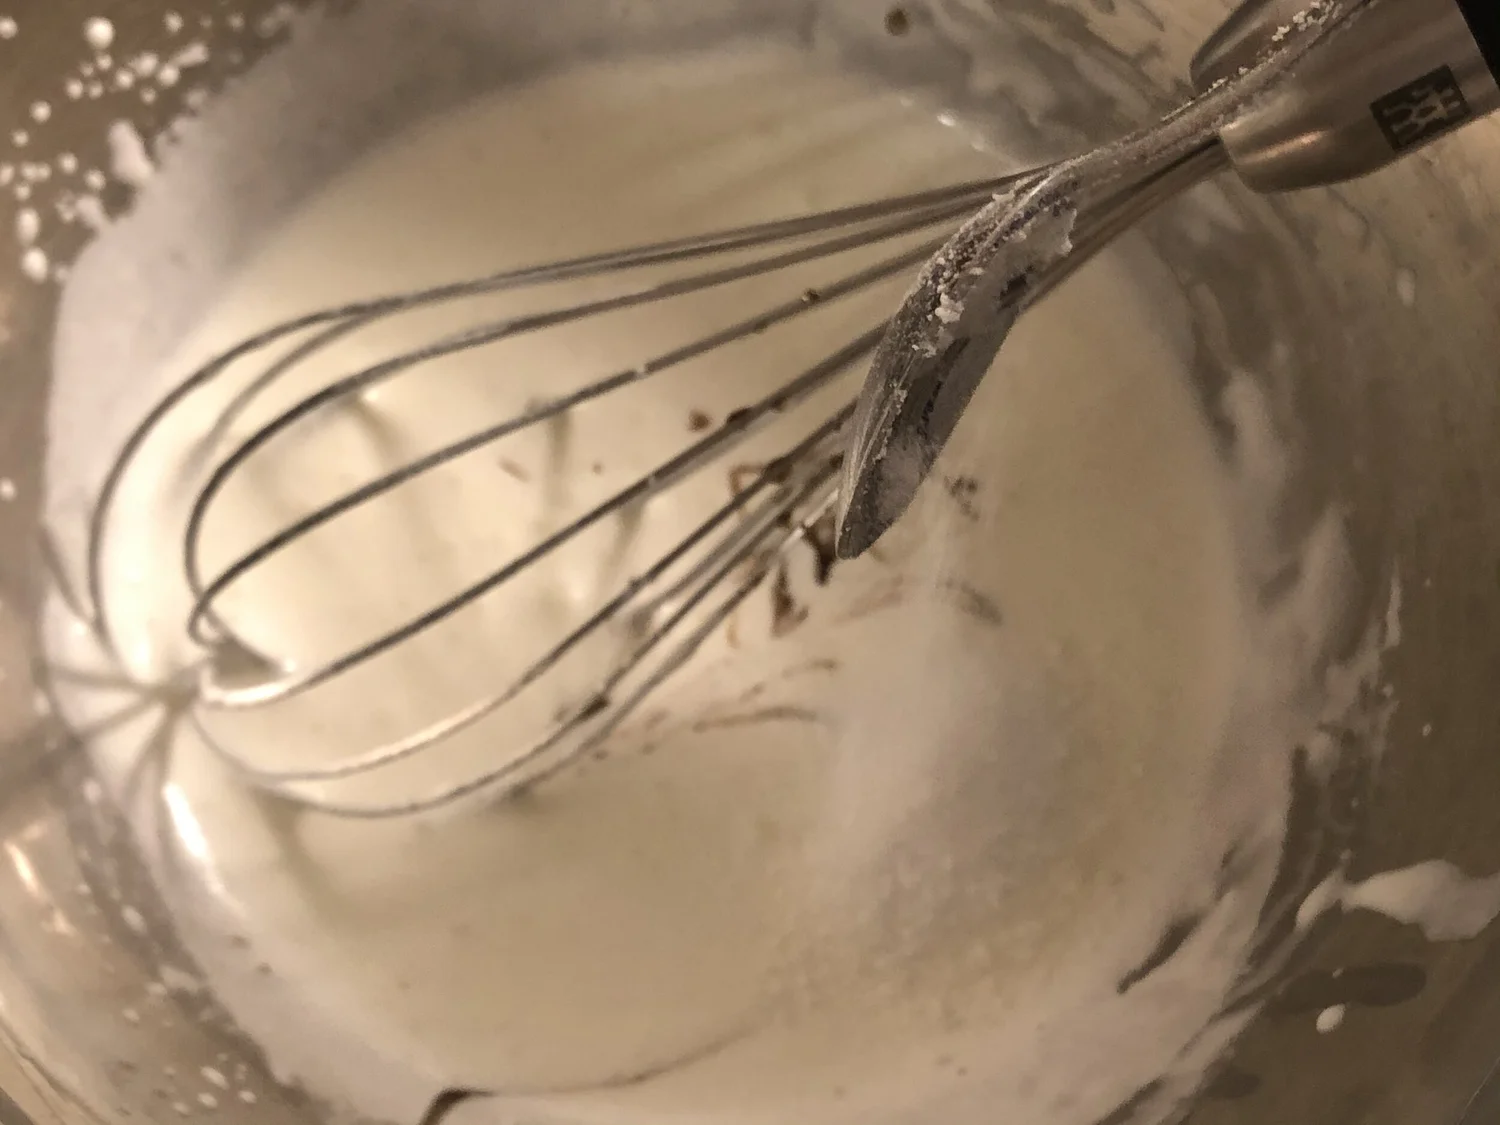
Credit: www.cookingwithanadi.com
Storage And Usage
Whipping cream with a hand mixer is just the beginning. How you store and use your whipped cream can make a big difference in taste and texture. Proper care ensures you get the most out of every batch, whether you’re topping desserts or mixing it into recipes.
Best Practices For Storing Whipped Cream
Keep your whipped cream fresh by storing it in an airtight container. This prevents it from absorbing other fridge odors and keeps it from drying out.
Always refrigerate whipped cream immediately after whipping. It stays best for up to 24 hours, so plan to use it quickly for the best texture.
If you notice it starting to separate or get watery, give it a quick whisk with your hand mixer to bring back its fluffiness.
Using Whipped Cream In Recipes
Whipped cream isn’t just for topping pies or hot chocolate—it can add lightness to many dishes. Folding it gently into mousse or frosting gives a smoother, airier texture.
When adding whipped cream to cold desserts, do it just before serving to keep it from melting or losing volume. Think about how it complements flavors; a little vanilla or cinnamon can boost your whipped cream’s impact.
Have you tried mixing whipped cream into coffee or fruit salads? It’s an easy way to create richer, more indulgent treats without extra effort.
Freezing Whipped Cream
Freezing whipped cream is a handy trick for keeping leftovers longer. Spoon dollops onto a baking sheet lined with parchment paper and freeze until solid.
Once frozen, transfer the dollops into a freezer bag. Use these frozen whipped cream bites later to top hot drinks or desserts—no thawing needed.
Keep in mind, frozen whipped cream works best for decoration or mixing into recipes rather than eating plain, as the texture changes slightly after freezing.
Troubleshooting Common Problems
Whipping cream with a hand mixer is simple, but some common problems may occur. Knowing how to fix these issues saves time and improves results. This section helps you troubleshoot and perfect your whipped cream every time.
Fixing Runny Whipped Cream
Runny whipped cream happens when the cream is too warm or under-whipped. Chill the bowl and beaters before starting. Whip the cream on medium speed, watching closely. Stop once soft peaks form. Avoid overmixing, which breaks the cream structure.
What To Do If It Turns To Butter
Butter forms when cream is over-whipped. It looks grainy and separates into solids and liquid. To fix this, add a little fresh cold cream. Whip gently at low speed until smooth again. If too far gone, use the butter for cooking or baking.
Adjusting For Altitude And Humidity
High altitude and humidity affect whipping. At high altitudes, cream whips faster but may not hold shape well. Whip cream just until peaks form. In humid weather, chill everything longer. Add a bit of powdered sugar to help stabilize whipped cream.
Frequently Asked Questions
How Long Does It Take To Whip Cream With A Hand Mixer?
Whipping cream with a hand mixer usually takes 3 to 5 minutes. The exact time depends on cream temperature and mixer speed. Start slow, then increase speed for better results. Avoid overwhipping to prevent turning cream into butter.
What Speed Should I Use On A Hand Mixer?
Begin whipping cream at low speed to avoid splattering. Gradually increase to medium-high speed for optimal whipping. High speed helps incorporate air quickly for a fluffy texture. Always watch closely to prevent overwhipping.
Can I Whip Cream Using Cold Or Room Temperature?
Always use cold cream for best whipping results. Cold cream whips faster and holds air better. Room temperature cream may not whip properly or take longer. Chill your bowl and beaters for even better results.
How Do I Know When Whipped Cream Is Ready?
Whipped cream is ready when soft or stiff peaks form. Soft peaks gently hold shape but tip curls down. Stiff peaks stand upright without collapsing. Stop whipping once desired peak stage is reached to avoid butter.
Conclusion
Whipping cream with a hand mixer is quick and simple. It saves time and gives smooth, fluffy results. Just keep an eye on the cream to avoid overwhipping. Use cold cream and chilled bowls for best texture. Practice makes perfect; soon you will do it with ease.
Enjoy your homemade whipped cream on desserts or drinks. This basic skill adds a nice touch to many recipes. Give it a try and see the difference yourself!

Hi, I’m Daniel Brooks—a food lover and kitchen gear enthusiast. I enjoy testing cookware, utensils, and gadgets to see what really works in everyday cooking. At PlugChef.com, I share honest reviews, comparisons, and simple guides to help you choose the best tools for a safer, smarter, and more enjoyable kitchen.
Related posts:
 What Type of Cooking Utensils are Safe: Expert Picks
 What Innovations Could Blenders Make: Unleashing Future Tech
 Smart Strategies to Organize a Small Kitchen: Maximize Space
 How to Organize a Kitchen Cabinet: Expert Tips & Tricks
 How to Organize Kitchen Drawers: Expert Tips and Tricks
 How to Organize a Corner Kitchen Cupboard: Expert Tips

