

Have you ever made a big batch of homemade gravy and wondered if you can save some for later? Freezing gravy might seem tricky, but it’s actually a great way to keep your delicious sauce ready for your next meal.
If you’re tired of wasting leftovers or want to plan ahead for busy days, knowing how to freeze your homemade gravy properly can be a game changer. Keep reading, and you’ll discover the simple steps to freeze and reheat your gravy without losing its rich flavor or smooth texture.
Your future self will thank you!

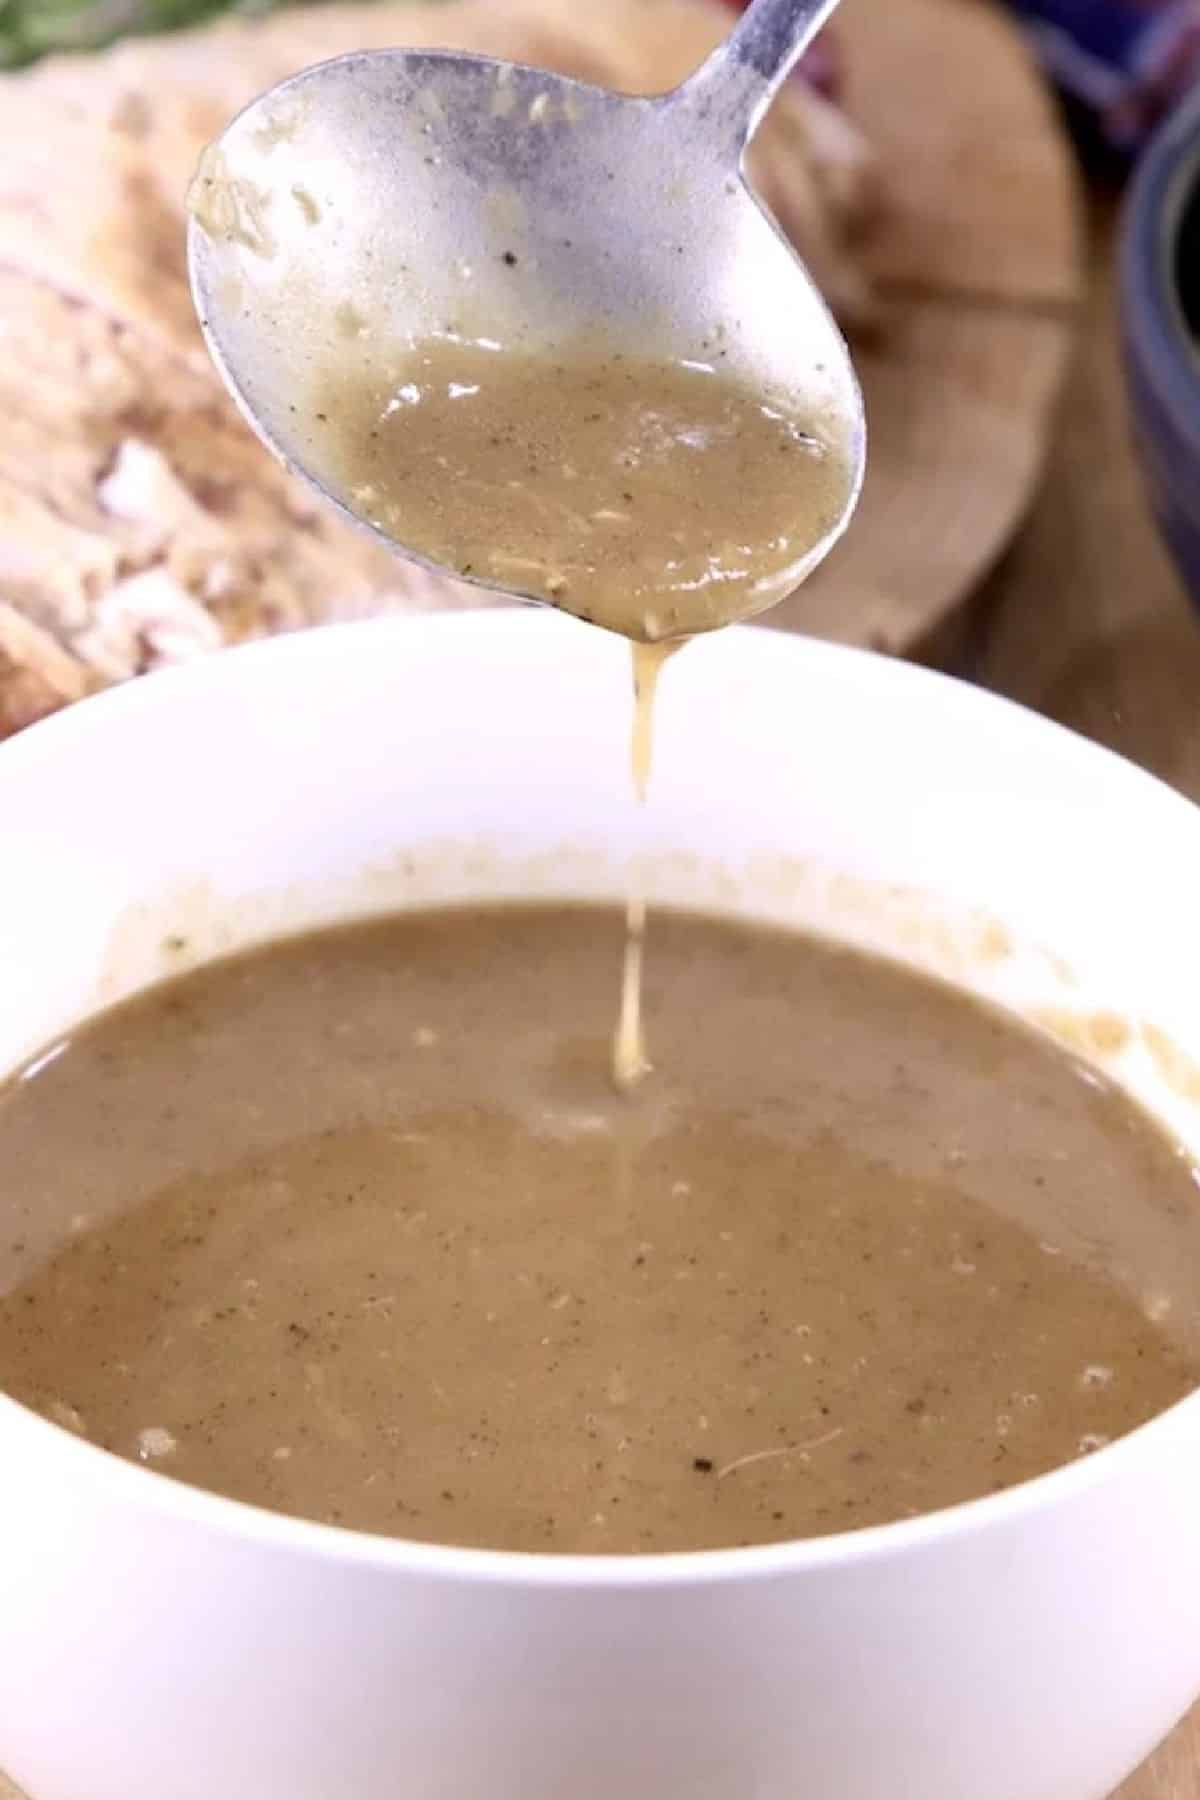
Credit: thequickerkitchen.com
Freezing Homemade Gravy
Freezing homemade gravy is a smart way to save time and reduce waste in your kitchen. You can prepare a big batch and store it for later meals without losing the rich flavor. But not all gravies freeze equally well, so knowing the right techniques ensures your gravy tastes just as delicious after thawing.
Best Types Of Gravy To Freeze
Gravies made with a clear broth or stock, like turkey or beef gravy, freeze beautifully because they maintain their texture. Cream-based gravies can be tricky since they might separate or become grainy after thawing. However, gravies thickened with flour or cornstarch usually hold up well in the freezer.
Think about the ingredients you use: gravies with lots of dairy or eggs may not freeze well, while those based on meat drippings and broth are more freezer-friendly. Have you noticed any gravy types that don’t thaw well in your experience?
How To Cool Gravy Before Freezing
Cooling your gravy properly before freezing is crucial to keep it safe and preserve flavor. Pour the hot gravy into a shallow container to help it cool quickly. Avoid putting hot gravy directly into the freezer, as it can raise the freezer’s temperature and affect other foods.
Stir the gravy occasionally while cooling to release heat faster. Once it reaches room temperature, transfer it to your chosen freezer-safe container. This simple step reduces the risk of freezer burn and keeps your gravy tasting fresh.
Choosing The Right Containers
Selecting the right container can make reheating your gravy easier and prevent freezer burn. Use airtight, freezer-safe containers or heavy-duty freezer bags for best results. Make sure to leave some space at the top because gravy expands when it freezes.
If you use bags, lay them flat in the freezer to save space and speed up thawing. Label each container with the date so you know how long it’s been stored. Wouldn’t it be great to grab perfectly portioned gravy ready to warm up in minutes?
Maintaining Flavor And Texture
Freezing homemade gravy is a great way to save time on busy days, but maintaining its flavor and texture can be tricky. The key is to prevent common issues like separation and clumping while keeping the taste fresh. With the right approach, your gravy can taste just as good after thawing as it did fresh from the stove.
Avoiding Separation And Clumping
Gravy often separates or becomes lumpy when frozen and thawed. To avoid this, cool your gravy completely before freezing. Pour it into airtight containers or freezer bags, leaving some space for expansion.
Adding a bit more fat, like butter or cream, before freezing can help keep the texture smooth. Also, stir your gravy well before freezing to ensure even consistency. Have you noticed how stirring right before freezing changes the thawed result?
Reheating Tips For Smooth Gravy
Thaw your gravy slowly in the refrigerator overnight for best results. When reheating, use low heat and stir constantly. This gentle approach prevents lumps and brings back the creamy texture you want.
If the gravy seems too thick, add a splash of broth or water while reheating. Avoid microwaving without stirring frequently, as this can cause uneven heating and clumps. How often do you check and stir your gravy while reheating?
Adding Fresh Ingredients After Thawing
Once your gravy is thawed, you can boost its flavor with fresh ingredients. Adding a pinch of fresh herbs like thyme or rosemary can brighten the taste. A dash of freshly ground pepper or a splash of wine can revive the richness as well.
This step lets you customize the gravy without compromising its texture. Have you tried adding fresh ingredients after thawing to give your gravy a fresh twist?
Storage Duration And Safety
Understanding the storage duration and safety of homemade gravy can save you time and prevent food waste. Freezing gravy is a smart way to preserve its rich flavors for future meals. However, knowing how long you can safely store it and how to identify signs of spoilage is crucial to ensure you and your family enjoy it at its best.
How Long Can You Freeze Gravy
Generally, homemade gravy can be frozen for up to three months without losing its quality. Beyond this period, the texture and taste might start to degrade. Make sure to label your containers with the date before placing them in the freezer to keep track of how long they’ve been stored.
Signs Of Spoiled Gravy
Even when frozen, gravy can spoil if not stored properly. Look for changes in color and texture; if your gravy appears grainy or separated, it’s time to discard it. A sour smell is another clear indicator that your gravy has gone bad.
Safe Thawing Methods
Thawing gravy safely is just as important as storing it. The best method is to transfer it from the freezer to the refrigerator the night before you plan to use it. If you’re in a hurry, you can use the microwave, but be sure to stir it frequently to ensure even heating.
Have you ever wondered if your gravy could last longer or if it’s still safe to eat? By following these guidelines, you can enjoy your homemade gravy worry-free, knowing it’s both delicious and safe. What will you pair your perfectly preserved gravy with next? Let your culinary creativity flow!

Credit: www.tasteofhome.com
Common Mistakes To Avoid
Freezing homemade gravy seems simple, but many people make mistakes that ruin the texture and flavor. Avoiding these common errors will help you enjoy your gravy just as much after freezing as when it was fresh. Let’s look at some key pitfalls to watch out for when freezing your gravy.
Freezing Gravy Hot
Putting hot gravy directly into the freezer is a tempting shortcut but it’s a mistake. Hot food can raise the freezer temperature, affecting other items and causing uneven freezing. Plus, it can create condensation inside the container, leading to ice crystals that change the gravy’s texture.
Instead, let your gravy cool to room temperature before freezing. You can speed this up by placing the pot in an ice bath or dividing the gravy into smaller, shallow containers. Have you ever noticed your gravy turning watery after freezing? Cooling first helps prevent that.
Using Improper Containers
The container you choose makes a big difference. Avoid thin plastic bags or containers that aren’t airtight—they let air in, causing freezer burn and off flavors. Rigid, airtight containers or heavy-duty freezer bags work best for preserving freshness.
Label your containers with the date and type of gravy to keep track. Think about how much gravy you usually use at once and freeze in portions that suit your needs. Have you ever struggled to thaw a huge batch just to find you only needed a little?
Over-thinning The Gravy
It’s easy to add too much liquid before freezing, thinking you’ll fix it later. But gravy that’s too thin before freezing often separates or becomes watery when thawed. Keep your gravy slightly thicker than usual so it holds up well after thawing and reheating.
If you find your gravy too thick after thawing, add a bit of stock or milk while reheating to get the right consistency. Have you tried adjusting the thickness before freezing and noticed a big difference?
Alternative Methods
Freezing homemade gravy helps preserve its rich flavor for future meals. Alternative methods offer convenient ways to store small portions or extend shelf life. These options suit different needs and kitchen setups.
Freezing Gravy In Ice Cube Trays
Pour cooled gravy into ice cube trays for small, ready-to-use portions. Once frozen, transfer cubes to a sealed bag or container. This method saves space and makes thawing quick and easy. Use cubes to add flavor to dishes or reheat just what you need.
Vacuum Sealing For Longer Storage
Vacuum sealing removes air, helping prevent freezer burn and extending freshness. Pour gravy into a vacuum bag, seal tightly, and freeze flat. This method keeps the gravy fresh for several months. It also saves freezer space and maintains quality better than regular freezing.
Credit: www.missinthekitchen.com
Frequently Asked Questions
Can I Freeze Homemade Gravy Safely?
Yes, you can freeze homemade gravy safely. Use airtight containers or freezer bags to prevent freezer burn. Freeze in portions for easy use. Thaw overnight in the fridge before reheating to maintain texture and flavor.
How Long Can Homemade Gravy Stay Frozen?
Homemade gravy can stay frozen for up to 3 months. For best taste and quality, consume it within this period. Label containers with the freezing date to keep track.
Does Freezing Affect Homemade Gravy Texture?
Freezing can slightly change the texture of homemade gravy. Some gravies may separate or become grainy. Whisk well while reheating to restore smoothness and consistency.
What Is The Best Way To Reheat Frozen Gravy?
Reheat frozen gravy slowly on the stovetop over low heat. Stir frequently to prevent lumps and ensure even heating. Add a splash of broth or water if it thickens too much.
Conclusion
Freezing homemade gravy is a smart way to save time. It keeps the flavor fresh and ready for use. Just cool the gravy before freezing it in small containers. Thaw it slowly in the fridge to keep its taste. Reheat gently and stir well before serving.
This method helps reduce waste and keeps meals easy. Enjoy your delicious gravy anytime without extra effort. Simple, practical, and tasty!

Hi, I’m Daniel Brooks—a food lover and kitchen gear enthusiast. I enjoy testing cookware, utensils, and gadgets to see what really works in everyday cooking. At PlugChef.com, I share honest reviews, comparisons, and simple guides to help you choose the best tools for a safer, smarter, and more enjoyable kitchen.
Related posts:
 What Type of Cooking Utensils are Safe: Expert Picks
 What Innovations Could Blenders Make: Unleashing Future Tech
 Smart Strategies to Organize a Small Kitchen: Maximize Space
 How to Organize a Kitchen Cabinet: Expert Tips & Tricks
 How to Organize Kitchen Drawers: Expert Tips and Tricks
 How to Organize a Corner Kitchen Cupboard: Expert Tips

