
Are you ready to surprise your taste buds with a dip that’s both sweet and spicy? This Red Pepper Jelly Dip recipe is exactly what your snacks have been missing.
Imagine a burst of flavor that’s perfect for crackers, veggies, or even grilled meats. Whether you’re hosting a party or just want to spice up your everyday meals, this easy-to-make dip will become your new favorite. Keep reading, and you’ll discover how simple ingredients can create a delicious treat that everyone will love.

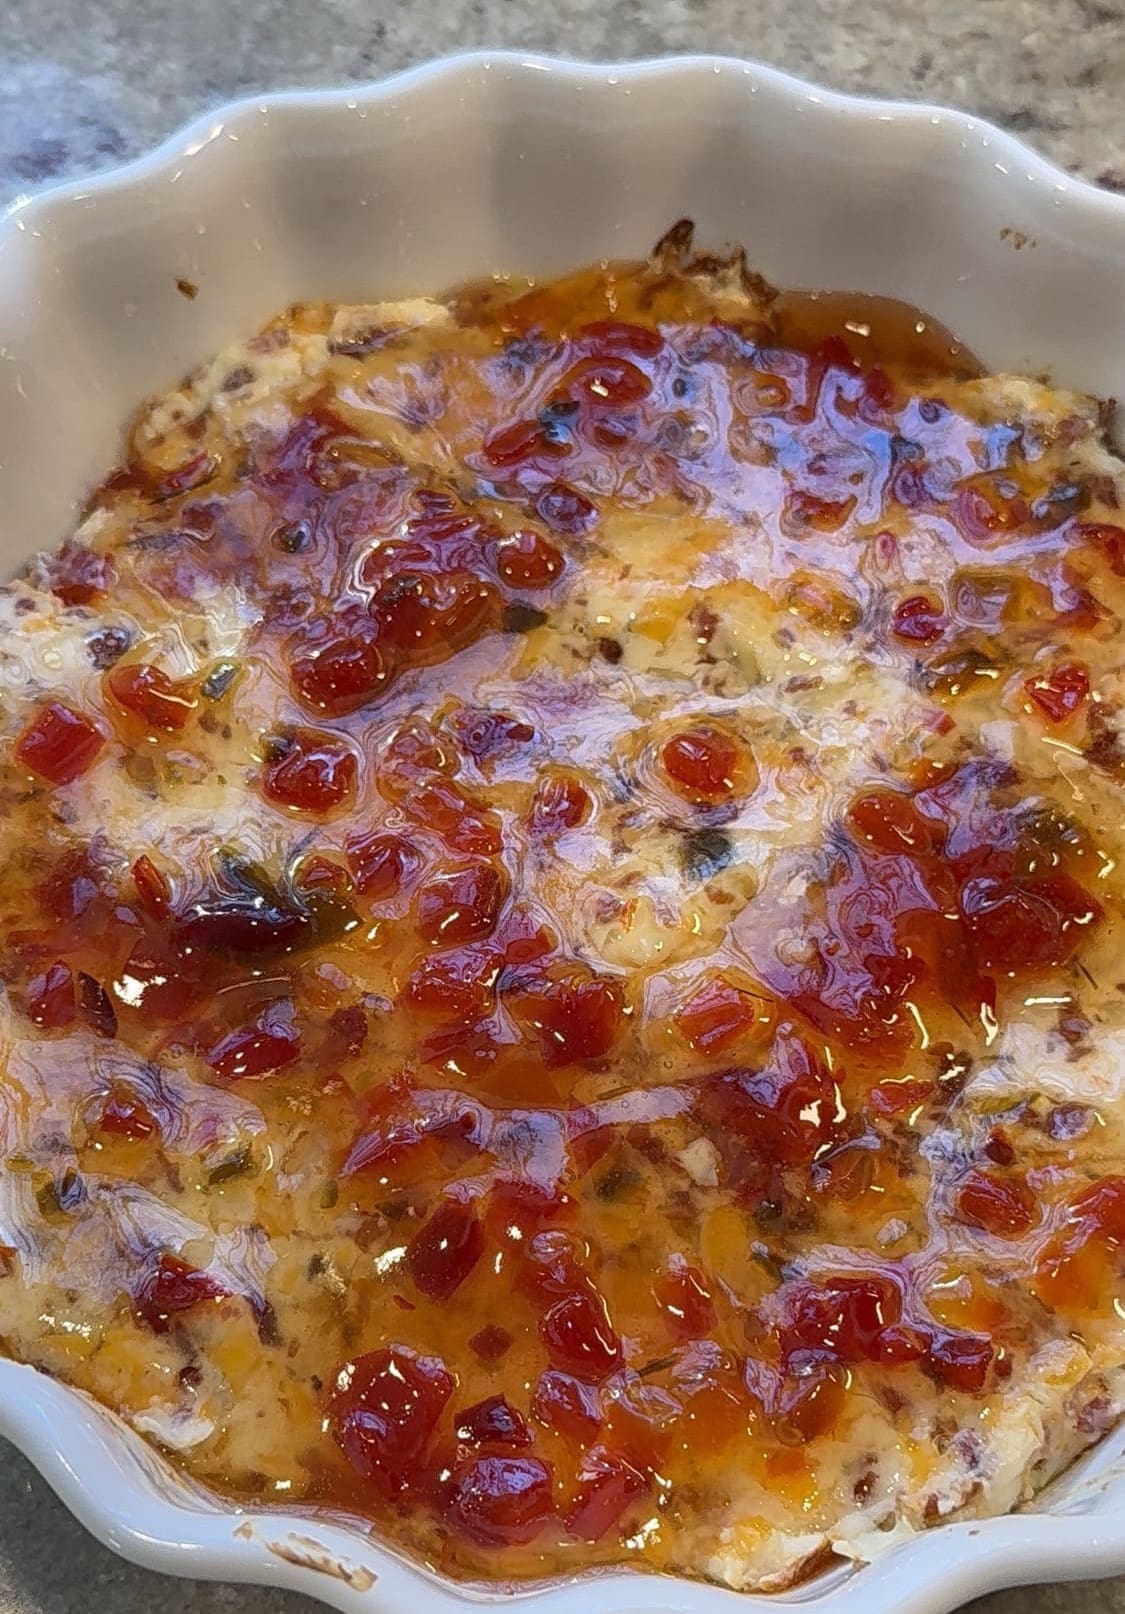
Credit: nodashofgluten.com
Ingredients Needed
The key to a delicious red pepper jelly dip lies in fresh, quality ingredients. Each component plays a vital role in balancing sweetness, tang, and spice. Gathering the right ingredients ensures the perfect texture and flavor.
Below are the essential ingredients to prepare this vibrant and tasty dip.
Fresh Red Peppers
Use bright red peppers for the best flavor and color. Freshness is important to achieve a crisp, sweet taste. Choose firm peppers without blemishes or soft spots. These peppers form the base of the jelly and give it its signature color.
Sugar And Vinegar
Sugar adds sweetness that balances the natural heat of the peppers. Use granulated white sugar for a clean, pure sweetness. Vinegar provides the necessary acidity to preserve the jelly and adds a tangy flavor. Apple cider vinegar is a popular choice for its mild, fruity taste.
Pectin And Spices
Pectin helps the jelly set and achieve the perfect consistency. Use powdered fruit pectin designed for jelly-making. Spices add depth and warmth to the dip. Common spices include mustard seeds, crushed red pepper flakes, and a pinch of salt to enhance all flavors.
Step-by-step Preparation
Preparing red pepper jelly dip is simpler than you might think, and the process brings out the vibrant flavors of fresh peppers combined with just the right sweetness and spice. Taking it step-by-step lets you enjoy every part of making this delicious dip, from handling the peppers to the final cooking. Let’s dive into each stage and discover what makes this recipe a standout in your kitchen.
Roasting And Chopping Peppers
Start by choosing fresh red peppers with a bright color and firm texture. Roasting them enhances their natural sweetness and adds a subtle smoky flavor that really makes the jelly special. You can roast peppers over an open flame, under a broiler, or on a grill until the skins char and blister.
Once roasted, place the peppers in a covered bowl or sealed plastic bag to steam for about 10 minutes. This makes peeling the skins off much easier. After peeling, chop the peppers finely to ensure they blend well in the jelly without large chunks.
Mixing Ingredients
Now, gather your chopped peppers, sugar, vinegar, and pectin—a key ingredient for jelly to set properly. Mixing these ingredients evenly is crucial to balance the sweet and tangy flavors. Use a large bowl and stir thoroughly so the sugar dissolves and the pectin distributes evenly.
Have you ever wondered why some jellies turn out too runny or overly stiff? The right mixing technique and ingredient ratio play a huge role. Take your time here to get the perfect consistency before moving on to cooking.
Cooking The Jelly
Transfer the mixture to a heavy-bottomed pot and bring it to a boil over medium-high heat, stirring constantly. Boiling helps the pectin activate, which thickens the jelly and gives it that spreadable texture. Watch closely and stir to prevent burning or sticking.
The moment the jelly reaches a rolling boil that can’t be stirred down, maintain it for exactly one minute. This timing ensures the jelly sets correctly without becoming too hard. Have your jars ready because the jelly needs to be poured while hot for best results.
Tips For Perfect Texture
Creating the perfect red pepper jelly dip requires attention to texture. A smooth and spreadable consistency enhances the flavor. It ensures a delightful experience with every bite. Let’s explore how to achieve this.
Achieving The Right Consistency
Use the right amount of pectin for balance. Pectin is key for jelly texture. Too much makes it rubbery. Too little, and it’s runny.
Stir the mixture continuously while cooking. This prevents lumps from forming. A smooth blend is essential for the dip.
Test the jelly’s set with a spoon. Let a small amount cool. It should hold its shape but still be soft.
Avoiding Crystallization
Use fresh sugar for the recipe. Old sugar may cause crystals. Crystals create an unpleasant grainy texture.
Ensure all sugar dissolves completely. Undissolved sugar can lead to crystallization. Stir until the mixture is clear and smooth.
Avoid excessive stirring once the jelly sets. Stirring can disturb the structure. It may promote crystal formation.

Credit: thermocookery.com
Serving Suggestions
Red pepper jelly dip is more than just a spicy spread; it’s a versatile addition to your kitchen that can enhance a variety of dishes. Knowing how to serve it can transform your meals and snacks with its sweet heat. Let’s look at some practical ways to enjoy this vibrant dip beyond the jar.
Pairing With Cheese
Red pepper jelly dip shines when paired with cheese. Try it alongside sharp cheddar or creamy brie for a delightful contrast. The jelly’s sweetness balances the richness of the cheese, creating a perfect bite.
Have you ever tasted a sharp blue cheese with a dollop of spicy jelly? The combination wakes up your palate and makes every bite exciting. Serve this combo on a cheese board with crackers and nuts to impress guests effortlessly.
Using As A Meat Glaze
Using red pepper jelly dip as a glaze for meats is an easy way to add flavor and moisture. Brush it on chicken thighs or pork chops during the last few minutes of grilling or baking. The jelly caramelizes, giving the meat a glossy, flavorful finish.
You might find your usual grilled meats become a new favorite with just this simple addition. Ever tried glazing salmon with it? The sweet and spicy notes complement the fish perfectly, making dinner quick yet impressive.
Incorporating In Appetizers
Appetizers get a quick upgrade with red pepper jelly dip. Spread it on crostini with cream cheese for an easy party snack. The jelly’s kick brings life to simple ingredients.
Try mixing it into a dip with sour cream or Greek yogurt for a creamy, tangy treat. It’s a simple way to add a burst of flavor to chips or veggie sticks. What’s your go-to appetizer that could use a little sweet heat?
Storage And Shelf Life
Knowing how to store your red pepper jelly dip properly can make all the difference in keeping its flavor fresh and vibrant. Proper storage not only extends shelf life but also maintains the jelly’s texture and safety for consumption. Let’s dive into practical ways to store your homemade dip so you can enjoy it longer.
Canning Techniques
Canning is a fantastic option if you want your red pepper jelly to last for several months without refrigeration. Use sterilized jars and lids to prevent contamination. After filling, process the jars in a boiling water bath for about 10 minutes to seal them properly.
Once canned, store the jars in a cool, dark place like a pantry or cellar. A sealed jar can last up to a year, but always check for signs of spoilage before opening. Have you ever noticed how a well-canned jar seems to keep its flavor almost like it was freshly made?
Refrigeration Tips
If you prefer a quicker and easier storage method, refrigeration works well once the jelly is opened. Transfer the jelly to a clean, airtight container if not already in one. This prevents moisture and odors from affecting the taste.
Keep the jar in the coldest part of your fridge, not in the door where temperatures fluctuate. Your red pepper jelly dip should stay fresh for about 3 to 4 weeks under refrigeration. Do you find that chilled jelly pairs better with certain dishes? Try tasting it at different temperatures to discover your favorite way to enjoy it.
Credit: aldentediva.com
Variations To Try
Red pepper jelly dip is a versatile treat. Small changes can create new flavors. Experimenting with variations makes it exciting. These tweaks suit different tastes and occasions.
Adding Garlic Or Herbs
Garlic adds a rich, savory note to the dip. Fresh garlic gives a sharp bite, while roasted garlic is mild and sweet. Herbs like basil, thyme, or rosemary bring freshness. Finely chop herbs and stir them in after cooking. This adds color and aroma without overpowering the jelly’s sweetness.
Spicy Or Sweet Adjustments
Adjust heat by changing the type of peppers used. Jalapeños give moderate heat, while habaneros bring strong spice. For less heat, remove seeds and membranes before cooking. Sweetness can increase with honey or apple jelly added. Use less sugar to reduce sweetness and highlight pepper flavors. Balance is key to keep the dip tasty and smooth.
Frequently Asked Questions
What Ingredients Are Needed For Red Pepper Jelly Dip?
Red pepper jelly dip requires red bell peppers, sugar, vinegar, pectin, and spices. These create a sweet and tangy flavor perfect for dipping or spreading.
How Long Does Red Pepper Jelly Dip Last?
When stored in an airtight container in the refrigerator, red pepper jelly dip lasts up to 3 weeks. Proper sealing helps maintain freshness and flavor.
Can Red Pepper Jelly Dip Be Used With Meats?
Yes, red pepper jelly dip pairs well with grilled meats, chicken, and pork. Its sweet and spicy taste enhances savory dishes and appetizers.
Is Red Pepper Jelly Dip Spicy?
Red pepper jelly dip has a mild to moderate spiciness depending on the peppers used. Adjust pepper quantity for desired heat level.
Conclusion
This red pepper jelly dip recipe adds a tasty twist to any meal. It blends sweet and spicy flavors perfectly. You can serve it with crackers, cheese, or grilled meats. Making it at home is simple and fun. Try this recipe to enjoy a fresh, flavorful dip anytime.
It brings color and zest to your snacks or parties. Give it a go and see how easy and delicious it can be!

Hi, I’m Daniel Brooks—a food lover and kitchen gear enthusiast. I enjoy testing cookware, utensils, and gadgets to see what really works in everyday cooking. At PlugChef.com, I share honest reviews, comparisons, and simple guides to help you choose the best tools for a safer, smarter, and more enjoyable kitchen.
Related posts:
 What Type of Cooking Utensils are Safe: Expert Picks
 What Innovations Could Blenders Make: Unleashing Future Tech
 Smart Strategies to Organize a Small Kitchen: Maximize Space
 How to Organize a Kitchen Cabinet: Expert Tips & Tricks
 How to Organize Kitchen Drawers: Expert Tips and Tricks
 How to Organize a Corner Kitchen Cupboard: Expert Tips

