
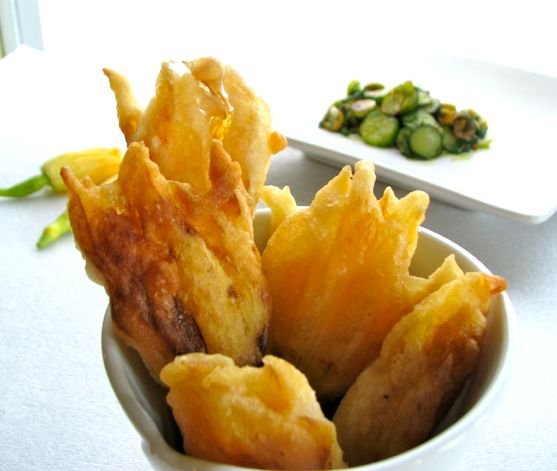
Are you ready to discover a simple way to turn delicate squash blossoms into a crispy, delicious treat? Frying squash blossoms might sound tricky, but with the right steps, you can make this beautiful flower the star of your kitchen.
Imagine biting into a golden, crunchy blossom with a soft, flavorful center—sounds amazing, right? You’ll learn exactly how to fry squash blossoms perfectly every time. Keep reading, and soon you’ll impress your family and friends with this unique and tasty dish!
:max_bytes(150000):strip_icc()/ms-zucchini-blossoms-getty-979d41bea240484db559c20cc87946ad.jpg)
Credit: www.marthastewart.com
Choosing Fresh Squash Blossoms
Choosing fresh squash blossoms is key to making your fried dish truly shine. The right blossoms bring delicate flavor and a tender texture that frying can highlight beautifully. Knowing what to look for and where to find the best blooms will save you from soggy or bitter results.
Identifying Quality Blossoms
Look for blossoms that are vibrant in color and free from blemishes or tears. The petals should feel soft but not wilted, with a slight firmness when you gently squeeze them.
Avoid flowers that appear slimy or have dark spots—these indicate age or damage. Fresh squash blossoms often have a subtle sweet scent, which you can check by bringing one close to your nose.
Try to pick blossoms that are fully open or just beginning to open. Closed buds might not have developed enough flavor, while over-opened flowers can be fragile and less tasty.
Where To Buy Or Forage
Local farmers’ markets are a great place to find fresh squash blossoms during the growing season. Vendors often pick their flowers early in the morning to keep them fresh for you.
If you grow squash yourself, gather blossoms early in the day before the sun gets too hot. This preserves their moisture and flavor better than picking in the afternoon.
Foraging can be rewarding but requires caution. Always identify the plant correctly to avoid mistaking squash blossoms for similar-looking but inedible flowers.
Have you ever tried picking your own squash blossoms? It’s a simple practice that connects you to your food and can transform your cooking experience.

Credit: easyhomemaderecipes.ca
Preparing Blossoms For Frying
Preparing squash blossoms properly makes frying easier and tastier. Fresh blossoms have a delicate texture. Handling them gently preserves their flavor and shape. The key steps include cleaning, drying, and removing unwanted parts. These steps ensure crisp, light fried blossoms that delight every bite.
Cleaning And Drying
Start by rinsing blossoms gently under cool water. Avoid soaking them to keep the petals firm. Use your fingers to remove dirt and small insects. After washing, place the blossoms on paper towels. Pat them softly to remove excess water. Let them air dry for a few minutes to avoid sogginess during frying.
Removing Stems And Pistils
Trim the tough stems close to the base of each blossom. The stems can be fibrous and affect texture. Next, open each blossom carefully with your fingers. Remove the pistils or stamens inside. These parts can taste bitter and are not edible. Removing them improves the blossom’s delicate flavor and smooth frying.
Selecting The Right Batter
Choosing the right batter for frying squash blossoms can make a big difference in texture and flavor. The batter should be light enough to let the delicate blossom shine but sturdy enough to hold up during frying. Your choice depends on the taste and crunch you want to achieve.
Classic Tempura Batter
Tempura batter is a popular choice because it creates a crispy, airy shell without overpowering the squash blossom’s subtle flavor. It’s made with cold water, flour, and sometimes a bit of egg, mixed just enough to keep it lumpy. This light batter fries quickly, giving you a golden crust that stays crunchy without absorbing too much oil.
Try to keep the batter cold and avoid overmixing—it keeps the coating crisp. I once made the mistake of mixing too much, and the batter turned thick and heavy, masking the blossom’s delicate taste. Using sparkling water instead of still water can add extra lightness, a little trick I picked up from a Japanese cooking class.
Alternative Batters And Coatings
If you want to experiment beyond tempura, there are other options that work well with squash blossoms. A simple flour and cornmeal mix adds a bit more texture and a slight crunch. You can also try a beer batter, which gives a richer flavor and a thicker crust.
Some cooks like to dip the blossoms in beaten egg first, then coat them with panko breadcrumbs for an extra crispy finish. This method changes the mouthfeel completely and works great if you want a crunchier bite. Have you thought about using chickpea flour? It’s naturally gluten-free and adds a nutty flavor that pairs beautifully with the floral notes of the squash blossom.
What kind of texture do you enjoy most in fried foods? Light and crispy or thick and crunchy? Your answer can guide you to the perfect batter choice for your squash blossoms.
Frying Techniques
Frying squash blossoms requires a light batter and hot oil to achieve a crispy texture. Gently dip the blossoms and fry them until golden brown for a delicious treat. Keep the oil temperature steady to avoid sogginess.
Frying squash blossoms can elevate your culinary experience. These delicate flowers offer a unique taste and texture. Proper frying techniques ensure they remain light and crispy. Let’s explore the essential steps for perfect fried squash blossoms.
Choosing The Best Oil
Select an oil with a high smoke point. Peanut and canola oils are popular choices. They maintain stability under high heat. Olive oil can also work for a milder flavor. Ensure your oil complements the delicate taste of the blossoms.
Temperature And Timing Tips
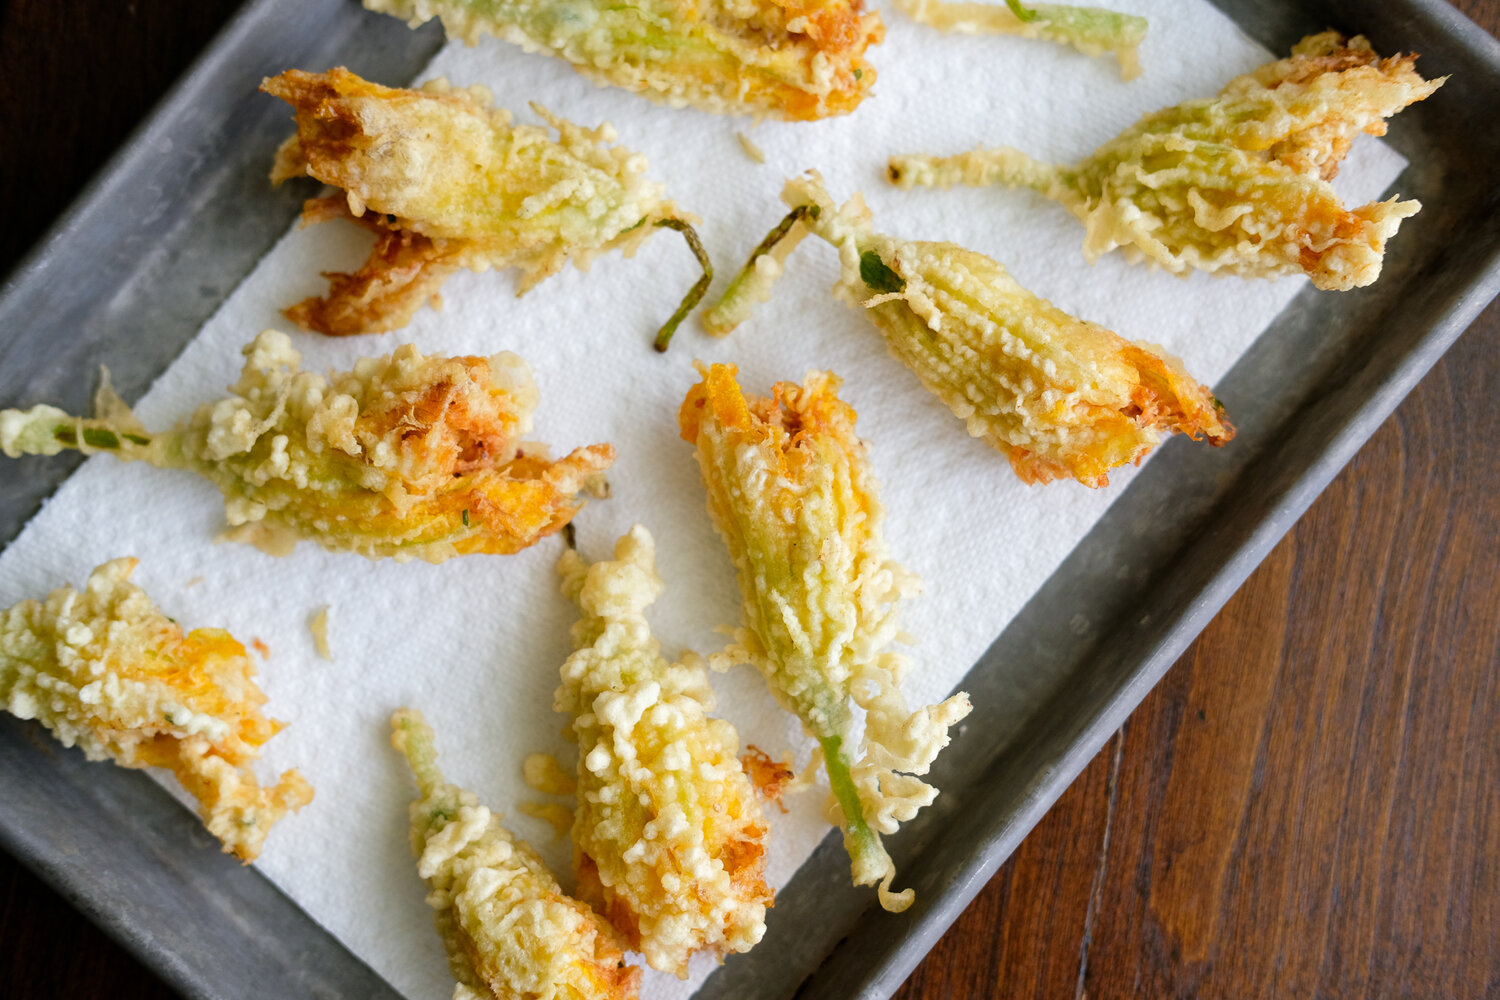
Heat your oil to 350°F for optimal crispiness. Use a thermometer for accurate measurement. Fry the blossoms for 2-3 minutes until golden brown. Overcooking makes them soggy. Remove and drain excess oil on paper towels. Serve immediately for best taste.
Flavor Enhancements
Adding flavor to fried squash blossoms can turn a simple snack into a memorable treat. The key lies in how you choose to enhance them, either by stuffing the blossoms with tasty fillings or pairing them with the right seasonings and dips. These choices let you customize the dish to your taste and make each bite exciting.
Stuffing Options
Stuffing squash blossoms adds texture and richness. You can fill them with soft cheeses like ricotta or cream cheese, which melt beautifully during frying. Adding fresh herbs such as basil, parsley, or chives inside the filling brings a fresh, vibrant note.
Try mixing in a pinch of garlic powder or lemon zest to give the stuffing a subtle zing. For a heartier option, small pieces of cooked mushrooms or finely chopped nuts add crunch and depth. Remember to gently close the petals around the stuffing to keep everything inside while frying.
Seasonings And Dips
Seasonings can highlight or contrast the delicate flavor of squash blossoms. A light dusting of sea salt and freshly ground black pepper before frying enhances natural sweetness. You might also experiment with smoked paprika or a touch of cayenne for a spicy kick.
Dips add another layer of flavor and make each bite more enjoyable. Classic choices include a tangy marinara, cool garlic aioli, or a zesty lemon yogurt sauce. Have you tried a simple balsamic reduction? Its sweet acidity pairs surprisingly well with the crispy blossoms.
What flavor combinations will you try first? Your choice of stuffing and dips can turn these blossoms into your signature appetizer.
Credit: elevatedwild.com
Serving Suggestions
Serving fried squash blossoms is where you can really have fun and impress your guests. The way you present them and what you serve alongside can elevate this simple dish into a memorable experience. Think about colors, textures, and flavors that will complement the light, crispy blossoms perfectly.
Plating Ideas
Try placing fried squash blossoms on a rustic wooden board or a bright, colorful plate to make them pop visually. Adding a small bowl of dipping sauce, like a tangy lemon aioli or a cool yogurt dip, invites your guests to interact with the dish.
Sprinkle fresh herbs like chopped basil or parsley on top for a burst of color and flavor. You can also layer them over a bed of mixed greens or arugula to add a fresh, peppery note that balances the richness of frying.
Pairing With Drinks And Sides
Think about drinks that refresh the palate. A crisp white wine such as Sauvignon Blanc or a light, citrusy beer can cut through the fried texture nicely. For a non-alcoholic option, sparkling water with a splash of lime works wonders.
For sides, consider something simple and fresh. A tomato and cucumber salad with a lemon vinaigrette keeps the meal light. Roasted baby potatoes or grilled corn also add a satisfying contrast without overwhelming the delicate flavor of the blossoms.
Have you tried pairing fried squash blossoms with unexpected flavors? Sometimes the best combinations come from experimenting beyond traditional sides and drinks.
Troubleshooting Common Issues
Frying squash blossoms can be tricky. Some common problems may spoil the taste or texture. This section helps solve those issues fast. Simple fixes improve your frying results.
Avoiding Soggy Blossoms
Soggy blossoms happen when too much moisture stays inside. Pat the blossoms dry with paper towels. Use a light batter to prevent heaviness. Avoid overcrowding the pan, which lowers oil temperature. Hot oil cooks blossoms quickly and keeps them crisp.
- Dry blossoms thoroughly before battering
- Use a thin batter, not thick or sticky
- Fry in small batches for steady oil heat
- Drain on paper towels after frying
Fixing Uneven Cooking
Uneven cooking leaves some parts raw or burnt. Heat the oil to medium-high before adding blossoms. Flip them gently to cook both sides evenly. Keep pieces similar in size for uniform cooking. Use a thermometer to maintain oil temperature at 350°F (175°C).
- Preheat oil to a steady, medium-high temperature
- Turn blossoms carefully during frying
- Fry similar-sized blossoms for even cooking
- Use a kitchen thermometer for accurate heat
Frequently Asked Questions
How Do You Prepare Squash Blossoms For Frying?
Gently rinse squash blossoms with cold water to remove dirt. Pat them dry carefully to avoid tearing. Remove the pistils or stamens inside each blossom before frying.
What Batter Is Best For Frying Squash Blossoms?
Use a light batter made from flour, cold water, and a pinch of salt. Some add sparkling water or beer for extra crispiness. Keep the batter thin to coat blossoms evenly without overpowering their flavor.
How Long Should You Fry Squash Blossoms?
Fry squash blossoms for 1 to 2 minutes per side in hot oil. Cook until golden and crispy but not burnt. Drain excess oil on paper towels before serving.
Can You Fry Stuffed Squash Blossoms?
Yes, you can stuff blossoms with cheese or herbs before frying. Use soft fillings like ricotta or mozzarella for best results. Secure with a toothpick to keep the filling inside during frying.
Conclusion
Frying squash blossoms is simple and rewarding. Fresh blossoms bring a delicate taste and soft texture. Use a light batter to keep them crispy. Cook quickly on medium heat for best results. Serve warm to enjoy their full flavor. This easy method makes a tasty snack or side dish.
Try different fillings or spices to add variety. Enjoy the beauty and flavor of squash blossoms on your plate. Cooking them at home is fun and satisfying. Give it a try and savor each bite.

Hi, I’m Daniel Brooks—a food lover and kitchen gear enthusiast. I enjoy testing cookware, utensils, and gadgets to see what really works in everyday cooking. At PlugChef.com, I share honest reviews, comparisons, and simple guides to help you choose the best tools for a safer, smarter, and more enjoyable kitchen.
Related posts:
 What Type of Cooking Utensils are Safe: Expert Picks
 What Innovations Could Blenders Make: Unleashing Future Tech
 Smart Strategies to Organize a Small Kitchen: Maximize Space
 How to Organize a Kitchen Cabinet: Expert Tips & Tricks
 How to Organize Kitchen Drawers: Expert Tips and Tricks
 How to Organize a Corner Kitchen Cupboard: Expert Tips

