
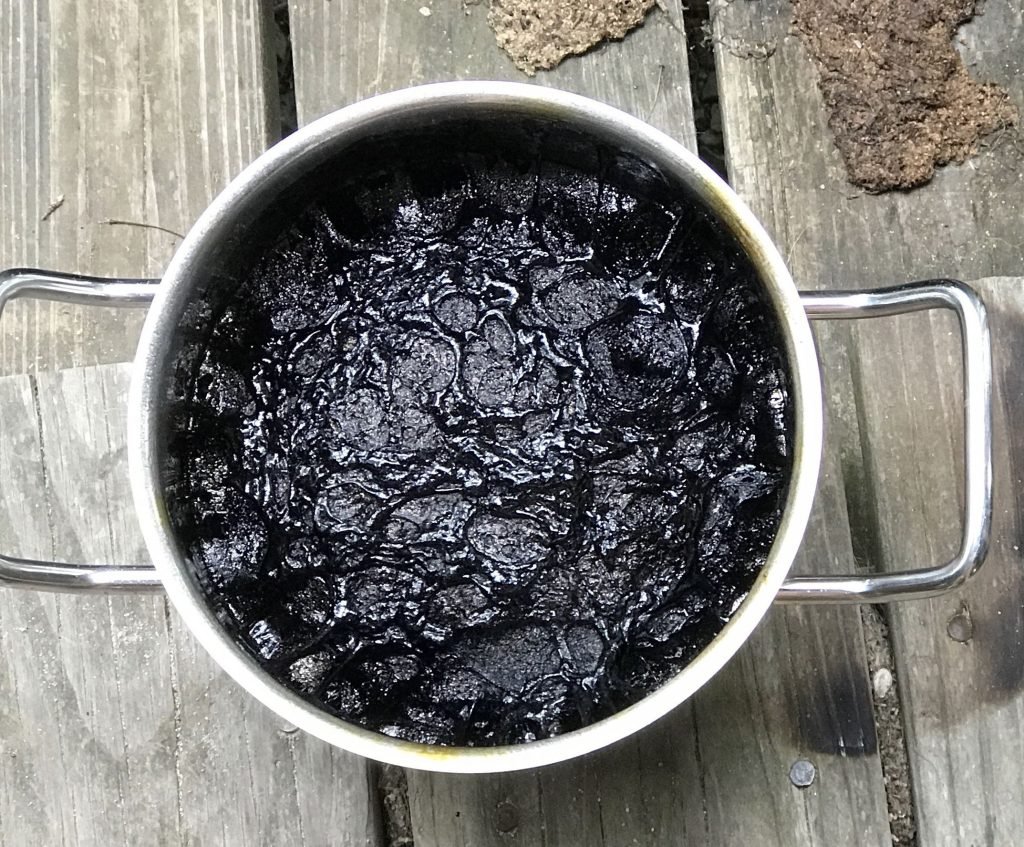
Have you ever ended up with a pan that looks like it survived a mini fire? Burnt pans can be frustrating and tough to clean, but you don’t have to throw them away or spend hours scrubbing.
What if you could bring your pans back to life with simple, effective tricks? You’ll discover easy methods to clean burnt pans using items you probably already have at home. Keep reading, and you’ll save time, effort, and money while making your cookware shine like new again.
Common Causes Of Burnt Pans
Burnt pans can be frustrating, especially after putting effort into a meal. Understanding the common causes can help you avoid this problem and save time cleaning later. Here are some typical reasons your pans get burnt and how to spot them in your cooking routine.
High Heat Exposure
Using high heat may seem like a quick way to cook, but it often leads to burnt pans. When the temperature is too high, food can stick and burn onto the surface before it cooks properly. Try lowering the heat and giving your food a chance to cook evenly.
Cooking Without Enough Oil
Oil acts as a barrier between the pan and the food, preventing burning and sticking. Skipping or using too little oil increases the chance of food burning directly onto the pan. Think about how you can add a small amount of oil or butter to create a protective layer next time you cook.
Neglecting Pan Maintenance
Old food residue and damaged surfaces make pans more prone to burning. If you don’t clean your pans thoroughly after each use, burnt bits build up and affect your next cooking session. Regularly cleaning and seasoning your pans can make a big difference in preventing burnt food.
Essential Tools And Ingredients
Common household items like baking soda, vinegar, and dish soap help remove burnt stains. A soft sponge and a sturdy scrubber are essential for cleaning without damaging the pan. These simple tools and ingredients make the process easier and effective.
Essential Tools and Ingredients Cleaning burnt pans may seem challenging, but the right tools help. With household cleaning supplies, natural remedies, and specialized products, you can restore your pan’s shine. Understanding these essentials makes the cleaning process easier.Household Cleaning Supplies
Common supplies can effectively clean burnt pans. Baking soda is a must-have. It works as a gentle abrasive. White vinegar is another essential. It helps break down stubborn residues. A non-scratch scrubber is vital. It prevents further damage to your pan. Dish soap is also useful. It cuts through grease with ease.Natural Remedies
Natural remedies are safe and eco-friendly. Lemon juice is a great option. It acts as a natural bleach. Salt is another powerful tool. It helps scrub away burnt bits. Combine salt with hot water. Let it sit in the pan overnight. This softens the burn marks.Specialized Cleaning Products
Specialized products offer targeted solutions. Bar Keepers Friend is popular. It tackles tough stains effectively. Steel wool pads are useful for heavy-duty cleaning. Use them cautiously to avoid scratches. Oven cleaners can also work. Ensure they’re safe for your pan type. Always follow product instructions carefully.Quick Fixes For Light Burn Marks
Light burn marks on pans can be frustrating, but they don’t always require heavy scrubbing or expensive cleaners. Quick fixes often work wonders and save you a lot of time. The key is to use simple household items that you probably already have in your kitchen.
Baking Soda Paste Method
Baking soda is a natural abrasive that gently lifts burn marks without damaging your pan. To use this method, mix baking soda with a little water to form a thick paste.
Apply the paste to the burnt areas and let it sit for 15-20 minutes. Then, scrub gently with a soft sponge. You’ll be surprised how easily the marks come off.
Vinegar Soak Technique
White vinegar’s acidity helps break down burnt residues quickly. Pour enough vinegar into the pan to cover the burnt spots and let it soak for about 10 minutes.
After soaking, use a sponge to wipe away the softened stains. If the marks are stubborn, heat the vinegar in the pan for a few minutes before scrubbing. This often makes the job much easier.
Dish Soap And Hot Water
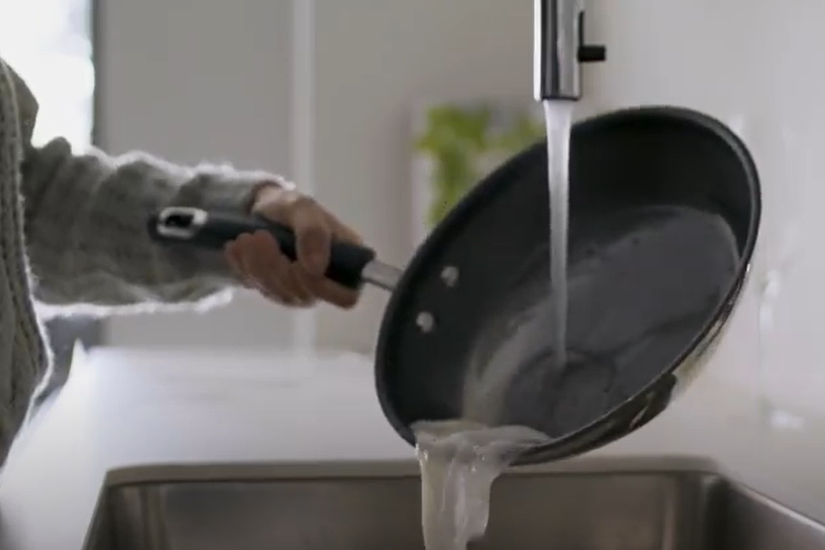
Sometimes the simplest solution works best. Fill your burnt pan with hot water and add a few drops of dish soap.
Let it soak for at least 30 minutes. The hot water loosens burnt food, and the soap cuts through grease. After soaking, scrub with a sponge and rinse thoroughly.
Credit: circulon.uk.com
Deep Cleaning Tough Burnt Residue
Deep cleaning tough burnt residue from pans can feel like a daunting task. Stubborn blackened layers often resist simple scrubbing, leaving you frustrated. But with the right techniques, you can restore your pans without harsh chemicals or hours of effort.
Boiling Water And Baking Soda
Start by filling the burnt pan with water, enough to cover the burnt area. Add a few tablespoons of baking soda to the water and bring it to a boil. The bubbling action helps loosen the burnt residue, making it easier to scrape off.
After boiling for about 10-15 minutes, let the water cool a bit. Use a wooden spatula or non-abrasive scrubber to gently remove the loosened residue. This method is gentle yet effective, especially for pans with light to moderate burnt layers.
Using Salt And Lemon
Sprinkle coarse salt evenly over the burnt surface of your pan. Cut a lemon in half and use the cut side to scrub the salt into the burnt areas. The natural acidity of lemon combined with the abrasive texture of salt helps break down tough stains.
This technique also leaves a fresh scent, unlike some chemical cleaners. It’s a great option when you want to avoid strong smells or harsh substances in your kitchen. Have you tried this natural combo before? It often surprises people with how much it can lift burnt spots.
Commercial Cleaner Application
If home remedies don’t do the trick, a commercial cleaner made specifically for burnt pans can be your best ally. Look for products labeled safe for your pan’s material, whether stainless steel, non-stick, or cast iron.
Apply the cleaner according to the instructions, usually letting it sit on the burnt area for a few minutes. Then, scrub with a sponge or pad designed for tough stains. Remember to rinse thoroughly to remove any chemical residues, ensuring your pan is safe for cooking again.
Preventing Future Burnt Pans
Burnt pans cause frustration and extra work. Preventing future burnt pans saves time and keeps cooking enjoyable. Simple habits and care make a big difference. Follow these tips to protect your pans and improve cooking results.
Proper Heat Control
Use medium or low heat for most cooking. High heat can burn food quickly. Preheat pans slowly to avoid hot spots. Adjust heat based on the type of pan and food. Avoid leaving empty pans on the stove for long.
Regular Cleaning Habits
Clean pans right after use to prevent residue buildup. Use warm water and gentle scrubbers. Avoid harsh steel wool that damages the surface. Remove stuck food early with soaking in warm water. Dry pans thoroughly to stop rust and stains.
Seasoning And Care Tips
Season cast iron and carbon steel pans regularly. This creates a natural non-stick surface. Apply a thin layer of oil after cleaning. Heat the pan to lock in the oil. Store pans in a dry place. Use protective liners if stacking pans.
Credit: www.familyhandyman.com
Tips For Different Pan Materials
Different pan materials need different care when cleaning burnt residue. Using the wrong method can damage your pan or make the stain worse. Understanding how to handle each type will save you time and protect your cookware’s lifespan.
Non-stick Pans
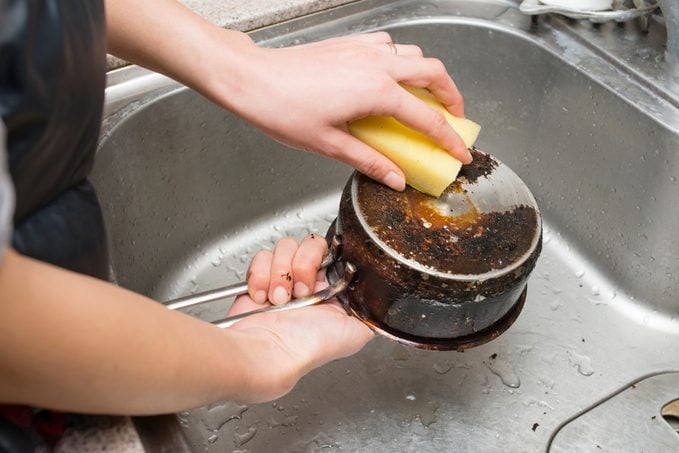
Non-stick pans require gentle cleaning to preserve their coating. Avoid abrasive scrubbing tools that can scratch the surface. Instead, soak the pan in warm soapy water for 15-20 minutes to loosen burnt bits.
Use a soft sponge or cloth to wipe away residue. If soaking isn’t enough, sprinkle baking soda on the burnt areas and add a little water to form a paste. Let it sit for a few minutes before gently scrubbing.
Remember, harsh chemicals or steel wool will ruin your non-stick pan’s finish. Have you ever ruined a favorite pan by scrubbing too hard? Treat yours with care to avoid that frustration.
Cast Iron Pans
Cast iron pans are tough but need special attention to prevent rust and maintain seasoning. Avoid soaking them for too long. Instead, use coarse salt as a scrubber combined with a little warm water to remove burnt food.
After cleaning, dry the pan immediately and apply a thin layer of oil to protect the surface. If the burnt layer is stubborn, gently scrape it off using a plastic or wooden spatula.
Have you noticed how a well-seasoned cast iron pan improves with use? Taking care during cleaning keeps it non-stick and ready for your next meal.
Stainless Steel Pans
Stainless steel pans can handle more aggressive cleaning methods. Start by boiling a mixture of water and vinegar in the pan to help loosen burnt food. Once cooled, scrub with a non-abrasive pad or brush.
Baking soda also works well here—sprinkle it on burnt areas and add a little water to create a paste. Let it sit, then scrub gently to lift the stains.
Stainless steel may look intimidating to clean, but with the right approach, you can restore its shine without damaging the surface. How often do you let burnt food sit before tackling it? Quick action makes a big difference.

Credit: gourmetkitchenworks.com
Frequently Asked Questions
How Do I Remove Burnt Stains From A Pan?
To remove burnt stains, soak the pan in hot water with dish soap. Scrub gently using a non-abrasive sponge. For tough stains, use baking soda and vinegar paste to lift residue effectively.
What Household Items Clean Burnt Pans Effectively?
Common household items like baking soda, vinegar, lemon, and salt clean burnt pans well. These natural ingredients break down burnt food and grease without damaging your cookware.
Can I Use Baking Soda To Clean Burnt Pans?
Yes, baking soda is excellent for burnt pans. Make a paste with water, apply it to burnt areas, let it sit, then scrub gently. It helps lift burnt residue safely.
How Long Should I Soak A Burnt Pan?
Soak a burnt pan for at least 30 minutes to loosen residue. For tougher burns, overnight soaking helps soften burnt food, making it easier to clean.
Conclusion
Cleaning burnt pans does not have to be hard. Use gentle scrubbing with baking soda or vinegar. Let the pan soak in warm water before scrubbing. Avoid harsh chemicals that can damage your cookware. Regular cleaning keeps your pans in good shape.
With simple steps, your pans will look like new. Save time and effort by following these tips. Now, you can cook without worrying about burnt stains. Try these easy methods and enjoy clean pans every time.

Hi, I’m Daniel Brooks—a food lover and kitchen gear enthusiast. I enjoy testing cookware, utensils, and gadgets to see what really works in everyday cooking. At PlugChef.com, I share honest reviews, comparisons, and simple guides to help you choose the best tools for a safer, smarter, and more enjoyable kitchen.
Related posts:
 What Type of Cooking Utensils are Safe: Expert Picks
 What Innovations Could Blenders Make: Unleashing Future Tech
 Smart Strategies to Organize a Small Kitchen: Maximize Space
 How to Organize a Kitchen Cabinet: Expert Tips & Tricks
 How to Organize Kitchen Drawers: Expert Tips and Tricks
 How to Organize a Corner Kitchen Cupboard: Expert Tips

