
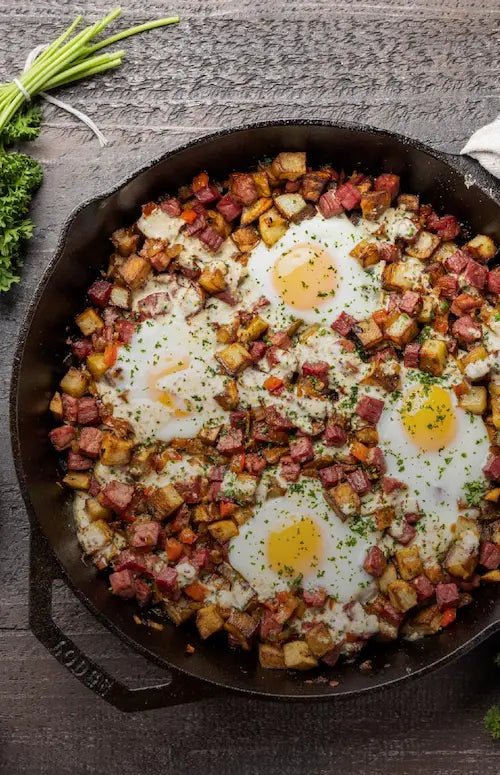
There’s something truly satisfying about cooking the perfect fried egg, and using a cast iron skillet can take it to a whole new level. If you’ve ever struggled with eggs sticking or uneven cooking, this method will change your breakfast game forever.
Imagine a golden, crispy edge with a soft, runny yolk that’s cooked just right every single time. You’ll discover simple tips and tricks to master frying eggs on cast iron, making your mornings easier and more delicious. Ready to unlock the secret to flawless fried eggs?
Let’s dive in.
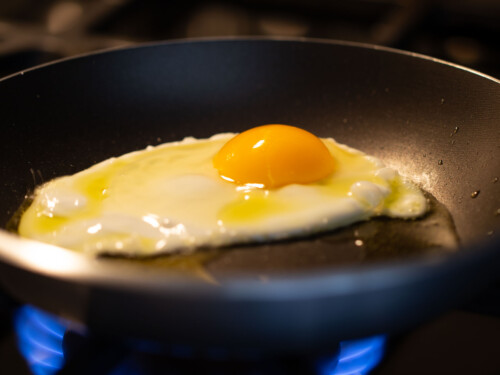
Credit: mediterraneantaste.com
Choosing The Right Cast Iron Pan
Choosing the right cast iron pan can make a huge difference in how your fried eggs turn out. Not all pans are created equal, and factors like seasoning, size, and thickness affect cooking performance and ease of use. Picking the best pan for your kitchen means considering these details carefully.
Seasoning And Maintenance
Seasoning is the natural non-stick layer built up on your cast iron pan through oil and heat. A well-seasoned pan ensures your fried eggs slide out easily without sticking or tearing.
If your pan isn’t seasoned properly, eggs can stick and clean-up becomes a chore. You can buy pre-seasoned pans or season one yourself at home using vegetable oil or flaxseed oil. The more you cook with your pan, the better the seasoning gets.
Maintenance also matters. Avoid soap or scrubbing with steel wool as it strips the seasoning. Instead, wipe with a paper towel and rinse with hot water. Ask yourself: how much effort are you willing to put into keeping your pan in perfect shape?
Size And Thickness
Size affects how many eggs you can fry at once. A smaller 8-inch pan is perfect for one or two eggs, while a 10- or 12-inch pan gives you room for multiple eggs or additional ingredients like veggies or bacon.
Thickness influences heat distribution and retention. Thicker pans heat evenly and keep temperature steady, reducing hot spots that burn eggs. But they also take longer to heat up and can be heavy.
Consider your cooking style: do you prefer quick breakfasts or leisurely brunches? A medium-thickness pan around ¼ inch thick offers a good balance of heat retention and weight for everyday cooking.
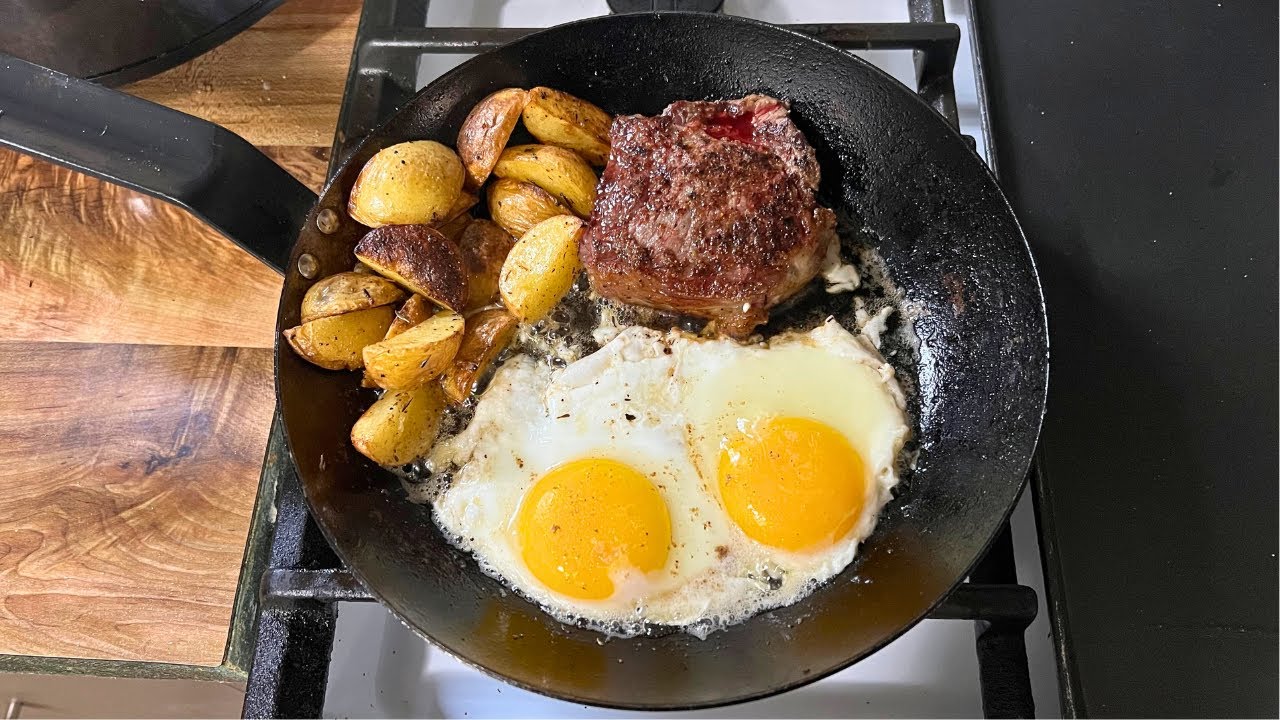
Credit: www.youtube.com
Preparing The Pan For Frying
Preparing the pan properly is key to cooking a perfect fried egg on cast iron. A well-prepared pan prevents sticking and promotes even cooking. It also helps maintain the pan’s seasoning, which improves flavor over time.
Taking time to prepare the pan ensures your egg cooks smoothly without breaking. The right temperature and fat choice create a non-stick surface. This makes flipping or sliding the egg easy and keeps the yolk intact.
Preheating Techniques
Start by heating the cast iron over low to medium heat. Cast iron takes time to warm up evenly. Allow 3 to 5 minutes for the entire surface to reach the right temperature.
A properly heated pan will feel warm to the touch but not smoking. If the pan is too hot, the egg may burn or cook unevenly. A gentle heat helps cook the egg white slowly and the yolk perfectly.
Selecting The Best Cooking Fat
Choose fats with a high smoke point for frying eggs on cast iron. Butter adds flavor but can burn quickly. Oils like canola, vegetable, or avocado work well for a clean, non-stick surface.
Use just enough fat to coat the pan lightly. Too much fat can cause the egg to fry unevenly. Too little fat may cause sticking and tearing.
- Butter: rich flavor, best with low heat
- Canola oil: neutral taste, high smoke point
- Avocado oil: healthy fat, great for medium heat
- Vegetable oil: affordable, versatile option
Frying The Egg To Perfection
Cooking a fried egg on cast iron brings out rich, even heat for a crispy edge and tender yolk. Preheat the pan well, use a little oil, and cook slowly for the best results. The cast iron helps create a perfect golden crust every time.
Frying an egg on a cast iron skillet requires precision and care. Achieving that perfect balance of a crispy edge, soft yolk, and just-right white can be rewarding. Let’s delve into the art of frying an egg to perfection.Achieving Crispy Edges
A crispy edge adds a delightful texture to your fried egg. Start with a well-seasoned cast iron skillet. Heat it over medium-high heat until it’s hot but not smoking. Add a small amount of oil or butter. Allow it to coat the pan evenly. Crack the egg gently, letting it slide into the pan. The egg whites will sizzle, creating those sought-after crispy edges.Managing Heat Levels
Heat control is crucial for a perfect fried egg. Begin with medium-high heat to create a sear. Once the egg is in the pan, reduce the heat to medium. This ensures the whites cook thoroughly without burning. The yolk remains soft and runny. Adjusting heat levels helps balance cooking speed and evenness.Timing For Desired Doneness
Timing is key to achieving your preferred egg doneness. For a runny yolk, cook for about 2-3 minutes. For a firmer yolk, extend the time to 4-5 minutes. Use a spatula to check if the whites are set. The yolk should jiggle slightly for a runny texture. Cook longer if you prefer it firm. Timing will affect texture and taste, so pay attention.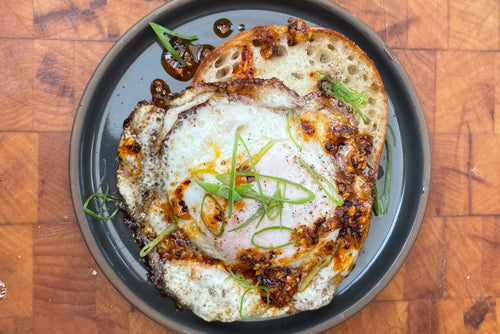
Credit: fromourplace.com
Tips For Flipping And Serving
Flipping and serving a fried egg on a cast iron skillet can feel tricky, but a few simple tips can make it smooth and stress-free. The key is to handle the egg gently and choose the right tools. Your patience and technique will shine through when you plate your perfectly cooked egg.
Flipping Without Breaking
Use a thin, flexible spatula to get under the egg without tearing the whites. Slide the spatula slowly and carefully, making sure it’s fully under the egg before lifting.
Keep the heat moderate to avoid the egg sticking or cooking too fast. If the edges start to crisp too quickly, lower the heat to maintain control.
Don’t rush the flip—lift gently and turn the egg over in one smooth motion. If you’re nervous, try flipping just the whites first before flipping the entire egg.
Plating Ideas
Think beyond just placing the egg on a plain plate. Add a sprinkle of fresh herbs like chives or parsley for a pop of color and flavor.
Try serving your fried egg on a toasted slice of sourdough or a bed of sautéed spinach for extra texture and nutrients.
Drizzle a little hot sauce or a dusting of smoked paprika to bring out the egg’s richness. How do you like your egg—simple or dressed up with bold flavors?
Common Mistakes To Avoid
Cooking a fried egg on a cast iron skillet might seem straightforward, but there are several common mistakes that can turn your perfect egg into a disappointment. Avoiding these pitfalls will help you get that crispy edge and tender yolk every time.
Overcrowding The Pan
Putting too many eggs in the pan at once lowers the temperature and causes uneven cooking. Your eggs might end up soggy or stuck together.
Give each egg enough space to cook properly. If you want multiple eggs, cook them in batches or use a larger skillet.
Using The Wrong Heat
Too high heat burns the edges while leaving the yolk uncooked. Too low heat makes the eggs rubbery and pale.
Medium to medium-low heat works best to cook the egg gently and evenly. This lets you control the texture and get a nice golden bottom without rushing.
Neglecting Pan Maintenance
A poorly seasoned cast iron pan causes eggs to stick and tear apart. It also affects the flavor.
Make sure your pan is well-seasoned and clean. After each use, wipe it down and apply a light layer of oil to keep that non-stick surface intact.
Enhancing Flavor And Texture
Cooking a fried egg on a cast iron skillet offers more than just a basic breakfast item; it’s a chance to elevate the flavor and texture with simple tweaks. The heat retention of cast iron gives your egg a perfectly crisp edge while keeping the yolk tender. But how you season and what fat you use can make a big difference in the final taste and mouthfeel.
Adding Herbs And Spices
Sprinkling fresh or dried herbs right after cracking your egg can add a burst of flavor without overpowering the natural taste. Try thyme or rosemary for an earthy note, or paprika and black pepper for a bit of warmth and spice. These small additions can transform a simple fried egg into something memorable.
Don’t hesitate to experiment with unusual spices like cumin or turmeric, which bring subtle complexity. You might find a favorite combo that turns your cast iron fried egg into a unique signature dish. What’s the most surprising seasoning you’ve tried on eggs that worked well?
Using Butter Vs Oil
Butter gives your fried egg a rich, creamy flavor and helps create a golden, slightly crispy edge. It also adds a lovely aroma as it melts and browns in the pan. On the other hand, oil—especially olive or avocado oil—can provide a cleaner taste and higher smoke point, letting you cook at a hotter temperature without burning.
Choosing between butter and oil depends on the texture and taste you want. Butter tends to make eggs softer and more flavorful, while oil produces a lighter, crisper finish. Try combining them for a balanced effect—start with oil for heat and add a pat of butter near the end for flavor.
Frequently Asked Questions
How Do You Fry An Egg On Cast Iron?
Heat the cast iron skillet over medium heat and add a small amount of oil or butter. Crack the egg gently into the pan and cook until whites are set and yolk reaches desired doneness. Use a lid for faster cooking.
Why Use Cast Iron For Frying Eggs?
Cast iron provides even heat distribution, preventing hot spots. It retains heat well, ensuring consistent cooking. Properly seasoned cast iron creates a natural non-stick surface, making egg frying easier and enhancing flavor.
How To Prevent Eggs From Sticking On Cast Iron?
Ensure the skillet is well-seasoned and preheated before adding oil or butter. Use enough fat to coat the pan surface. Cook eggs over medium or low heat to avoid sticking or burning.
Can I Cook Fried Eggs Without Oil On Cast Iron?
It’s not recommended, as eggs tend to stick without oil or butter. A well-seasoned skillet may reduce sticking, but some fat is usually needed for best results and easy flipping.
Conclusion
Cooking a fried egg on cast iron gives great flavor and texture. The pan heats evenly, making the egg cook just right. A little oil or butter keeps the egg from sticking. Cleaning the pan after use keeps it ready for next time.
Try this simple method for a tasty breakfast or snack. Enjoy the crispy edges and soft yolk every time. Cast iron makes cooking eggs easy and fun. Give it a try soon.

Hi, I’m Daniel Brooks—a food lover and kitchen gear enthusiast. I enjoy testing cookware, utensils, and gadgets to see what really works in everyday cooking. At PlugChef.com, I share honest reviews, comparisons, and simple guides to help you choose the best tools for a safer, smarter, and more enjoyable kitchen.
Related posts:
 What Type of Cooking Utensils are Safe: Expert Picks
 What Innovations Could Blenders Make: Unleashing Future Tech
 Smart Strategies to Organize a Small Kitchen: Maximize Space
 How to Organize a Kitchen Cabinet: Expert Tips & Tricks
 How to Organize Kitchen Drawers: Expert Tips and Tricks
 How to Organize a Corner Kitchen Cupboard: Expert Tips

