
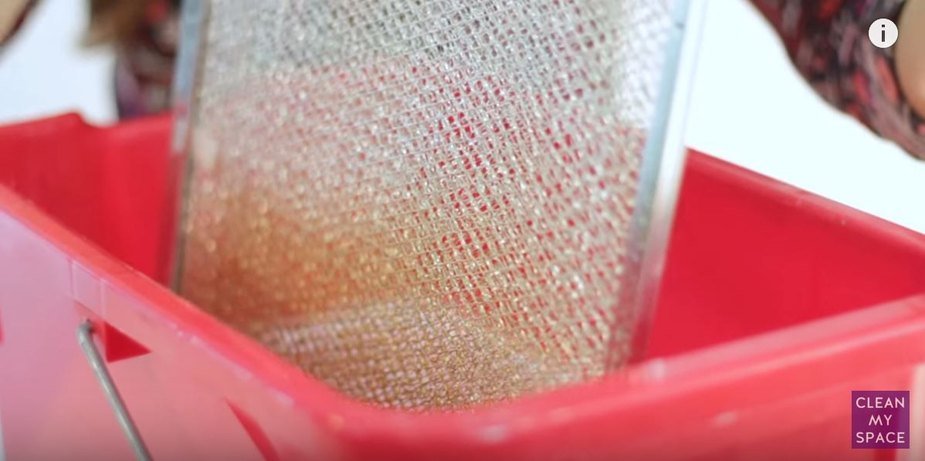
Your kitchen’s range hood filter works hard to keep the air clean while you cook. But when was the last time you cleaned it?
A dirty filter can slow down your hood, cause unpleasant odors, and even become a fire hazard. Taking a few simple steps to clean your range hood filter can make a big difference in your kitchen’s air quality and safety.
Keep reading, and you’ll discover easy tips to get your filter sparkling clean – no stress, no mess.
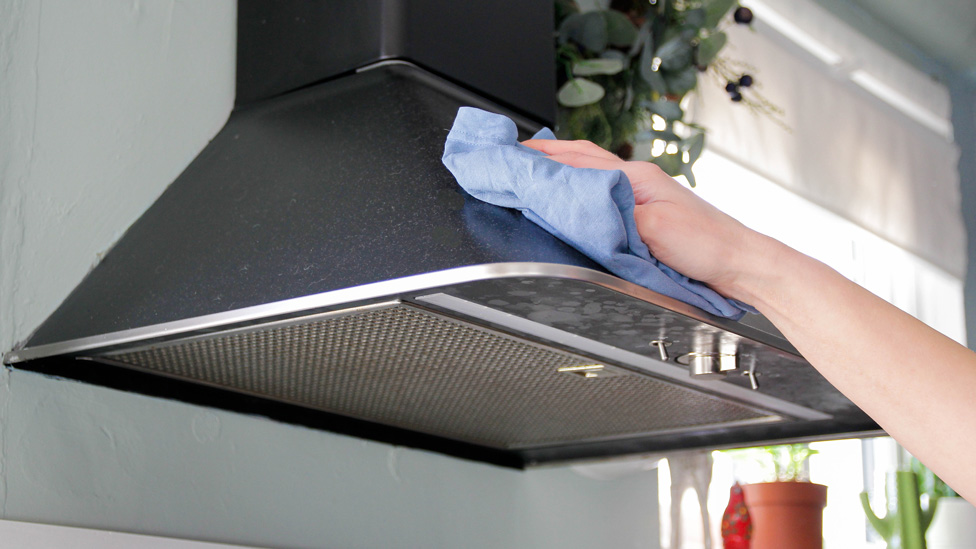
Credit: www.coles.com.au
Why Clean Your Range Hood Filter
Cleaning your range hood filter is essential for a healthy kitchen. Grease and dust build up over time. This reduces the filter’s ability to trap smoke and odors. A clean filter keeps your kitchen air fresh and safe.
Regular cleaning also protects your cooking appliance. It helps the fan work better and last longer. Dirty filters can cause the fan to slow down or break. This leads to expensive repairs or replacements.
Improves Air Quality
Range hood filters trap smoke, grease, and odors. A clogged filter cannot clean air properly. This lets pollutants stay in your kitchen. Clean filters remove harmful particles and keep air fresh. This is good for your health and comfort.
Prevents Fire Hazards
Grease builds up on filters and inside the hood. Grease is flammable and can cause fires. Cleaning the filter reduces grease buildup. It lowers the risk of fire in your kitchen. Safety first.
Enhances Kitchen Efficiency
A clean filter helps the fan work at full power. This removes smoke and steam faster. Cooking becomes easier and more pleasant. It also prevents the kitchen from smelling bad.
Saves Energy And Money
Dirty filters force the fan to work harder. This uses more electricity and raises bills. Clean filters reduce energy use and save money. Also, they reduce wear and tear on the fan. This means fewer repairs and longer life.
Credit: www.familyhandyman.com
Signs Your Filter Needs Cleaning
Knowing when to clean your range hood filter keeps your kitchen fresh. Dirty filters block air and cause odors. They also make your hood less effective. Watch for clear signs to keep the filter clean and working well.
Reduced Airflow From The Hood
Notice the air is not moving like before? A clogged filter stops air from passing through. This makes your hood less powerful. The kitchen air feels heavy and smoky.
Grease Buildup On The Filter
The filter looks greasy or sticky? Grease collects over time, trapping dirt and dust. This layer blocks airflow and can cause unpleasant smells. A greasy filter means it’s time to clean.
Unusual Noises During Operation
Your range hood sounds louder or different? A dirty filter forces the fan to work harder. This extra strain causes strange noises. Clean filters help keep the hood quiet and efficient.
Visible Stains Or Discoloration
Notice dark spots or discoloration on the filter? Stains mean trapped dirt and grease. These stains grow if ignored, harming the filter’s function. Bright and clean means healthy filter.
Long Time Since Last Cleaning
Has it been months since you cleaned the filter? Regular cleaning avoids buildup and damage. Even if no signs appear, clean filters every 1-3 months. This keeps your kitchen air fresh and safe.
Types Of Range Hood Filters
Range hood filters come in mesh, baffle, and charcoal types, each needing different cleaning methods. Regular cleaning keeps them effective and prevents smoke buildup in your kitchen. Removing grease and dirt extends the filter’s life and improves air quality.
Cleaning the range hood filter is a task many overlook, yet it plays a crucial role in keeping your kitchen air fresh and your hood functioning efficiently. Different types of range hood filters require varying maintenance techniques. Knowing which type you have can save you time and effort while ensuring optimal performance.Mesh Filters
Mesh filters are commonly found in residential range hoods. These filters are made of overlapping layers of aluminum or stainless steel mesh. They are effective in trapping grease and are relatively easy to clean. Simply remove the filter and soak it in hot, soapy water. A bit of scrubbing with a soft brush can help remove stubborn grime. Do you remember the last time you cleaned your mesh filter? If not, it might be time to check it.Baffle Filters
Baffle filters are often used in commercial kitchens but are becoming popular in homes, too. They consist of multiple baffles that change the direction of airflow, capturing grease efficiently. These filters are durable and can withstand frequent cleanings. While they might look intimidating, cleaning them is straightforward. Use a degreaser spray, let it sit for a few minutes, then rinse. Have you noticed a drop in your hood’s efficiency? It might be a sign to give your baffle filter some attention.Charcoal Filters
Charcoal filters are used in ductless range hoods. They help neutralize odors and trap grease. However, unlike mesh and baffle filters, charcoal filters cannot be cleaned. They need to be replaced every few months. Check the manufacturer’s recommendations for your specific model. Do you find your kitchen still smells even after cooking? It could be time to replace your charcoal filter. Remember, maintaining your range hood filter not only keeps your kitchen air clean but also prolongs the life of your range hood. What type of filter do you have, and when will you next check it?
Credit: www.searshomeservices.com
Tools And Supplies Needed
Cleaning your range hood filter doesn’t require fancy equipment, but having the right tools and supplies can make the process smoother and more effective. Gathering everything beforehand saves time and helps you avoid interruptions mid-clean. Let’s look at what you’ll need to get your filter spotless.
Basic Cleaning Tools
- Soft brush or old toothbrush:Perfect for scrubbing away stuck-on grease without damaging the filter.
- Microfiber cloth or sponge:Ideal for wiping down surfaces and removing loosened grime.
- Large basin or sink:To soak the filter and let cleaning solutions work their magic.
Cleaning Solutions
- Dish soap:A powerful grease cutter that breaks down oily residue effectively.
- Baking soda:Adds extra scrubbing power and helps neutralize odors.
- White vinegar (optional):Works as a natural degreaser and disinfectant, especially for tough buildup.
Protective Gear And Extras
- Rubber gloves:Protect your hands from harsh cleaning agents and hot water.
- Old towels or newspapers:Use these to lay the filter on while it dries, preventing mess.
- Timer or clock:Helps you track soaking time for optimal cleaning results.
Have you ever tried cleaning without gloves only to regret it later? Keeping your hands safe can make this chore less unpleasant. Also, a timer might seem trivial, but it ensures you don’t rinse off the solution too early. These small details can turn a frustrating task into a quick, manageable one.
Step-by-step Cleaning Process
Cleaning your range hood filter doesn’t have to be a chore. Breaking down the process into clear, manageable steps makes it easier and more effective. Here’s a detailed guide to help you tackle the grease and grime with confidence.
Remove The Filter Safely
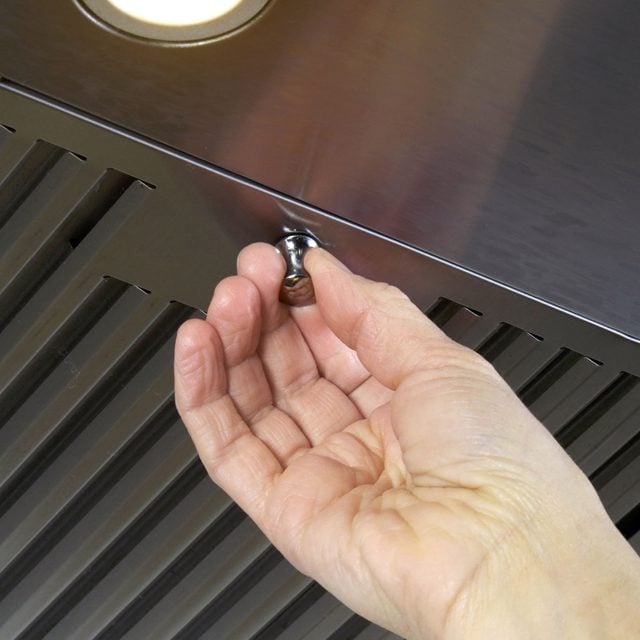
Start by turning off the range hood and unplugging it if possible. Locate the filter and check the manufacturer’s instructions on how to remove it—some filters slide out, while others may need a gentle push or a latch release.
Handle the filter carefully to avoid bending or damaging it. Have a container or bag nearby to place the filter in, preventing any grease from dripping onto your floor or countertop.
Soak In Hot Soapy Water
Fill a large basin or sink with hot water and add a generous amount of dish soap that cuts through grease. Submerge the filter completely and let it soak for at least 15 to 20 minutes.
This soaking softens the stubborn grease and makes scrubbing easier. Have you noticed how letting it soak first saves you time scrubbing later?
Scrub Away Grease And Debris
Use a non-abrasive brush or sponge to scrub the filter gently but thoroughly. Focus on the mesh areas where grease accumulates most.
Don’t rush this part—your effort here directly affects how clean your filter will be. If you hit a tough spot, a paste made of baking soda and water can give an extra boost.
Rinse And Dry Thoroughly
Rinse the filter under warm running water to wash away soap and loosened grease. Make sure no residue remains, as leftover soap can attract more dirt.
Dry the filter completely before reinstalling. Lay it flat on a clean towel or use a drying rack to avoid warping. Have you ever put a wet filter back only to find your hood clogged again?
Reinstall The Filter
Once dry, carefully place the filter back into its original spot. Ensure it fits snugly and locks into place if applicable.
Double-check that everything is secure before turning the range hood back on. A properly reinstalled filter keeps your kitchen air fresh and your appliance running smoothly.
Alternative Cleaning Methods
Cleaning your range hood filter doesn’t have to be a chore with harsh chemicals. There are simple, effective alternatives that use ingredients you probably already have at home. These methods are not only budget-friendly but also gentle on your filter, extending its life and keeping your kitchen fresh.
Using Baking Soda And Vinegar
Baking soda and vinegar are a powerful duo for cutting through grease and grime. Start by soaking the filter in hot water mixed with a generous amount of baking soda. Let it sit for about 10 minutes to loosen the dirt.
Next, pour some white vinegar over the filter. You’ll notice fizzing as the vinegar reacts with the baking soda, breaking down stubborn grease. After a few minutes, scrub gently with a soft brush and rinse with warm water.
Have you ever been surprised by how well this simple kitchen staple combo works? It’s a natural and safe way to refresh your filter without harsh smells or residues.
Dishwasher Cleaning Tips
If you have a dishwasher, it can be a huge time saver for cleaning your range hood filter. Make sure the filter is dishwasher safe by checking the manufacturer’s instructions first. If it is, place it on the top rack to avoid damage.
Use your regular dishwasher detergent and run a normal cycle. Avoid using the heated dry option as high temperatures might warp the filter. After the cycle, check for any remaining grease and repeat if necessary.
Have you tried this before but found your filter still greasy? Sometimes pre-soaking the filter in hot water with a little dish soap before the dishwasher helps loosen tough buildup.
Maintenance Tips For Longevity
Proper maintenance keeps your range hood filter working well for years. Simple care steps help avoid damage and costly replacements. Follow these tips to ensure your filter stays clean and efficient.
Regular Cleaning Schedule
Set a consistent cleaning routine for your range hood filter. Clean it every one to three months, depending on cooking frequency. Frequent cleaning prevents grease buildup and maintains airflow. Use warm, soapy water or a degreasing solution to remove grime. Rinse thoroughly and let it dry before reinstalling.
Avoiding Common Mistakes
Do not ignore signs of clogging or reduced suction. Avoid harsh chemicals that can damage filter material. Never use a dishwasher unless the filter is dishwasher-safe. Avoid scrubbing too hard; it may bend or tear the filter. Always handle the filter gently during cleaning and replacement.
When To Replace Your Filter
Knowing when to replace your range hood filter is key to keeping your kitchen air fresh and your cooking environment healthy. Filters don’t last forever, and using them beyond their prime can reduce their effectiveness and increase kitchen odors. Paying attention to signs that your filter needs replacement can save you time and money.
Signs Your Filter Needs Replacement
Notice persistent grease buildup that won’t wash away after cleaning? That’s a clear warning. If you see discoloration or damage like tears, it’s time to get a new filter.
Also, if your cooking smells linger longer than usual, your filter might be clogged. This reduces airflow and makes your range hood work harder.
Recommended Replacement Timeline
Generally, metal mesh filters should be replaced every 6 to 12 months depending on use. Charcoal filters often need replacement every 3 to 6 months since they absorb odors and don’t wash well.
Check the manufacturer’s instructions—they usually provide specific timelines based on your hood model.
How Usage Affects Filter Life
If you cook frequently or fry a lot, your filter will get dirty faster. Heavy usage means replacing filters more often than occasional cooking.
Ask yourself: Are you a daily chef or a weekend cook? This simple question helps decide how often your filter needs replacement.
Impact Of Not Replacing Your Filter
- Reduced air quality and persistent kitchen odors
- Increased grease buildup inside the range hood
- Higher energy consumption as the fan works harder
- Potential damage to the range hood’s internal parts
Ignoring filter replacement can lead to more costly repairs or even a full range hood replacement.
Frequently Asked Questions
How Often Should I Clean The Range Hood Filter?
Clean your range hood filter every 1 to 3 months. Frequent cleaning prevents grease buildup and maintains airflow. This keeps your kitchen air fresh and your hood working efficiently.
What Is The Best Way To Clean A Range Hood Filter?
Soak the filter in hot, soapy water for 15 minutes. Use a soft brush to remove grease. Rinse thoroughly and let it dry before reinstalling.
Can I Use Dishwasher To Clean Range Hood Filters?
Yes, most metal filters are dishwasher-safe. Place them on the top rack and use a heavy-duty cycle. Avoid dishwasher use for charcoal or non-metal filters.
Why Is Cleaning The Range Hood Filter Important?
Cleaning removes grease, dust, and odors. It prevents fire hazards and improves air quality. Regular maintenance extends the filter’s lifespan and keeps your kitchen safe.
Conclusion
Cleaning the range hood filter keeps your kitchen fresh and safe. It stops grease buildup and helps your hood work well. Regular cleaning saves money on repairs and prevents smoke. It takes just a little time but makes a big difference.
Keep your filter clean to enjoy a healthier cooking space. Simple steps make the job easy and quick. Remember, a clean filter means better air and a happier kitchen.

Hi, I’m Daniel Brooks—a food lover and kitchen gear enthusiast. I enjoy testing cookware, utensils, and gadgets to see what really works in everyday cooking. At PlugChef.com, I share honest reviews, comparisons, and simple guides to help you choose the best tools for a safer, smarter, and more enjoyable kitchen.
Related posts:
 What Type of Cooking Utensils are Safe: Expert Picks
 What Innovations Could Blenders Make: Unleashing Future Tech
 Smart Strategies to Organize a Small Kitchen: Maximize Space
 How to Organize a Kitchen Cabinet: Expert Tips & Tricks
 How to Organize Kitchen Drawers: Expert Tips and Tricks
 How to Organize a Corner Kitchen Cupboard: Expert Tips

