
Are you tired of thick, doughy pizza crusts that weigh down your favorite toppings? Imagine biting into a perfectly thin, crispy pizza base that lets every flavor shine through.
This recipe for thin pizza dough is exactly what you need to make restaurant-quality pizza right at home. Whether you’re a beginner or a seasoned cook, you’ll find simple steps and tips to create a dough that’s light, easy to handle, and irresistibly delicious.
Keep reading, and discover how to transform your homemade pizzas into thin-crust masterpieces your family and friends will love.
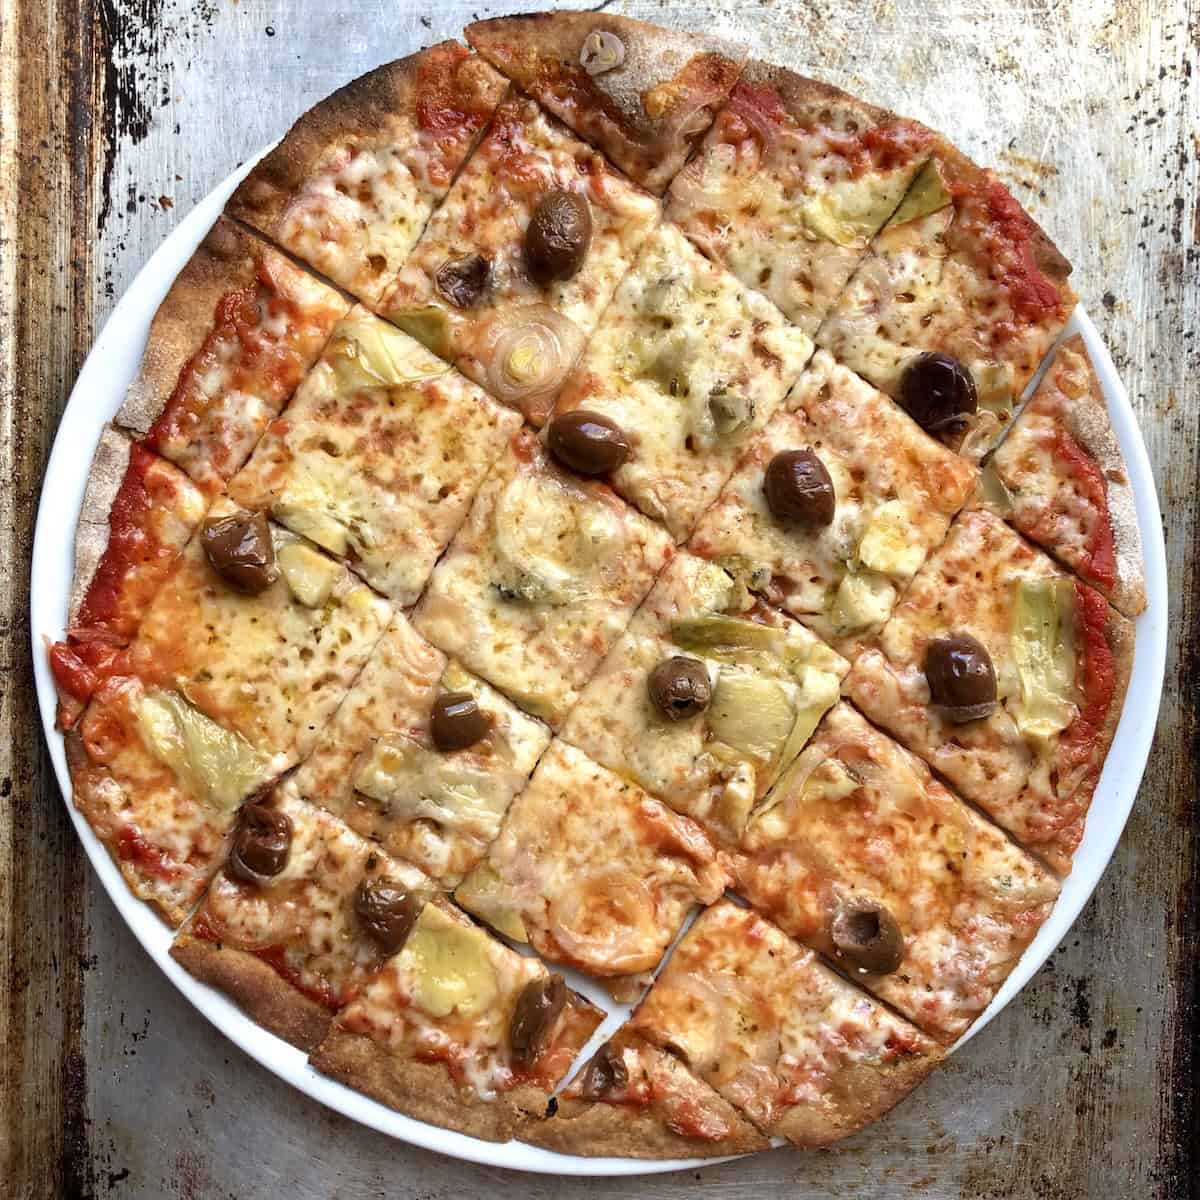
Credit: bitingatthebits.com
Ingredients For Thin Pizza Dough
Perfect thin pizza dough starts with the right ingredients. Each element plays a key role in texture and taste. Choosing quality components ensures a crisp, light crust. Understanding these ingredients helps make great pizza dough at home.
Flour Selection
Use all-purpose or bread flour for thin pizza dough. Bread flour has more protein, giving a chewier texture. All-purpose flour creates a softer crust. Avoid whole wheat flour; it makes the dough dense. Sift the flour for a smoother mix.
Yeast And Leavening
Active dry yeast or instant yeast works best. Yeast helps the dough rise and become airy. Use fresh yeast for better results. Baking powder is not recommended for thin pizza dough. Proper yeast activation is key to light crust.
Liquid Components
Water is the main liquid in dough. Use lukewarm water to activate yeast. Avoid hot water; it kills the yeast. Some recipes add a little olive oil for softness. Oil also helps the dough stretch easily.
Salt And Sugar Balance
Salt controls yeast growth and adds flavor. Use about 1-2% of flour weight in salt. Sugar feeds the yeast and speeds up rising. Too much sugar makes the dough sweet and brown too fast. A small pinch of sugar is enough.
Optional Additives
- Olive oil for softness and flavor
- Honey as a natural sweetener instead of sugar
- Herbs like oregano or basil for extra taste
- Semolina flour to dust the surface, preventing sticking
Preparing The Dough
Preparing the dough is the foundation of any great thin pizza. The way you mix, knead, and rest your dough affects its texture and stretchability. Getting these steps right ensures your pizza base will be crispy yet tender, ready to hold your favorite toppings without falling apart.
Mixing Techniques
Start by combining your flour, yeast, salt, and water in a large bowl. Use your hands or a wooden spoon to bring the ingredients together slowly. Avoid adding all the water at once; pour it in gradually to control the dough’s consistency better.
Mix until the dough just starts to form a shaggy ball. Don’t worry if it looks a little rough—this is normal at this stage. Over-mixing now can make the dough tough and less flexible.
Kneading Tips
Kneading develops the gluten, which gives your dough its stretch and chewiness. Use the heel of your hand to push the dough away from you, then fold it back. Repeat this motion for about 8 to 10 minutes.
If the dough sticks to your hands or surface, sprinkle a little flour, but be cautious not to add too much. Too much flour can make the dough dry and dense. How does your dough feel? It should be smooth and elastic, bouncing back when poked.
Resting And Proofing
Resting the dough allows the gluten to relax, making it easier to stretch later. Cover it with a clean cloth or plastic wrap and let it sit at room temperature for at least 1 hour.
Proofing is when the yeast ferments and the dough rises, creating air bubbles for a lighter crust. You can proof the dough longer in the fridge for up to 24 hours to develop more flavor. Have you tried slow fermentation? It transforms simple dough into something truly special.
Shaping The Dough
Gently stretch the dough on a floured surface to keep it thin and even. Use your hands to shape it into a round, thin base without tearing. Keep the edges slightly thicker for a perfect crust.
Shaping the dough is a crucial step in crafting the perfect thin pizza crust. The process requires patience, a gentle touch, and a little bit of love to achieve that ideal texture. Whether you’re a seasoned home cook or a pizza-making novice, understanding the art of shaping can elevate your pizza to restaurant-quality status.Rolling Vs Stretching
Deciding between rolling and stretching can be a game-changer. Rolling out the dough with a pin is straightforward, providing a uniform thickness. However, stretching by hand offers more control and allows the dough to relax naturally, resulting in a tender crust. Consider trying both methods to see which suits your style and kitchen setup. Have you ever thought about how each technique might affect the texture of your crust?Achieving Thinness Without Tearing
Achieving the perfect thinness requires a delicate balance. Start by pressing the dough outwards from the center, using your fingertips. Avoid pulling too hard, which can lead to tearing. If you notice small tears, don’t panic. Simply pinch the dough together or patch it with a small piece of dough. How thin can you go before the dough gives way?Creating A Crisp Crust Edge
A crisp crust edge can be the highlight of your pizza. To achieve this, focus on even thickness throughout the dough. Leave a slightly thicker edge to provide structure and that delightful crunch. Consider brushing the edges with olive oil before baking. This not only enhances crispness but also adds a rich flavor profile. What’s your secret to a perfect crust edge?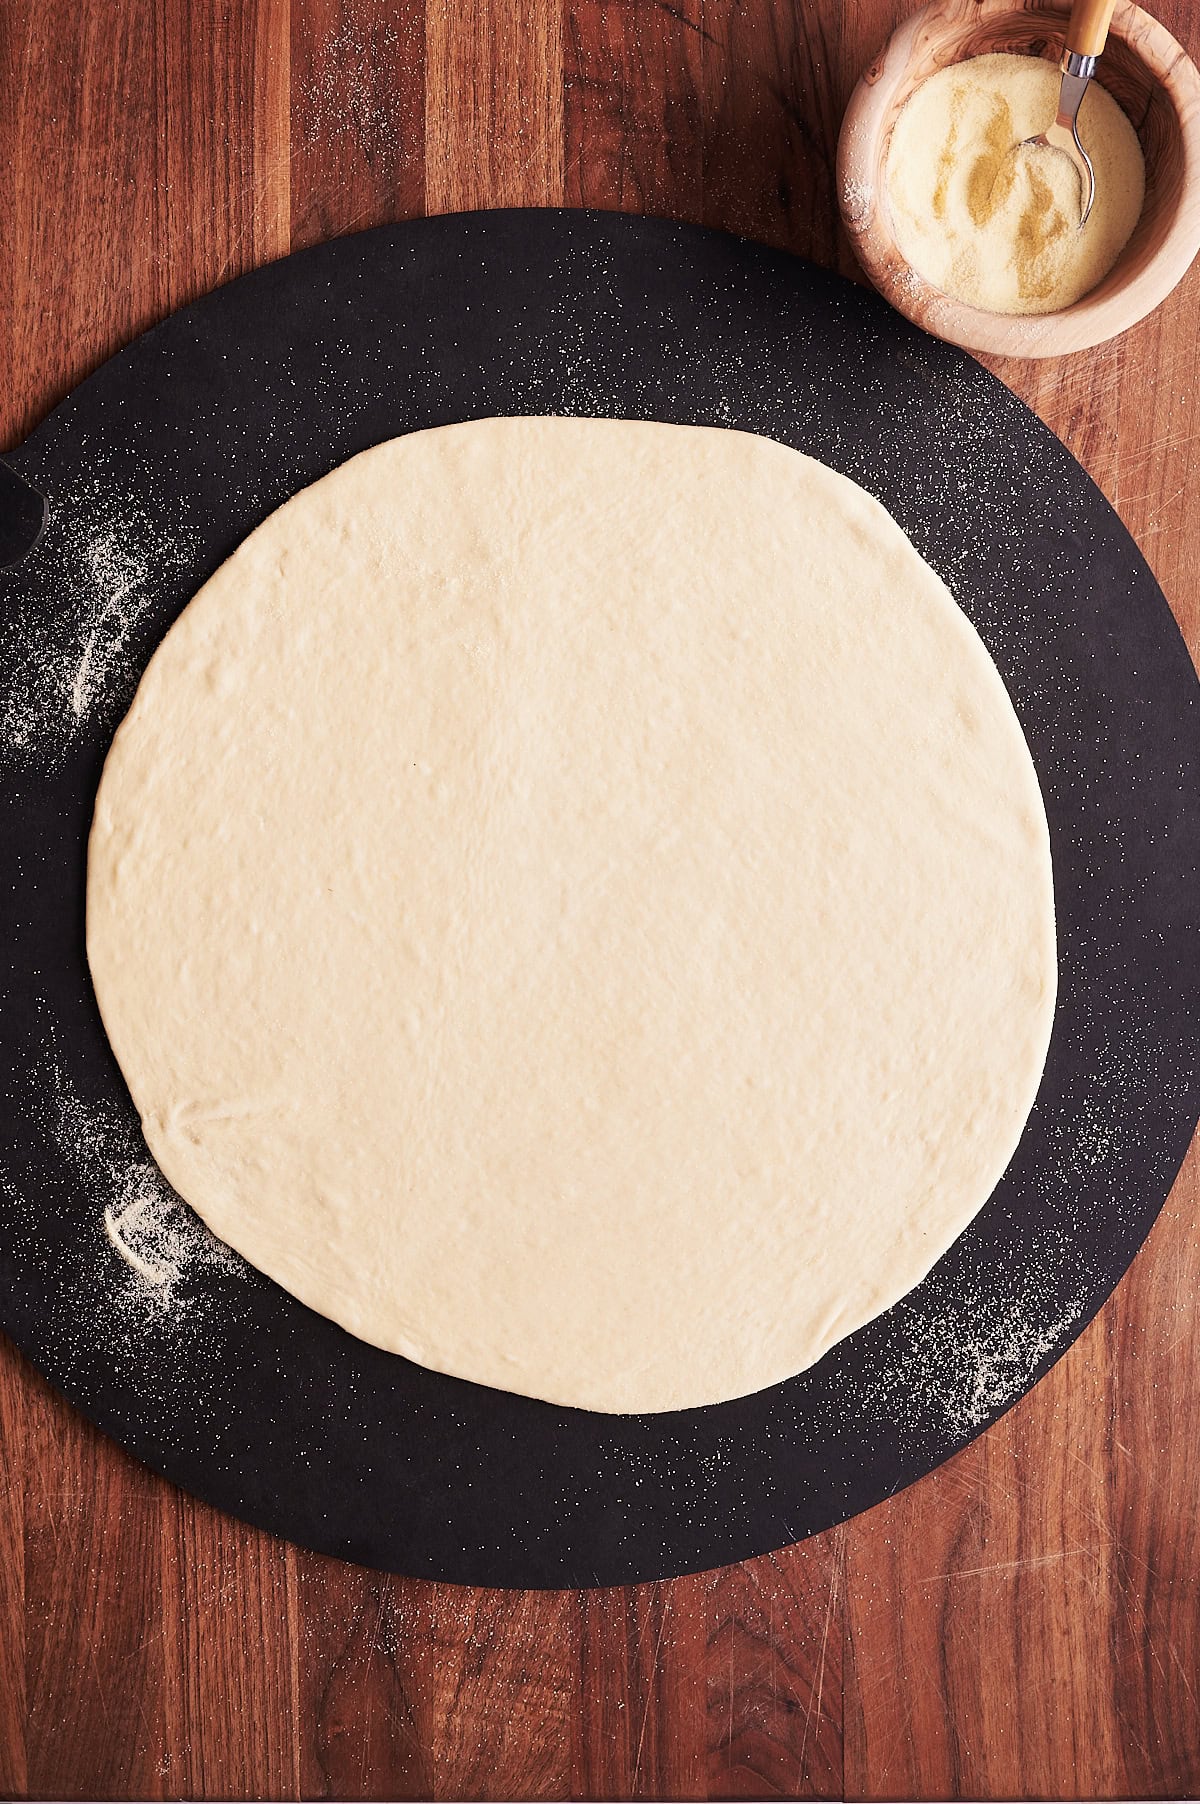
Credit: josieandnina.com
Baking For Crispiness
Getting that perfect crispiness in your thin pizza dough is all about the baking process. How you bake can make the difference between a soggy base and one that snaps delightfully with every bite. Let’s break down some essential tips to help you achieve that irresistible crunch.
Oven Temperature Settings
High heat is key to crispy thin pizza dough. Most home ovens reach between 450°F and 500°F (230°C to 260°C), which is ideal for baking thin crust pizzas.
If your oven can go higher, even better. Temperatures above 500°F allow the dough to cook quickly, creating a crispy exterior while keeping the inside light and airy.
Think about how fast you want your pizza done; a hotter oven means less baking time but watch carefully to avoid burning.
Using Pizza Stones Or Steel
Have you tried baking your pizza directly on a pizza stone or steel? These tools absorb and retain heat better than a regular baking sheet.
They mimic the floor of a professional pizza oven, delivering intense bottom heat that crisps up the dough perfectly.
- Preheat the stone or steel in your oven for at least 30 minutes.
- Slide your pizza on it for a fast, even bake.
- This method prevents sogginess by quickly evaporating moisture from the dough’s surface.
Baking Time Considerations
Thin pizza dough doesn’t need long in the oven. Usually, 7 to 10 minutes is enough at high temperatures.
Keep an eye on your pizza as it bakes. Look for golden edges and bubbling cheese as your cues to pull it out.
Don’t be afraid to experiment with timing—every oven is different, and slight adjustments can lead to that perfect crisp you crave.
Troubleshooting Common Issues
Making thin pizza dough can be tricky, especially when the texture or baking results aren’t quite right. You might find your dough too sticky or too dry, or wonder why your pizza lacks that perfect crispiness. Sometimes, the dough even shrinks after baking, ruining the ideal thin crust you aimed for. Let’s tackle these common problems and get your pizza dough just right.
Dough Too Sticky Or Dry
If your dough sticks to your hands or the surface too much, it probably has too much water. Try adding flour gradually, a tablespoon at a time, while kneading until the dough feels smooth and slightly tacky but not sticky.
On the other hand, if the dough feels crumbly or cracks easily, it’s too dry. Add a small amount of water—about a teaspoon at a time—and knead it in until the dough becomes elastic and soft. Remember, dough consistency can vary with humidity and flour type, so adjust accordingly.
Lack Of Crispiness
A thin crust that lacks crispiness can disappoint even the best pizza lovers. One common cause is baking at too low a temperature. Aim for a very hot oven—ideally 475°F (245°C) or higher—to help the crust crisp up quickly without drying out.
Another tip is to roll your dough thinner and bake it on a preheated pizza stone or steel. This direct heat transfer creates a better crust texture. Do you have a pizza stone? If not, try using a heavy baking sheet flipped upside down.
Dough Shrinking After Baking
Does your pizza dough shrink back after stretching it? This usually means the gluten is too tight. After shaping, let your dough rest for 10–15 minutes to relax the gluten fibers before baking.
Also, avoid overstretching the dough too quickly. Stretch gently and evenly, and if it resists, give it another short rest. Have you noticed your dough springing back like a rubber band? This resting trick can stop that.
Tips For Perfect Thin Crust Every Time
Achieving the perfect thin crust pizza is more than just following a recipe; it’s about paying attention to the little details that shape the dough’s texture and flavor. Each step, from choosing ingredients to handling the dough, impacts your crust’s crispiness and chewiness. Let’s dive into some practical tips that will help you get that ideal thin crust every time you bake.
Ingredient Quality
Start with the best flour you can find—bread flour or high-protein flour gives your dough strength and elasticity. Avoid low-quality or all-purpose flour if you want a chewy, crisp crust. Fresh yeast or active dry yeast ensures a lively rise, so always check the expiration date before using.
Salt isn’t just for flavor; it strengthens the gluten network. Use fine sea salt and measure carefully. Avoid adding salt directly to the yeast as it can kill it—mix salt with the flour first.
Proper Hydration
Water content in your dough controls its texture. A hydration level between 60% and 65% (water weight relative to flour weight) is ideal for thin crust. Too little water makes the dough tough; too much makes it sticky and hard to handle.
Use cold water to slow down fermentation if you plan to let the dough rest overnight. This improves flavor and texture. Have you noticed how your dough feels when it’s just right? It should be soft, slightly tacky, but not sticky.
Handling And Baking Techniques
Handle the dough gently—avoid punching it down harshly. Stretch it using your hands instead of a rolling pin to keep air bubbles intact. These bubbles create that light, airy texture you want in a thin crust.
Preheat your oven to the highest temperature possible, usually around 500°F (260°C). Use a pizza stone or steel to mimic professional ovens; this ensures quick, even baking. Place your pizza directly on the hot surface for a crispy bottom that won’t sog.
Ever tried baking without preheating your stone? The crust often ends up dense and chewy. Quick heat from a preheated stone or steel cooks the dough fast, locking in a perfect crunch before toppings release moisture.

Credit: www.food.com
Frequently Asked Questions
What Ingredients Are Essential For Thin Pizza Dough?
Thin pizza dough requires flour, water, yeast, salt, and olive oil. Using high-protein flour improves dough elasticity and texture. Accurate measurements and fresh yeast ensure proper rising and a thin, crispy crust.
How Long Should Thin Pizza Dough Rest?
Allow thin pizza dough to rest for 1 to 2 hours. This resting time helps gluten relax and improves dough stretchability. For best results, cover the dough with a damp cloth to prevent drying out.
Can I Make Thin Pizza Dough Without Yeast?
Yes, you can make thin pizza dough without yeast using baking powder. However, yeast-based dough offers better texture and flavor. Yeast fermentation develops a crispier, more flavorful crust compared to quick-rise alternatives.
How To Achieve Crispy Thin Pizza Crust?
To get a crispy crust, roll dough thinly and bake at high heat (450°F+). Preheat the oven and use a pizza stone or baking steel. This ensures even heat distribution and a crunchy texture.
Conclusion
Thin pizza dough makes a crispy, delicious base for any topping. This recipe uses simple ingredients anyone can find. It takes little time but gives great results. You can enjoy homemade pizza anytime you want. Try different toppings to suit your taste.
Practice a few times to get the perfect thin crust. Baking pizza at home is fun and rewarding. Enjoy sharing your tasty creations with family and friends. Keep this recipe handy for easy, fresh pizza nights.

Hi, I’m Daniel Brooks—a food lover and kitchen gear enthusiast. I enjoy testing cookware, utensils, and gadgets to see what really works in everyday cooking. At PlugChef.com, I share honest reviews, comparisons, and simple guides to help you choose the best tools for a safer, smarter, and more enjoyable kitchen.
Related posts:
 What Type of Cooking Utensils are Safe: Expert Picks
 What Innovations Could Blenders Make: Unleashing Future Tech
 Smart Strategies to Organize a Small Kitchen: Maximize Space
 How to Organize a Kitchen Cabinet: Expert Tips & Tricks
 How to Organize Kitchen Drawers: Expert Tips and Tricks
 How to Organize a Corner Kitchen Cupboard: Expert Tips

