
Are you craving that perfect thin crust pizza that’s crispy, light, and full of flavor? Making your own pizza dough at home can be easier than you think—and it’s the key to enjoying restaurant-quality pizza anytime you want.
You’ll discover simple, foolproof pizza dough recipes designed to give you that ideal thin crust every time. Get ready to impress your friends and satisfy your pizza cravings with dough that’s just right—crispy on the edges and tender in the middle.
Keep reading, and you’ll be tossing your own thin crust pizzas like a pro in no time!

Image: Pizza Dough Recipes Thin Crust: Easy, Crispy, and Delicious Secrets
Ingredients For Thin Crust Dough
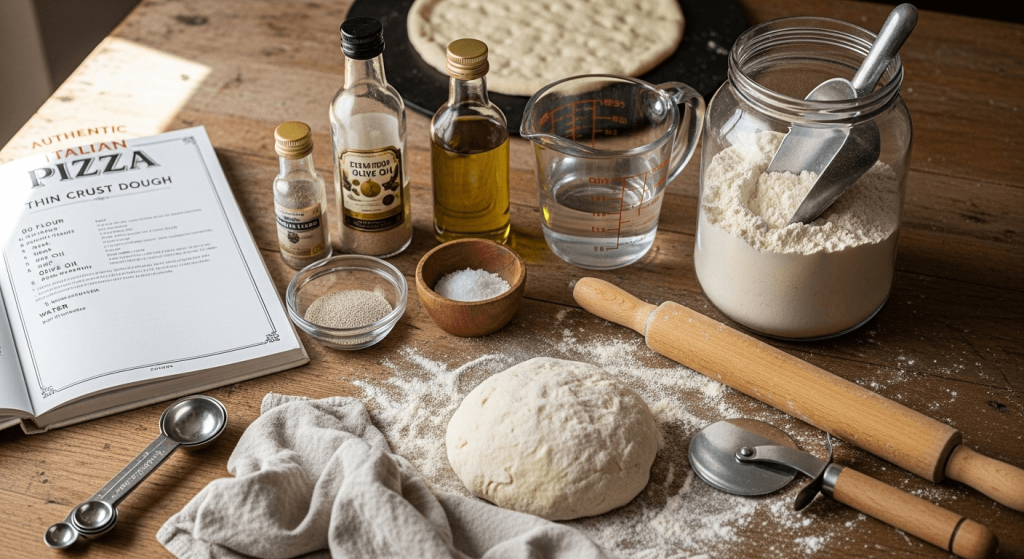
Creating the perfect thin crust dough starts with choosing the right ingredients. Each component plays a key role in texture and flavor. Understanding these ingredients helps you make dough that is crispy yet tender.
Essential Flour Types
Flour quality impacts dough texture and strength. Use high-protein flour like bread flour for better gluten development. All-purpose flour works too but gives a softer crust. Some recipes mix bread and all-purpose flour for balance. Avoid cake flour; it lacks enough protein for good dough structure.
Role Of Yeast And Sugar
Yeast makes the dough rise by producing carbon dioxide. Use active dry yeast or instant yeast for best results. Sugar feeds the yeast and speeds up fermentation. A small amount, about one teaspoon, is enough. Too much sugar can slow yeast action and affect flavor.
Importance Of Olive Oil
Olive oil adds flavor and keeps dough soft. It helps create a crispy crust by coating flour particles. Use extra virgin olive oil for the best taste. Adding oil also makes dough easier to stretch and shape.
Water Temperature Tips
Water temperature controls yeast activity. Use warm water between 100°F and 110°F (38°C to 43°C). Water too hot kills yeast; too cold slows it down. Measure temperature carefully for consistent dough rise and texture.
Credit: josieandnina.com
Step-by-step Dough Preparation
Preparing thin crust pizza dough requires attention to detail and patience. Each stage of dough preparation shapes the texture and flavor of your final pizza. Understanding the right techniques will help you achieve that perfect balance of crispiness and chewiness.
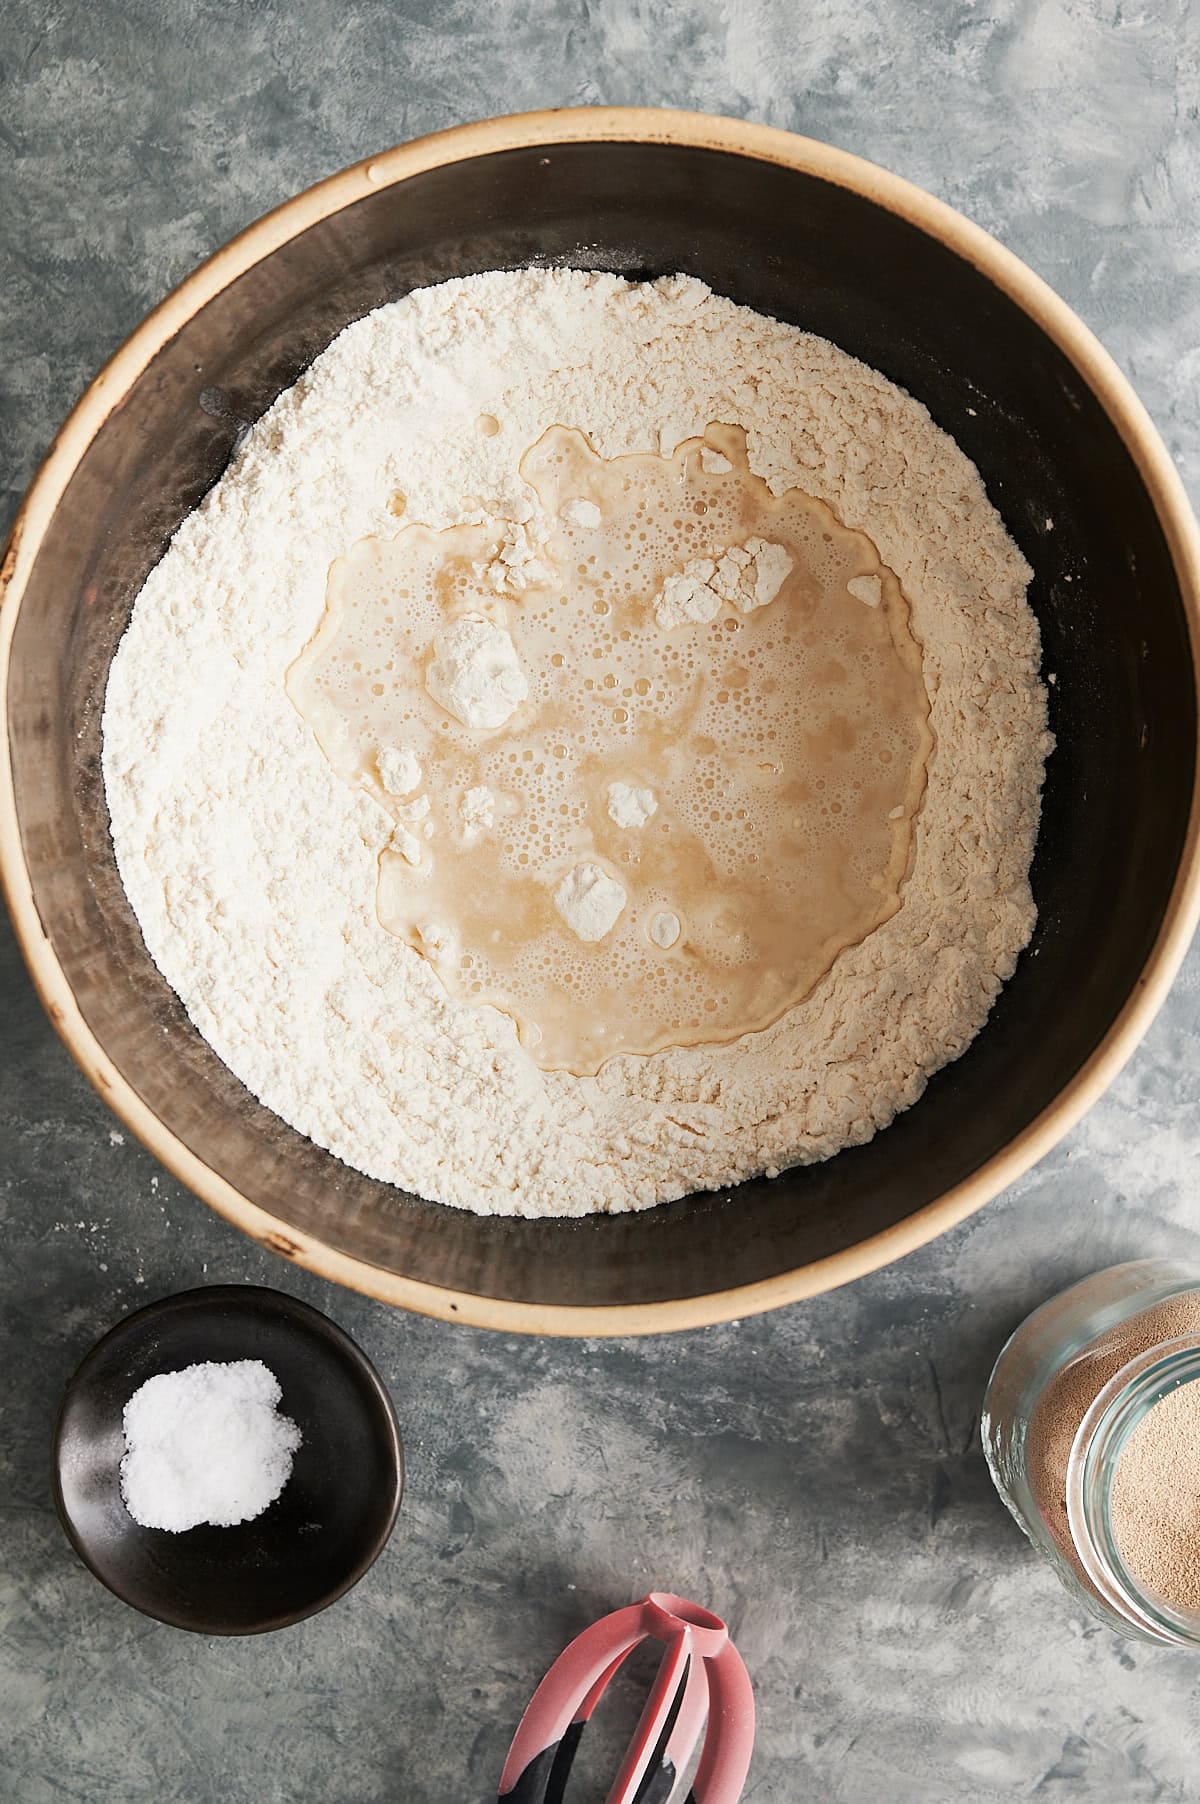
Mixing And Kneading Techniques
Start by combining your flour, water, yeast, salt, and a little olive oil in a large bowl. Use your hands or a mixer with a dough hook to bring the ingredients together until they form a rough ball.
Knead the dough on a floured surface for about 8 to 10 minutes. You want it smooth and elastic, not sticky or dry. If the dough feels too wet, add a pinch more flour; too dry, add a splash of water.
Remember, kneading develops the gluten, which gives your dough structure and stretchability—key for a thin crust that holds toppings without tearing.
First Rise Timing
Place your kneaded dough in a lightly oiled bowl and cover it with a clean kitchen towel or plastic wrap. Let it rise at room temperature until it doubles in size; this usually takes between 1 to 2 hours.
Check on it after an hour. Is it puffing up nicely? If your kitchen is cold, it might take longer. Patience here pays off—rushing the rise can make your dough tough.
Consider this: how does your dough feel after rising? It should be soft and springy, indicating the yeast has done its job well.
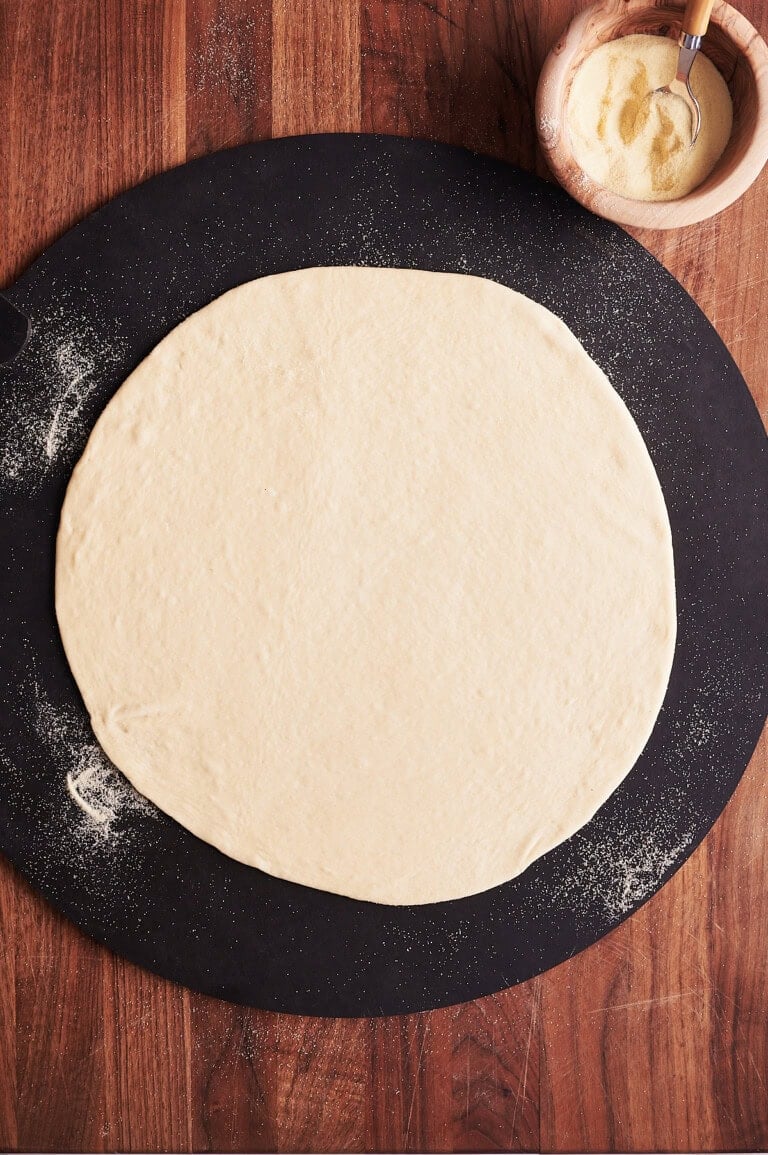
Shaping The Dough Thinly
Once risen, punch down the dough gently to release excess air. Divide it into portions depending on your pizza size.
Use your fingers or a rolling pin to stretch and flatten each portion into a thin circle. Aim for even thickness to avoid soggy spots or burnt edges.
Don’t worry if your dough doesn’t stretch perfectly the first time. With practice, you’ll develop a feel for how thin it can go without tearing.
Second Rise Or Rest
Let your shaped dough rest for 15 to 30 minutes before adding toppings. This short second rise helps relax the gluten, making the dough easier to work with and less likely to shrink during baking.
Cover it lightly to prevent drying out. Have you noticed how this rest time improves the texture of your crust?
Skipping this step might save time, but it often results in a tougher crust that lacks that delicate crunch you’re aiming for.
Secrets To Crispy Thin Crust
Thin crust pizza dough needs just the right amount of water and flour for crispiness. Baking on a hot surface helps create that perfect crunch. Stretch dough gently to keep it thin without tearing.
Creating the perfect thin crust pizza is both an art and a science. The allure of a crispy, wafer-thin base that holds up against a medley of toppings can transform a regular pizza night into a gourmet experience. But what really goes into crafting that perfect crust? Here are the secrets to achieving a crispy thin crust that will have you reaching for slice after slice.
High-temperature Baking Tips
For a crispy crust, baking at a high temperature is non-negotiable. Think of your oven as a pizza powerhouse. Preheat it to its maximum setting, usually around 475°F to 500°F (245°C to 260°C). Quick baking ensures the crust crisps up before the toppings overcook. A swift bake is your best friend here.
Using Pizza Stones Or Steel
A pizza stone or steel can make all the difference. They absorb and retain heat, providing a consistent baking surface. Place it in your oven during preheating. This ensures it reaches optimal temperature, giving your dough that desired crispy bottom. If you don’t own one, consider it a worthy investment for all your future pizza endeavors.
Optimal Dough Thickness
Roll your dough thin, but not too thin. Aim for about 1/8 inch (3 mm) thickness. This balance gives you a sturdy base without compromising on crispiness. A thicker dough might turn out chewy, while too thin can mean a fragile crust. Experiment to find your sweet spot. Your ideal crust might differ slightly based on personal preferences.
Pre-baking The Crust
Pre-baking is a game-changer. Pop your rolled-out dough into the oven for 3-5 minutes before adding toppings. This initial bake firms up the crust, setting the stage for ultimate crispiness. When you add your toppings afterward, you’ll notice a substantial difference. This method also helps in avoiding a soggy center when heavier toppings are involved. What other techniques have you tried in your quest for the perfect crispy crust?
Credit: josieandnina.com
Variations For Flavorful Dough
Thin crust pizza dough offers a crisp, light base that highlights every topping. Experimenting with dough variations brings new flavors and textures to your pizza. Small changes in ingredients turn simple dough into something special. Explore different blends and add-ins to find your favorite dough style.
Herb-infused Doughs
Adding fresh or dried herbs to dough creates a fragrant, tasty crust. Basil, oregano, rosemary, or thyme work well in thin crust recipes. Mix finely chopped herbs into the flour before kneading. The herbs release flavor as the dough bakes, giving your pizza a savory aroma. Herb-infused dough pairs beautifully with simple tomato sauce and cheese.
Whole Wheat And Gluten-free Options
Whole wheat flour adds nuttiness and more fiber to your dough. It makes the crust slightly denser but still crispy when baked well. Gluten-free flours like rice, almond, or chickpea offer alternatives for gluten-sensitive eaters. Combine gluten-free blends with xanthan gum for better texture. These options keep your pizza light yet healthy.
Adding Garlic Or Cheese
Incorporate minced garlic or garlic powder into the dough for a bold flavor. Garlic dough creates a delicious base that complements many toppings. Mixing grated cheese like Parmesan or Romano into the dough adds richness. Cheese melts inside the crust, giving a subtle, savory taste. These add-ins elevate simple dough to a tasty crust treat.
Alternative Flours
Try flours like spelt, rye, or oat for unique textures and flavors. Spelt flour gives a mild nutty taste and tender crumb. Rye flour adds a deep, earthy flavor and darker color. Oat flour creates a soft, slightly sweet dough. Blend alternative flours with all-purpose flour for best results. These flours bring variety to your pizza dough recipes.
Common Mistakes To Avoid
Making thin crust pizza dough can be tricky, especially if you don’t know what pitfalls to avoid. Even small mistakes can lead to dough that’s too tough, too thick, or just not right for that perfect crispy finish. Knowing the common errors helps you save time and get a crust that feels just right under your fingers and tastes amazing.
Overworking The Dough
It’s tempting to knead the dough for a long time, thinking it will improve texture. But overworking stretches the gluten too much, making the dough tough and hard to roll out thinly. I once spent 15 minutes kneading only to end up with a dense crust that didn’t puff up—less is more here.
Stop kneading as soon as the dough is smooth and elastic. Trust the process and let the dough do its thing during resting.
Using Too Much Flour
Adding extra flour to prevent sticking feels safe, but it can dry out your dough. More flour means a denser, thicker crust, losing that light, crisp bite you want. Instead, dust your work surface lightly and use just enough to keep the dough manageable.
If your dough feels sticky, try oiling your hands or the surface lightly. Have you noticed how a little extra flour changes the texture? It’s subtle but powerful.
Incorrect Oven Settings
Thin crust pizza needs high heat to cook quickly and get crispy edges. Using a low oven temperature leads to a soggy, chewy base. I once baked at 350°F and waited too long, ending with a crust that was more bread than pizza.
Set your oven to the highest temperature it allows, ideally 475–500°F, and preheat well. A pizza stone or steel can help distribute heat evenly for that perfect crunch.
Skipping The Rest Period
Resting dough is not optional—it’s essential. Skipping the rest makes dough tough and hard to stretch, causing it to snap back when you try to shape it thin. I learned this the hard way when my dough tore repeatedly before I let it rest properly.
Give your dough at least 30 minutes to rest after kneading. This relaxes the gluten and makes stretching easier, letting you achieve that delicate thinness without frustration.
:max_bytes(150000):strip_icc()/20250807-SEA-St.LouisStylePizza-LorenaMasso-HERO-18cecd9d78ab49d0af7fa55107b79bb9.jpg)
Credit: www.seriouseats.com
Storage And Reheating Tips
Storing and reheating your thin crust pizza dough properly can save you time and keep your homemade pizza tasting fresh. Whether you make extra dough or want to enjoy leftovers, knowing how to handle storage and reheating will make a big difference. Here are some practical tips to help you maintain that perfect texture and flavor.
Freezing Dough For Later Use
Freezing thin crust pizza dough is a great way to prepare ahead. Portion the dough into individual balls, wrap each tightly in plastic wrap, and place them in a freezer bag to avoid freezer burn.
Label the bags with the date to keep track. Dough can last up to 3 months in the freezer, giving you plenty of time to plan your next pizza night.
Thawing Without Damage
Thaw frozen dough slowly to preserve its texture. Move the dough from the freezer to the fridge and let it thaw overnight.
This slow thaw prevents the dough from becoming sticky or tearing. If you’re in a hurry, let the dough sit at room temperature for about 1-2 hours, but avoid direct sunlight or warmth that can kill the yeast.
Reheating For Crispiness
Reheating leftover pizza to get that crispy crust back can be tricky. Use a skillet on medium heat and place the pizza slice in it without covering, allowing the bottom to crisp up.
Add a few drops of water to the pan and cover it briefly to heat the toppings without drying them out. This method keeps the crust crunchy and the cheese melty.
Storing Baked Pizza
Store leftover baked pizza in an airtight container or wrap it tightly with foil to keep moisture out. Keep it in the fridge if you plan to eat it within 3-4 days.
Avoid stacking slices directly on top of each other to prevent sogginess. If you have multiple slices, place parchment paper between them for better results.
Frequently Asked Questions
What Ingredients Make The Best Thin Crust Pizza Dough?
The best thin crust dough uses flour, water, yeast, salt, and olive oil. High-gluten flour creates a crispy texture. Proper hydration and kneading ensure a smooth, elastic dough that bakes evenly and stays thin yet sturdy for toppings.
How Long Should Thin Crust Pizza Dough Rest?
Thin crust dough should rest at least 1 to 2 hours. This resting time allows gluten to relax and flavors to develop. For better results, refrigerate dough overnight to enhance texture and taste before shaping and baking.
Can I Make Thin Crust Dough Without Yeast?
Yes, you can use baking powder as a yeast substitute. However, yeast provides better flavor and texture. Baking powder dough will be thinner but less chewy and flavorful, suitable for quick, thin crust pizzas.
What’s The Ideal Oven Temperature For Thin Crust Pizza?
Bake thin crust pizza at 475°F to 500°F (245°C to 260°C). High heat ensures a crispy crust and perfectly melted toppings. Preheat the oven with a pizza stone or steel for best results.
Conclusion
Thin crust pizza dough recipes bring crisp and light texture. They use simple ingredients anyone can find. Making dough at home saves money and tastes fresh. Try different flours and resting times to find your favorite. Baking on a hot surface gives the best crust.
Fresh toppings complete your perfect homemade pizza. Enjoy the process and share your creations with friends. Homemade thin crust pizza turns dinner into a fun event. Give these recipes a try for tasty, crispy results.

Hi, I’m Daniel Brooks—a food lover and kitchen gear enthusiast. I enjoy testing cookware, utensils, and gadgets to see what really works in everyday cooking. At PlugChef.com, I share honest reviews, comparisons, and simple guides to help you choose the best tools for a safer, smarter, and more enjoyable kitchen.
Related posts:
 What Type of Cooking Utensils are Safe: Expert Picks
 What Innovations Could Blenders Make: Unleashing Future Tech
 Smart Strategies to Organize a Small Kitchen: Maximize Space
 How to Organize a Kitchen Cabinet: Expert Tips & Tricks
 How to Organize Kitchen Drawers: Expert Tips and Tricks
 How to Organize a Corner Kitchen Cupboard: Expert Tips

