
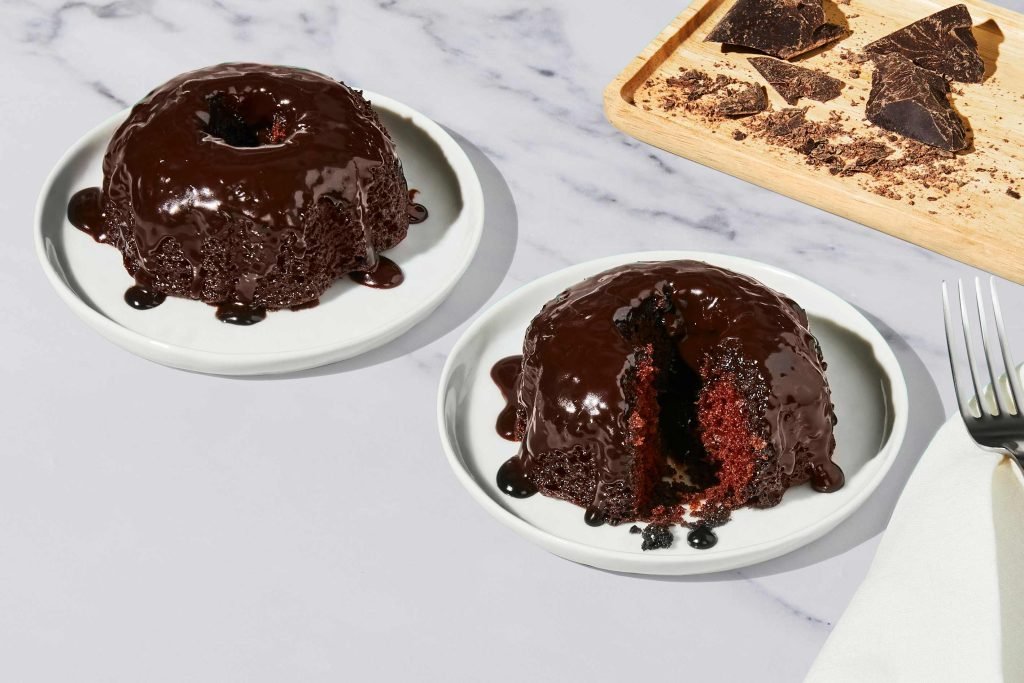
There’s nothing quite like the drama of slicing into a Bundt cake and watching warm, rich chocolate ooze out like molten lava, coating your plate and teasing your taste buds. This Chocolate Molten Lava Bundt Cake combines the elegant, ring-shaped presentation of a classic Bundt with the surprise gooey center of a beloved individual lava cake, making it a showstopping dessert that’s perfect for birthdays, date nights, holiday gatherings, or even a casual weeknight treat. Unlike individual lava cakes that require portioning batter into ramekins, this single-pan recipe feeds a crowd with minimal effort, and with a few pro tips, even novice bakers can pull off that signature irresistibly gooey center every time.
What Sets This Chocolate Molten Lava Bundt Cake Apart
Unlike a standard fully cooked Bundt cake, this recipe is intentionally baked for a shorter time to create a tender, fudgy outer crumb and a warm, flowing molten chocolate core. The contrast between the set, cakey exterior and the luxuriously gooey interior is what makes it a standout dessert, and the iconic Bundt shape makes it far easier to serve and transport than individual lava cakes. It balances approachable, straightforward steps with a high-end, restaurant-quality presentation that will have everyone asking for the recipe.
Ingredients for a Foolproof Gooey Center
Getting the ingredient ratios right is the foundation of a perfect molten core, as each component plays a specific role in building flavor, structure, and that signature oozing texture.
Core Chocolate Components
Chocolate is the star of this dessert, so quality matters:
- 60–70% cacao dark chocolate: This cacao percentage hits the sweet spot of deep, intense chocolate flavor without excessive bitterness. Chopped chocolate bars melt more smoothly than chips, which often contain stabilizers that can make the texture grainy.
- Unsweetened Dutch-processed cocoa powder: Alkalized cocoa adds a deeper, darker chocolate flavor and richer color than natural cocoa, without adding extra fat. It also blends seamlessly into the batter for an even chocolate taste throughout.
- Unsalted butter: Adds moisture, richness, and helps create that velvety, molten texture. Using unsalted butter lets you control the overall salt level of the cake.
Binding and Leavening Agents
These ingredients hold the cake together while keeping the center soft:
- Room-temperature eggs: Bind the batter and add structure, while their fat content contributes to a tender, moist crumb. Cold eggs can cause the melted chocolate to seize, so let them sit out for 30 minutes before use.
- All-purpose or cake flour: Cake flour produces a more delicate, tender crumb that pairs perfectly with the gooey center, but all-purpose flour works well too. Use just enough to set the cake—too much will make the center cakey instead of molten.
- Baking powder (not baking soda): A small amount (1 tsp max) gives a gentle rise without over-expanding the cake, which would push the molten core to the edges. Baking soda can leave a metallic aftertaste if overused, so stick to baking powder for this recipe.
Flavor Boosters and Optional Add-Ins
These small additions elevate the chocolate flavor without overpowering it:
- Pure vanilla extract: Brightens the chocolate flavor and adds warm, aromatic depth.
- Fine sea salt: Balances bitterness in the chocolate and enhances overall sweetness.
- Espresso powder: 1 tsp deepens chocolate flavor without adding a noticeable coffee taste.
- Optional mix-ins: 1 cup of semi-sweet chocolate chips or chopped chocolate for extra lava pockets, 1 tsp of cinnamon for warmth, or ¼ tsp of cayenne for a subtle spicy kick.
 A perfectly baked slice reveals the signature oozing molten chocolate core
Credit: curlygirlkitchen.com
A perfectly baked slice reveals the signature oozing molten chocolate core
Credit: curlygirlkitchen.com
Choosing the Right Bundt Pan for Perfect Results
The Bundt pan you use will impact everything from bake time to how easily the cake releases, so picking the right one is key to avoiding frustration and a ruined dessert.
Material and Size Considerations
Stick to a standard 10–12 cup capacity Bundt pan for this recipe: smaller pans will cause batter overflow, while larger pans will result in a thinner cake with less molten core.
- Aluminum pans: The best choice for most home bakers, as they conduct heat evenly to prevent hot spots that could overbake the edges before the center is done.
- Cast iron pans: Retain heat well, but can overbake the outer layer if you’re not careful. Reduce oven temperature by 25°F if using cast iron.
- Non-stick coated pans: Make release easier, but avoid aerosol baking sprays with propellants, as they can damage non-stick coatings over time. Use solid butter or a baking spray formulated for bakeware instead.
- Silicone pans: Flexible and make release almost effortless, but they don’t brown the cake as well as metal pans, so the outer crust may be softer.
Prep Tips for Easy Release
Even with a non-stick pan, proper prep is non-negotiable for a clean release:
- Use a pastry brush to coat every crevice of the pan with melted butter, then dust with unsweetened cocoa powder instead of flour to avoid white residue on the finished cake and boost chocolate flavor.
- Tap the pan firmly on the counter 2–3 times after pouring the batter to eliminate air bubbles that can cause uneven baking or air pockets in the finished cake.
- After baking, tackling stuck-on chocolate residue is easy with a heavy-duty scrub brush and warm soapy water.
Step-by-Step Baking Instructions
Follow these steps for a consistent, impressive result every time.
Mixing the Batter
- Set up a double boiler: fill a small pot with 1 inch of water, bring to a gentle simmer, then place a heatproof bowl over the pot (make sure the bottom of the bowl doesn’t touch the water). Add chopped chocolate and butter to the bowl, stirring until completely melted and smooth, then remove from heat and let cool slightly.
- In a separate large bowl, whisk eggs and granulated sugar together until pale, fluffy, and doubled in volume, about 2 minutes with a hand mixer on medium speed. This step adds air to the batter for a lighter, more tender crumb.
- Slowly pour the melted chocolate mixture into the egg mixture, stirring gently with a spatula to combine.
- Sift together all-purpose flour, unsweetened cocoa powder, baking powder, and salt, then gently fold the dry ingredients into the wet mixture until just combined. A common mistake novice bakers make is overmixing the batter, which develops gluten in the flour and leads to a dense, tough cake. If adding optional mix-ins like chocolate chips or nuts, fold them in now.
Filling the Pan
- Preheat your oven to 350°F (175°C) and position the rack in the middle of the oven. Since most home ovens run 10–25°F (5–14°C) off their set temperature, using a standalone oven thermometer ensures even baking, a tip backed by University of Minnesota Extension baking guidance.
- Grease your prepared Bundt pan thoroughly with melted butter or non-aerosol baking spray, then dust with cocoa powder, tapping out excess.
- Pour half of the batter into the pan, spreading it evenly with a spatula. For extra molten lava pockets, drop ½ cup of semi-sweet chocolate chips or a scoop of chocolate ganache into the center of the batter, then pour the remaining batter over top, spreading evenly.
- Tap the pan firmly on the counter 2–3 times to release any trapped air bubbles.
Baking and Testing for Doneness
- Place the pan on the middle oven rack and bake for 28–32 minutes. Exact bake time will vary based on your oven and pan material.
- The cake is done when the edges are set and pull slightly away from the pan, the top looks firm but not dry, and the center jiggles gently when you nudge the pan. Insert a toothpick 1 inch from the edge of the cake—it should come out with moist, fudgy crumbs, not wet batter, and no raw, liquidy streaks.
- Let the cake cool in the pan on a wire rack for 15 minutes, then invert it onto a serving plate. Let it cool for 5 more minutes before slicing to let the molten center set slightly, but serve warm for the best gooey texture.
Pro Tips for a Consistently Gooey Molten Core
Even small adjustments can make the difference between a dry, cakey Bundt and a perfectly oozing lava cake:
- Don’t overbake: This is the #1 mistake that ruins molten lava cakes. Set your timer for 28 minutes, then check for doneness every 2 minutes after that. Even 3 extra minutes of bake time can cook the center solid.
- Add a ganache core for guaranteed gooeyness: For extra insurance, melt 1 cup of dark chocolate with ½ cup of heavy cream, then pour ¼ cup of the ganache into the center of the batter after adding the first half of the batter, then top with the remaining batter. This creates a rich, oozing core every time.
- Serve immediately: The molten center will start to set as the cake cools, so slice and serve within 30 minutes of baking for the best texture. If you need to hold it, cover loosely with aluminum foil and reheat individual slices in the microwave for 10–15 seconds before serving.
- For bakers with toddlers in the home, installing no-drill cabinet locks on lower kitchen cabinets keeps little hands away from hot oven doors and sharp baking tools mid-recipe.
Serving Ideas and Pairings
Thoughtful toppings and drink pairings elevate this already indulgent dessert to the next level.
Toppings and Garnishes
- Dust with powdered sugar for a classic, elegant visual contrast.
- Add fresh raspberries or blackberries for a bright, tart contrast to the rich chocolate.
- Sprinkle flaky sea salt on top to enhance chocolate flavor and add a subtle savory kick.
- Drizzle with salted caramel or extra melted chocolate for extra indulgence.
- Add a scoop of vanilla bean ice cream or freshly whipped cream to cut the richness and add a cool, creamy element.
- Top with toasted chopped pecans, almonds, or hazelnuts for a crunchy texture.
Beverage Pairings
- A shot of espresso or Americano complements the deep chocolate flavor and cuts through the richness.
- A glass of cold whole milk is a nostalgic, creamy pairing that softens the chocolate intensity.
- A fruity red wine like Merlot or Pinot Noir adds a sophisticated, adult touch.
- Spiced chai or hot cocoa adds extra warmth for cozy, cool weather servings.
- If you’re serving this to young kids, pairing it with child-safe cabinet locks keeps curious little ones out of reach of hot bakeware and sharp utensils while you plate dessert.
Troubleshooting Common Baking Issues
Even experienced bakers run into issues with this recipe—here’s how to fix them:
- Dry, cakey center: Caused by overbaking, an oven running too hot, or too much flour. Fix: Use an oven thermometer, check for doneness 5 minutes before the recipe timer goes off, and measure flour by spooning it into a measuring cup and leveling with a knife, rather than scooping directly from the bag (which compacts the flour and adds extra volume).
- Cake sticks to the pan: Caused by insufficient greasing or not letting the cake cool long enough before inverting. Fix: Use a pastry brush to coat every crevice of the pan with butter, dust with cocoa powder instead of flour, let the cake cool in the pan for a full 15 minutes before inverting, and tap the edges of the pan gently with a wooden spoon to release the cake before flipping.
- Center is completely raw and liquidy: Caused by underbaking, using a pan that’s too large, or oven temperature too low. Fix: Use a standard 10–12 cup Bundt pan, increase oven temperature by 25°F if your oven runs cool, and bake for 5–10 minutes longer, checking for the jiggle test.
- Cake collapses when inverted: Caused by undercooling in the pan or overmixing the batter (which develops too much gluten and weakens the crumb structure). Fix: Let the cake cool in the pan for at least 15 minutes, and mix the batter just until the dry ingredients are incorporated, no more. For deep cleaning Bundt pan crevices after baking, a professional kitchen cleaning brush gets into every nook to remove stuck-on chocolate and butter residue without scratching non-stick coatings.
Creative Variations to Try
Small tweaks can give this classic recipe a whole new flavor profile:
- Salted caramel lava: Add ¼ cup of salted caramel sauce to the center of the batter along with the chocolate chips, and drizzle extra caramel on top after baking for a sweet-salty twist.
- Hazelnut mocha: Swap ¼ cup of all-purpose flour for hazelnut flour, add 1 tsp of espresso powder to the dry ingredients, and top with a Nutella drizzle and toasted chopped hazelnuts.
- Spicy Mexican chocolate: Add 1 tsp of cinnamon and ¼ tsp of cayenne pepper to the dry ingredients, and top with a cinnamon-sugar dusting for a warm, spicy kick.
- Vegan and gluten-free: Swap all-purpose flour for a 1:1 gluten-free flour blend, use vegan butter and dairy-free dark chocolate, and replace eggs with flax eggs (1 tbsp ground flaxseed meal mixed with 3 tbsp water per egg) for a plant-based version that still has that signature gooey center.
 This vegan variation uses dairy-free chocolate and flax eggs for a plant-based treat
Credit: makeitdairyfree.com
This vegan variation uses dairy-free chocolate and flax eggs for a plant-based treat
Credit: makeitdairyfree.com
Frequently Asked Questions
What makes a chocolate molten lava Bundt cake different from regular Bundt cake or individual lava cakes?
Unlike a standard fully cooked Bundt cake, this recipe has a gooey, molten chocolate core that oozes out when sliced. It’s also easier to make for a crowd than individual ramekin lava cakes, as it bakes in a single pan with no need to portion batter into individual dishes.
How do I get the perfect molten lava center every time?
The key is avoiding overbaking: pull the cake from the oven when the edges are set, the top is firm to the touch, and the center jiggles gently when you nudge the pan. Using a 10–12 cup Bundt pan and an oven thermometer also ensures even baking so the outside sets before the center cooks through. For the deepest, most balanced chocolate flavor, opt for 60–70% cacao dark chocolate, a standard recommended by the National Confectioners Association for premium baking applications.
Can I make the batter ahead of time?
Yes! You can mix the batter up to 24 hours in advance, store it covered in the refrigerator, then let it come to room temperature for 30 minutes before baking for even cooking. Do not add the chocolate chip add-ins ahead of time, as they will sink to the bottom of the batter.
Can I freeze baked chocolate molten lava Bundt cake?
Yes. Wrap the cooled, un-sliced cake tightly in plastic wrap and aluminum foil, then freeze for up to 3 months. Thaw it in the refrigerator overnight, then reheat individual slices in the microwave for 10–15 seconds to bring back the molten center before serving.
Is this cake safe for children?
Yes, as long as you skip any alcohol-based add-ins. The molten center is fully cooked, just let the cake cool for 5–10 minutes after slicing to avoid burns from the warm chocolate.
Final Thoughts
This chocolate molten lava Bundt cake is the ultimate crowd-pleasing dessert that looks far more impressive than it is to make. With the right ingredients, pan, and a few pro tips, you can pull off that signature oozing molten center every time, even if you’re a novice baker. It’s perfect for any occasion, from casual weeknight treats to formal dinner parties, and customizable with toppings and variations to suit any taste. Don’t be afraid to experiment with add-ins to make it your own—even if the center isn’t perfectly molten the first time, the rich, fudgy chocolate flavor will still make it a hit. For more easy, impressive dessert recipes and kitchen hacks, browse our full blog archive for inspiration for your next baking project.
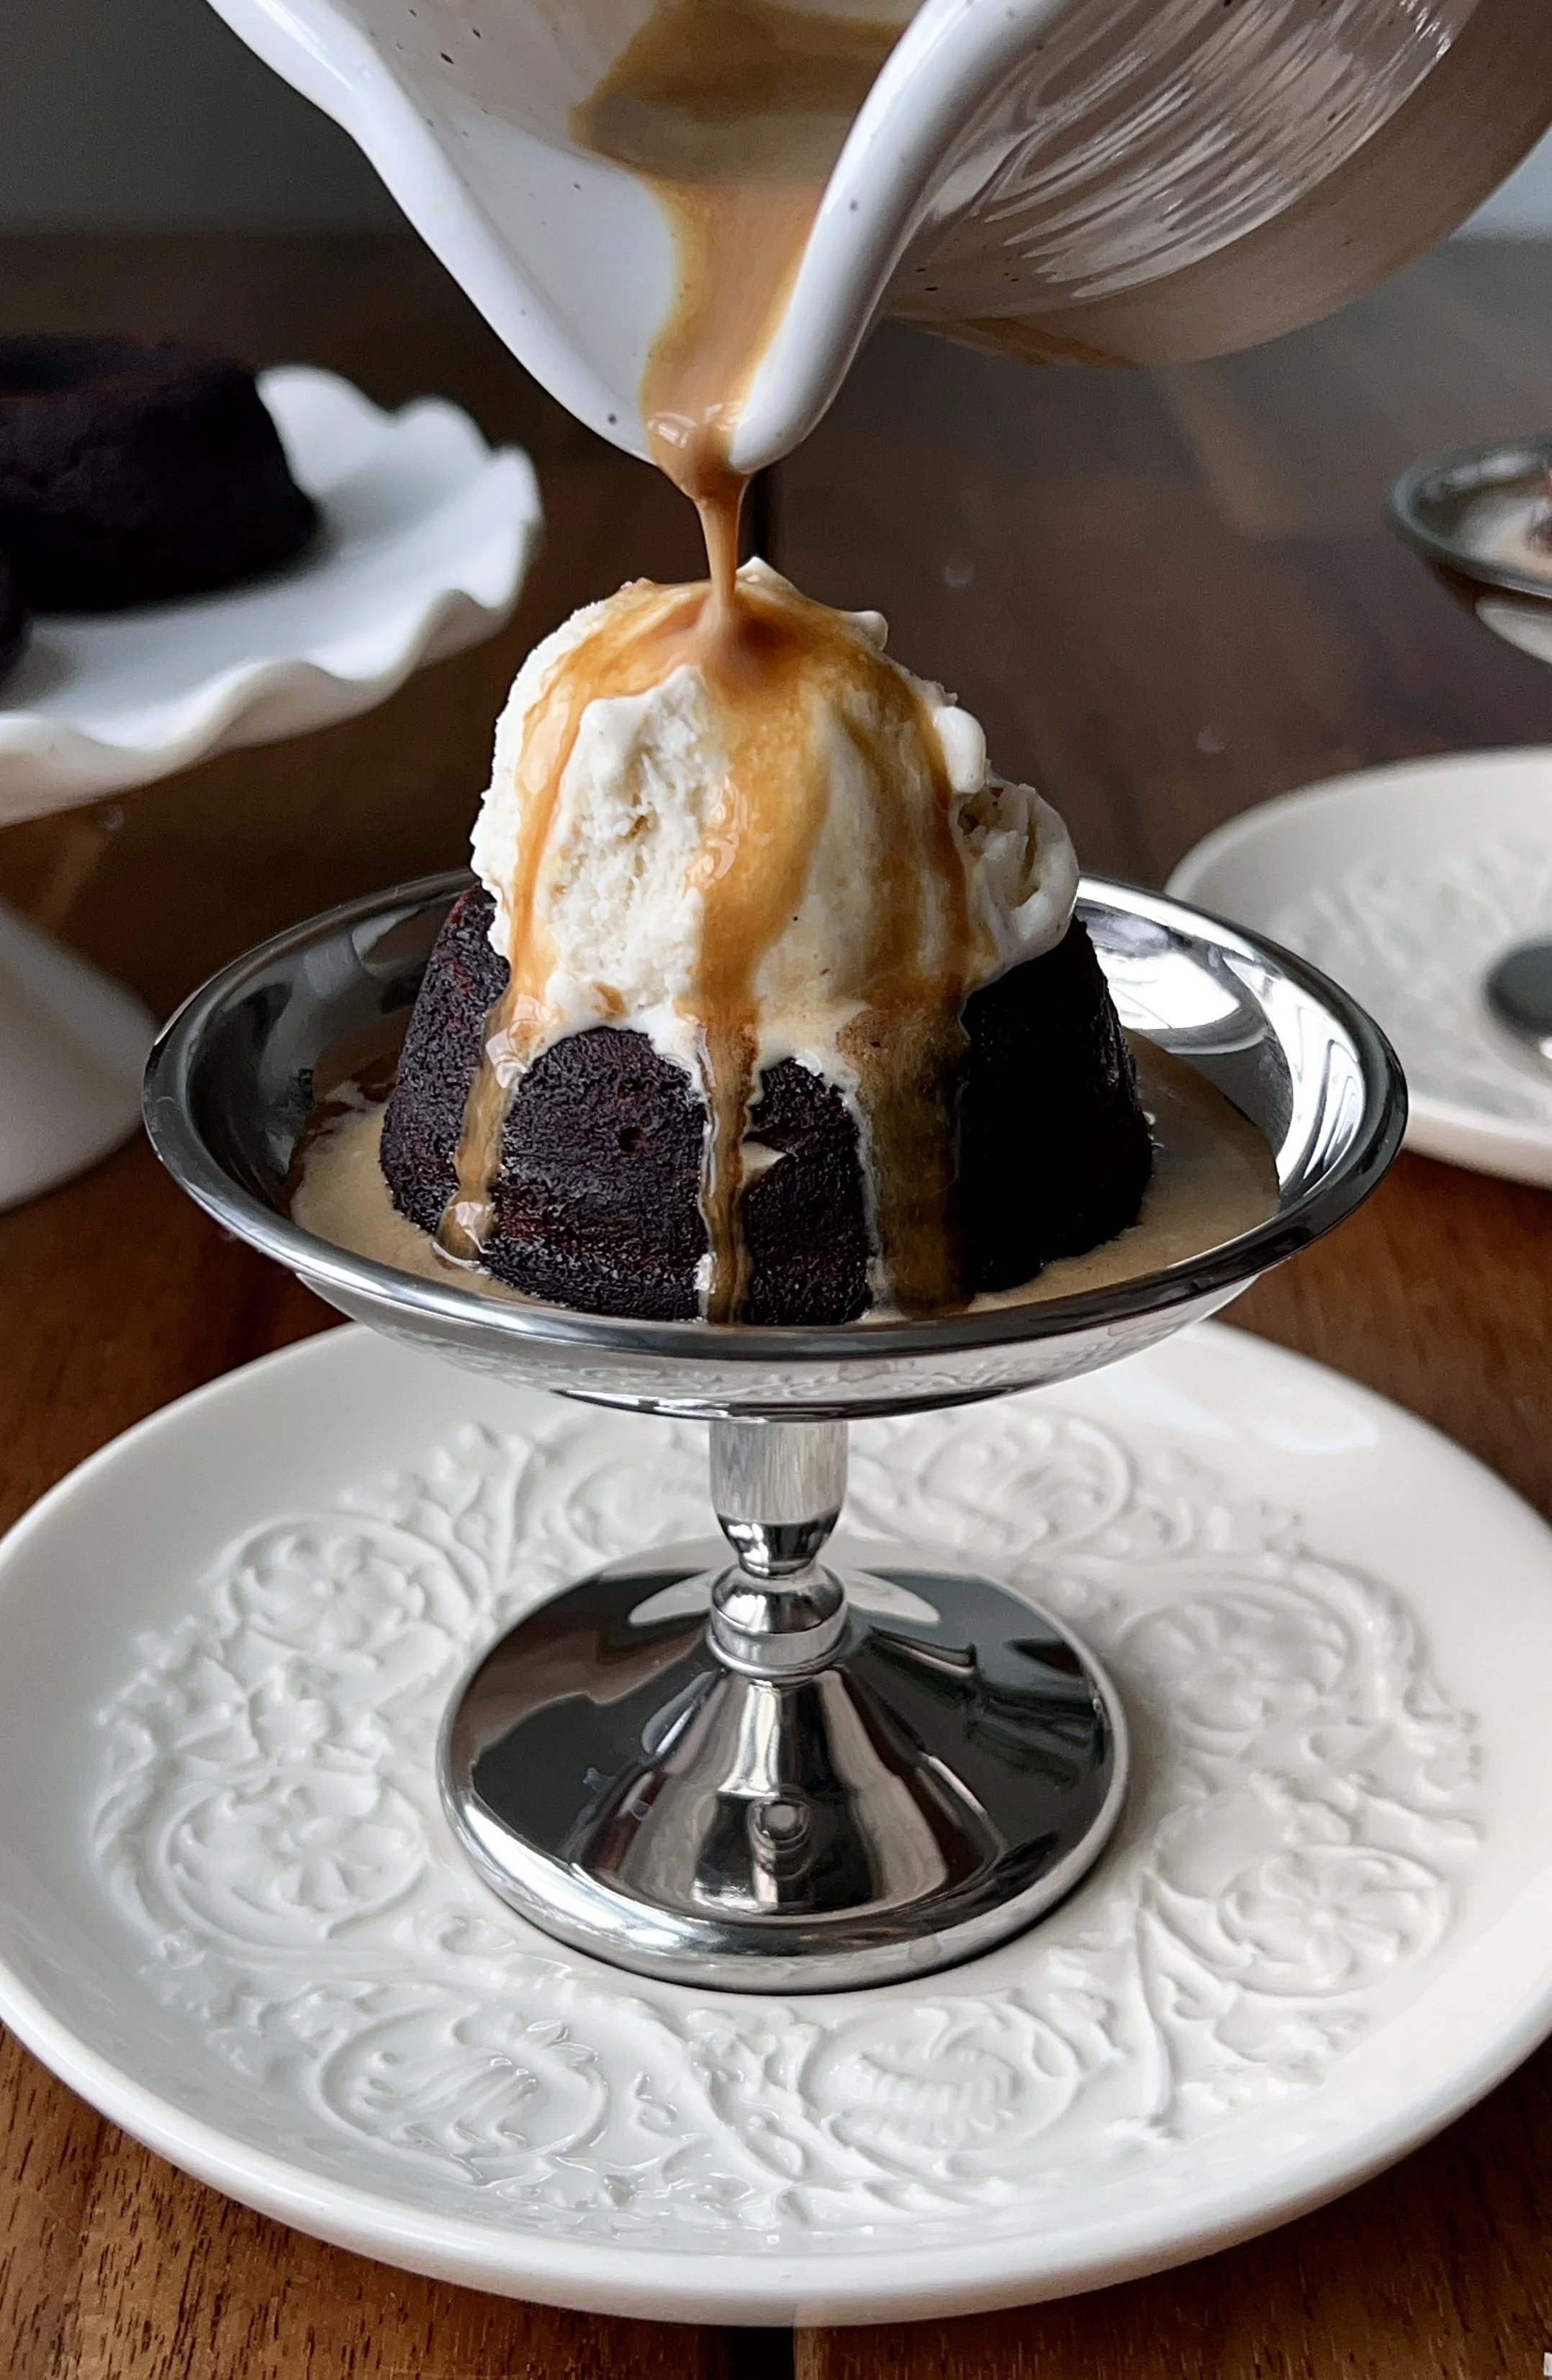 A glossy chocolate sauce drizzle adds extra richness to the finished cake
Credit: www.wellmadebykiley.com
A glossy chocolate sauce drizzle adds extra richness to the finished cake
Credit: www.wellmadebykiley.com
Whether you’re baking for a holiday feast, a casual weeknight treat, or a last-minute dinner party contribution, this cake delivers restaurant-quality results with minimal hands-on time. The key to nailing that signature oozing core is trusting the jiggle test over the clock, and resisting the urge to overbake even if the top looks slightly underdone when you pull it from the oven—carryover cooking will continue to set the edges while the center stays perfectly molten. If you’re new to Bundt baking, don’t worry if your first release isn’t flawless: any stray crumb stuck to the pan can be easily rinsed off, and the cake will taste just as rich and decadent regardless of its shape. Experiment with the variations we shared to match your taste preferences, and don’t hesitate to adjust the baking time by a minute or two to account for your oven’s unique heat distribution. This is one of those rare desserts that feels fancy but comes together with just a few simple steps, so it’s sure to become a go-to staple in your baking rotation.

I’m Abby Lu, a passionate home cook who loves simplifying everyday meals. At PlugChef.com, I share product reviews and cooking guides to help you find the best tools for your kitchen.
Related posts:
 How to Make a Fruit Basket for a Gift: Easy DIY Guide
 Do You Need a Basket? Essential Guide for Air Fryers
 How to Adjust Syrup Dispenser Pressure: Expert Tips
 Appliance Play Food Kitchen Toys: Ignite Imaginative Play
 How Long Do Beauty Blenders Last: Expert Tips Unveiled
 Philips Kitchen Appliances Compact Pasta And Noodle Maker: Effortless Homemade Pasta

