
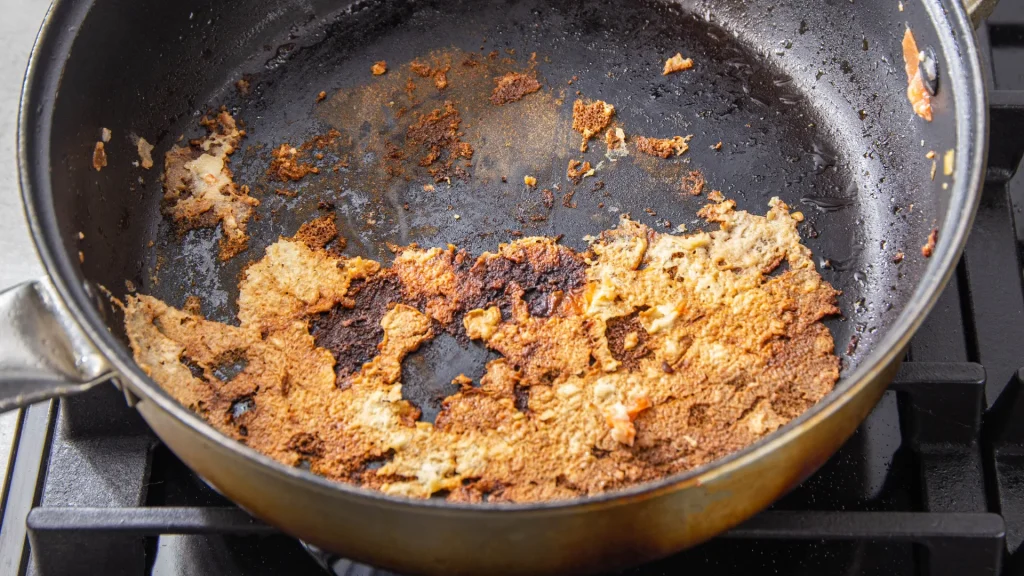
You turned your back on a pot of simmering tomato sauce for 30 seconds to answer a text, and came back to a blackened, stuck-on mess coating the entire bottom of your favorite pan. If this scenario feels all too familiar, you’re not alone: burnt pans are one of the most common kitchen frustrations, but you don’t need to toss your cookware and spend hundreds replacing it.
Most burnt pans are fully salvageable with cheap, household items you already have on hand, no harsh chemicals or specialty tools required. In this guide, we’ll walk through exactly what causes pans to burn, step-by-step methods to fix every type of cookware, how to avoid damaging delicate surfaces in the process, and simple habits to stop burnt pans from happening again. Whether you’re dealing with light discoloration or thick, carbonized gunk, you’ll have your pan looking like new in 15 minutes or less.
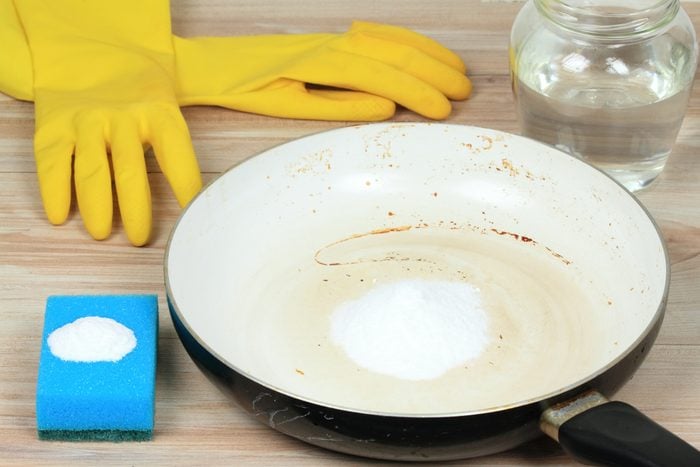 A badly burnt pan is often salvageable with the right cleaning method
Credit: www.rd.com
A badly burnt pan is often salvageable with the right cleaning method
Credit: www.rd.com
What Causes Pans to Burn (So You Can Prevent Future Messes)
Understanding why your pan burnt in the first place will help you avoid repeat incidents, and also help you choose the right cleaning method to avoid further damage. Most burns stem from small, avoidable errors or mismatched cookware for your cooking style.
Common Cooking Mistakes
Most burnt pans are the result of small, avoidable errors, not bad cookware. The most common culprits include:
- Excessive heat: High burners overheat pan surfaces in 1-2 minutes, instantly carbonizing food and oil. Nonstick pans, for example, start to degrade at temperatures above 500°F, making sticking and burning far more likely.
- Unattended cooking: Even 60 seconds of distraction is enough for food to go from perfectly seared to burnt, especially when cooking at medium-high heat or higher.
- Skipping preheating: Adding food to a cold pan causes it to stick immediately, leading to uneven cooking and charred spots before the pan even reaches temperature.
- Overcrowding: Piling too much food into a pan drops the surface temperature by 100°F or more, releasing trapped moisture that then sears onto the pan surface instead of cooking the food evenly.
- Using the wrong oil: Oils with low smoke points (like extra virgin olive oil or butter) burn at high temperatures, leaving sticky, burnt residue that’s hard to remove.
Pan Materials That Are More Prone to Burning
Not all cookware handles heat the same way, and some materials are far more likely to develop burnt residue if not used correctly:
- Nonstick pans: Their specialized coating prevents sticking at low to medium heat, but overheats easily, and burnt residue can damage the nonstick layer permanently.
- Thin stainless steel or aluminum pans: These heat up 2x faster than heavy-bottomed clad stainless steel, making hot spots and uneven cooking far more common.
- Cast iron and carbon steel: While they retain heat extremely well, they require a well-maintained seasoning layer to prevent sticking; if the seasoning is worn down, food will burn and stick almost immediately.
- Ceramic-coated pans: Their porous surface is more prone to absorbing burnt oils and odors if not cleaned promptly after use.
Critical Safety Steps Before You Start Cleaning
A burnt pan may look harmless, but cleaning it without taking basic precautions can lead to burns, respiratory irritation, or permanent damage to your cookware. Follow these steps before you start scrubbing:
Let the Pan Cool Fully
Never attempt to clean a pan while it’s still warm to the touch. Hot pans can cause severe contact burns, and sudden temperature changes (like dousing a hot pan with cold water) can warp stainless steel bases or crack cast iron from thermal shock. Set the pan on a stable, heat-proof surface away from the edge of your counter, and wait until it’s completely cool to the touch before starting any cleaning step.
Use Protective Gear
For light cleaning, a pair of rubber dish gloves is enough to protect your skin from grease and mild cleaners. If you’re using boiling vinegar, commercial oven cleaner, or other strong solutions, wear nitrile gloves to avoid skin irritation, and open a window to ventilate the area if you have sensitive lungs. Avoid splashing cleaner near your eyes, and consider wearing an apron to protect your clothes from stains.
Basic At-Home Methods for Minor Burnt Stains (No Special Tools Needed)
If the burnt residue is light (discoloration, thin stuck-on bits) and not carbonized into the pan surface, you can fix it with these simple, low-effort methods:
Warm Soak and Non-Abrasive Scrubbing
Fill the burnt pan with warm (not hot) water and a squirt of mild dish soap, adding a drop of degreaser if you have it on hand for extra grease-cutting power. Let the pan soak for 30 minutes to 2 hours, depending on the severity of the burn—this loosens stuck-on bits without requiring harsh scrubbing. After soaking, scrub gently with a non-abrasive sponge or sturdy non-scratch scrubbers, focusing on stubborn spots in circular motions. Avoid steel wool or metal scrubbers, as these will scratch most pan surfaces and create rough spots that trap food and cause more burning in the future. Rinse thoroughly with warm water and dry with a clean cloth.
Baking Soda and Vinegar Fizz Treatment
For moderate burnt spots that don’t budge with soaking alone, use the natural fizz reaction of baking soda and vinegar to lift residue. Sprinkle a ¼-inch thick layer of baking soda over the entire burnt area, then slowly pour standard 5% household white vinegar over the top—avoid dumping it all at once, as the rapid fizz can overflow the pan. Let the mixture fizz for 10-15 minutes, then scrub with a soft sponge. For extra tough spots, mix baking soda and water into a thick paste, apply it to the burnt area, and let it sit for 30 minutes before scrubbing. Rinse thoroughly to remove any leftover grit.
Advanced Restoration Tricks for Stubborn, Thick Burnt Residue
If the burnt layer is thick, black, and carbonized into the pan surface, basic soaking won’t be enough. These methods use heat and stronger natural cleaners to break down even the toughest gunk:
Boiling Dish Soak Method
Fill the burnt pan with enough water to cover the entire burnt area, then add 2-3 drops of mild dish soap. Bring the water to a rolling boil over medium heat, then let it boil for 10-15 minutes—the heat and soap soften the carbonized layer, making it easy to scrub off. Turn off the heat and let the pan cool completely before scrubbing with a non-abrasive sponge. Note: For cast iron pans, skip the dish soap to avoid stripping the seasoning layer; use plain hot water instead.
Salt and Lemon Abrasive Scrub
For burnt spots that are stuck on but not fully carbonized, this gentle abrasive method works wonders without scratching most surfaces. Sprinkle a thick layer of coarse kosher salt (fine table salt is too soft to work as an effective abrasive) over the burnt area, then squeeze the juice of half a lemon over the salt. Use the cut side of the lemon to scrub the mixture across the burnt area in circular motions—the citric acid breaks down burnt grease, while the salt lifts the residue without damaging the pan surface. Let the mixture sit for 10 minutes, then rinse with warm water and dry thoroughly.
Boiling Vinegar Soak for Carbonized Buildup
For thick, black burnt layers that won’t respond to other methods, use vinegar’s acidity to dissolve the carbonized bonds. Fill the pan with equal parts white vinegar and water, bring to a boil, and let it boil for 5 minutes. Turn off the heat and let the mixture sit for 30 minutes—you’ll see the burnt residue start to lift and float to the surface. Dump the mixture, then scrub with a non-abrasive sponge. For extra tough spots, repeat the process once more before rinsing.
Material-Specific Fixes (To Avoid Damaging Your Pans)
Using the wrong cleaning method for your pan’s material can cause permanent damage, like scratching nonstick coating or stripping cast iron seasoning. Follow these tips for each common cookware type:
How to Fix Burnt Stainless Steel Pans
Stainless steel is durable, but burnt stains can leave permanent discoloration if not treated correctly. Start with the baking soda and vinegar method above, then for stubborn spots, make a paste of 3 tablespoons baking soda and 1 tablespoon 3% hydrogen peroxide. Apply the paste to the burnt area, let it sit for 1 hour, then scrub with a non-abrasive sponge and rinse. Avoid using chlorine bleach on stainless steel, as it can cause pitting and corrosion over time.
How to Restore Burnt Non-Stick Cookware
Nonstick pans require extra gentle care to avoid damaging their specialized coating, which can flake into food if scratched. Never use metal scrubbers, steel wool, or harsh abrasive cleaners on nonstick surfaces. For light burns, soak the pan in warm soapy water for 15-20 minutes, then wipe clean with a soft cloth. For moderate burns, heat a mixture of equal parts water and white vinegar in the pan until warm (do not boil, as high heat can damage the coating), then wipe clean with a soft sponge. If the nonstick coating is already flaking or peeling, the pan is no longer safe to use, even if you remove the burnt residue.
How to Clean Burnt Cast Iron and Carbon Steel Pans
Cast iron and carbon steel rely on a polymerized oil layer (seasoning) to prevent sticking, so you’ll need to avoid soap and harsh chemicals to preserve that layer. For burnt residue, fill the pan with warm water and bring to a gentle boil for 5 minutes, then use a stiff nylon heavy-duty scrub brushes to scrape off stuck-on bits. For stubborn spots, sprinkle coarse kosher salt over the area and scrub with a brush to lift the residue without stripping seasoning. After cleaning, dry the pan immediately with a clean cloth, then rub a thin layer of neutral oil (canola, grapeseed, or flaxseed) over the entire surface. Place the pan upside down in a 450°F oven for 1 hour to seal the seasoning, then let cool completely before storing.
How to Fix Burnt Aluminum Pans
Uncoated aluminum pans are prone to discoloration and oxidation if cleaned with harsh alkaline cleaners like baking soda. For burnt residue, use the boiling vinegar soak method above, then rinse immediately with warm water to prevent dark oxidation spots. Avoid leaving vinegar or acidic cleaners in aluminum pans for more than 30 minutes, as this can cause pitting over time.
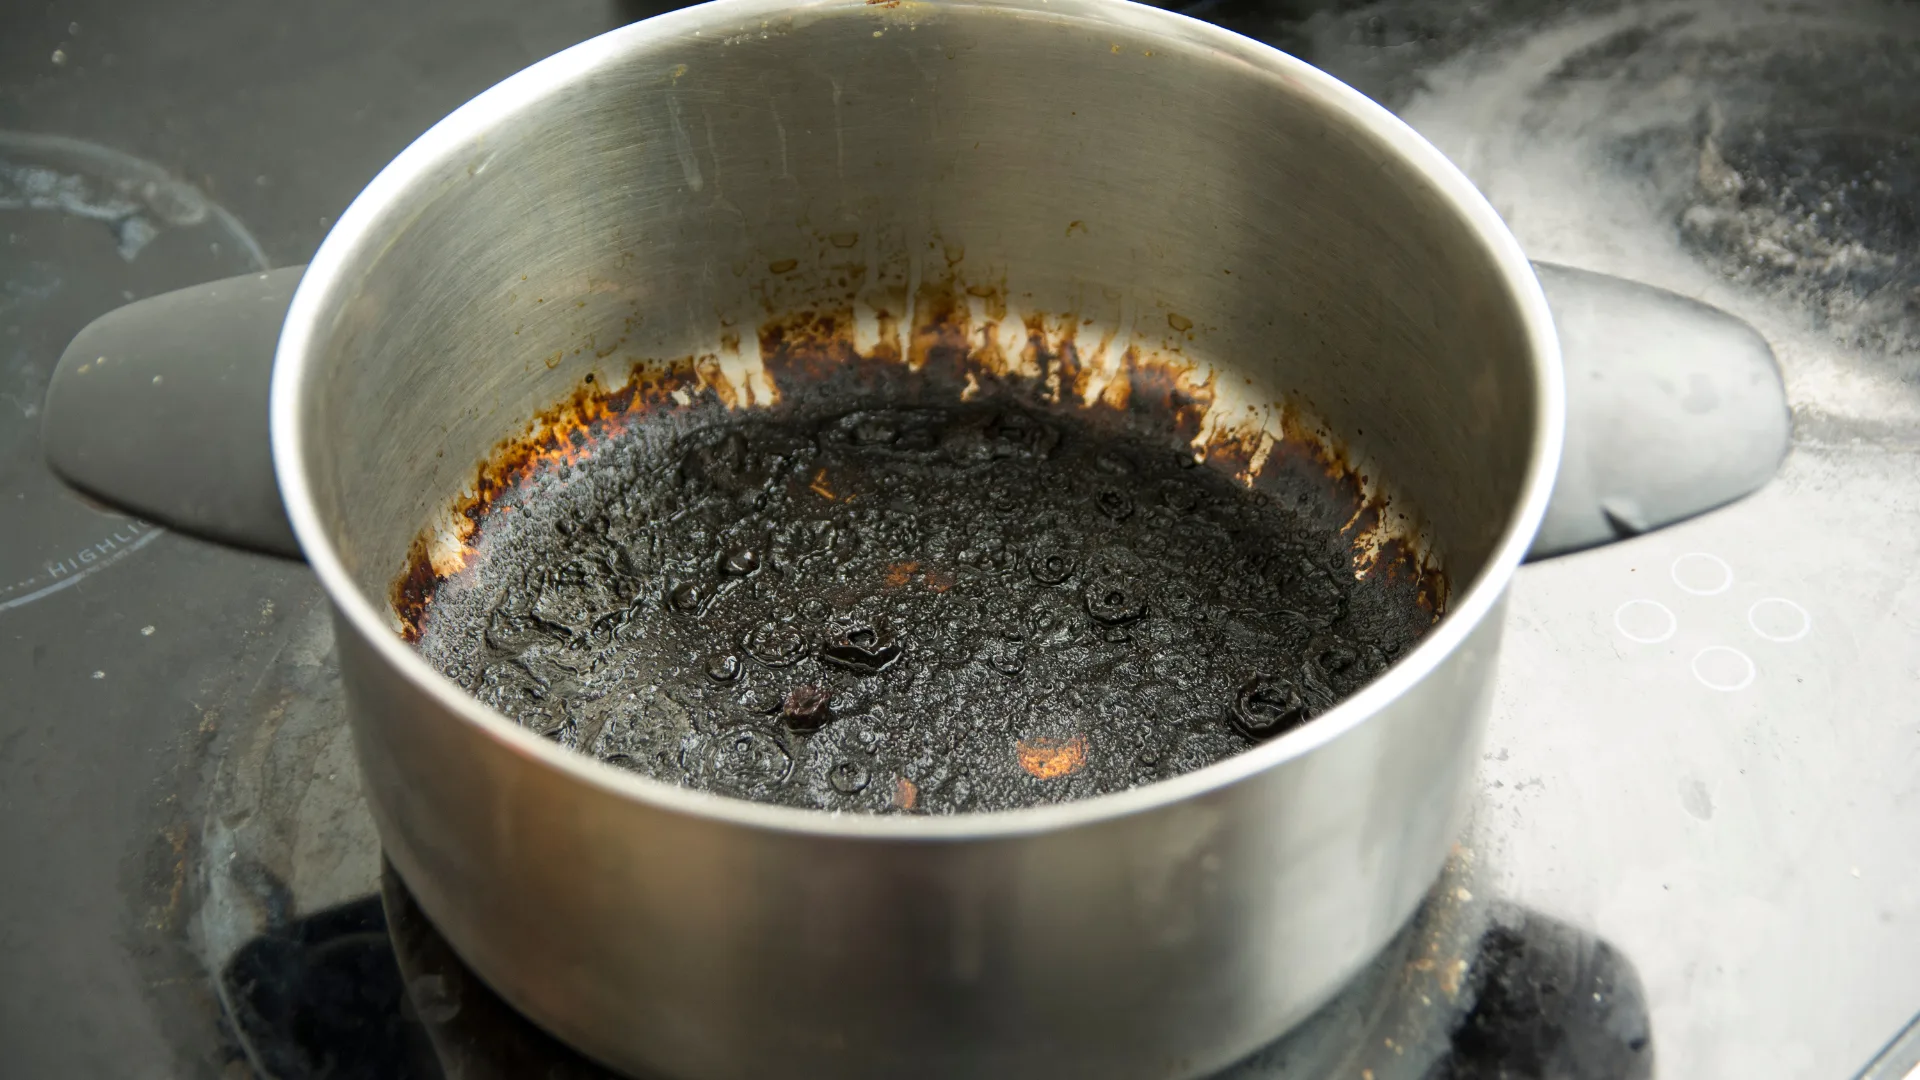 Baking soda and vinegar are effective for most moderate burnt stains
Credit: www.bhg.com.au
Baking soda and vinegar are effective for most moderate burnt stains
Credit: www.bhg.com.au
When to Toss the Pan (No Matter How Hard You Try)
Some burnt pans are simply beyond repair, and trying to salvage them can waste time and even pose safety risks. Here’s how to tell when it’s time to replace your cookware:
Signs of Irreparable Damage
- Deep scratches or gouges in the cooking surface that trap food and bacteria, even after scrubbing
- A warped or uneven base that rocks when placed on a flat surface, causing uneven heat distribution and more frequent burning
- Non-stick coating that is peeling, flaking, or chipping, which can release small particles into your food
- Burn marks that remain after 2+ attempts at cleaning with the methods above
- Rust spots that are spreading across the surface of cast iron or carbon steel pans, which cannot be fully removed
- Loose, broken, or wobbly handles that cannot be securely tightened
Pans with these issues will not cook food evenly, may harbor harmful bacteria, and can even cause accidents in the kitchen if the handle breaks mid-use.
Choosing Long-Lasting Cookware to Avoid Future Headaches
If you’re in the market for a new pan, prioritize durability to reduce the chance of future burnt messes:
- Opt for heavy-bottomed clad stainless steel or cast iron, which distribute heat evenly and resist warping
- Look for pans with thick, tri-ply bases that prevent hot spots
- Choose PFOA-free nonstick coatings from reputable brands, which are more resistant to scratching and heat damage
- Avoid thin, inexpensive aluminum pans, which warp easily and heat unevenly
- Prioritize pans with securely attached, heat-resistant handles that won’t loosen over time
Pair proper cookware care with other kitchen safety habits, like installing easy-to-install child locks to keep dangerous items out of reach of young kids. For more tips on maintaining your kitchen tools, check out our kitchen maintenance tips for easy, actionable advice.
Pro Tips to Prevent Burnt Pans for Good
Fixing a burnt pan is easy, but preventing it from happening in the first place will save you even more time and effort. Follow these simple habits to keep your cookware in top shape:
Master Heat Control
Heat is the number one cause of burnt pans, so learning to control your burner temperature is key. Preheat your pan on medium heat for 2-3 minutes before adding oil or food—if you flick a drop of water onto the surface and it sizzles and glides across the pan, it’s ready to use. Avoid cranking burners to high unless you’re boiling water or searing meat for a very short time. For nonstick pans, the FDA nonstick cookware safety guidance recommends keeping temperatures below 500°F to avoid coating degradation and potential fume release.
Adopt Simple Post-Cooking Habits
Small changes to your post-cooking routine can prevent burnt residue from building up over time:
- Never leave a hot pan unattended on a lit burner, even for 60 seconds—set a timer if you need to step away, and turn the heat to low if you’ll be gone longer than 30 seconds.
- Deglaze your pan while it’s still warm after cooking: add a splash of water, wine, or broth, then scrape up all the browned bits with a wooden spoon before washing. This prevents bits from burning onto the surface the next time you use the pan.
- Clean pans as soon as possible after use, before burnt residue has time to harden and set into the surface.
- Store pans properly: avoid stacking them directly on top of each other, which can cause scratches and uneven heating surfaces. Use pan protectors or hang pans from a rack to keep them in good condition. If you have young kids, secure lower kitchen cabinets with no-drill cabinet security to prevent them from pulling heavy pans down and causing burns or damage.
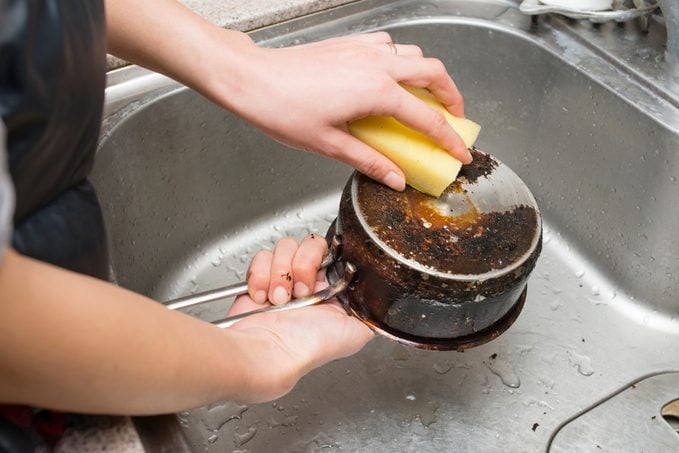 Using non-abrasive tools prevents scratches that lead to more future burning
Credit: www.familyhandyman.com
Using non-abrasive tools prevents scratches that lead to more future burning
Credit: www.familyhandyman.com
Frequently Asked Questions
How do I remove burnt residue from a pan?
For light burns, soak the pan in warm soapy water for 30 minutes to 2 hours, then scrub with a non-abrasive sponge. For moderate to severe burns, use the baking soda and vinegar fizz treatment or boiling vinegar soak to break down carbonized residue before scrubbing.
Can baking soda clean a burnt pan effectively?
Yes, baking soda is a mild alkaline cleaner that lifts burnt grease and carbonized residue without scratching most pan surfaces. For best results, use it with vinegar to create a fizz reaction that loosens stuck-on bits, or mix it with hydrogen peroxide for extra tough stainless steel stains.
Is it safe to use vinegar on burnt pans?
Yes, white vinegar is safe for all common pan materials (stainless steel, nonstick, cast iron, aluminum) when used as directed. Avoid leaving vinegar on aluminum pans for more than 30 minutes, as prolonged exposure can cause pitting.
How long should I soak a burnt pan?
Soak light burns for 30 minutes to 2 hours in warm soapy water. For moderate to severe burns, let the baking soda/vinegar mixture or vinegar soak sit for 15-30 minutes before scrubbing. For the toughest carbonized buildup, let the boiling vinegar soak sit for 30 minutes after boiling for best results.
Can I use steel wool on a burnt stainless steel pan?
No, steel wool and metal scrubbers will scratch stainless steel, creating rough spots that trap food and cause more frequent burning in the future. Stick to non-abrasive sponges or nylon scrubbers to preserve the pan’s smooth surface.
Will burnt pans affect the taste of my food?
If all burnt residue is fully removed during cleaning, it will not impact the taste of your food. However, leftover charred bits can add a bitter, unpleasant flavor, and burned food may contain small amounts of harmful compounds, so always make sure the pan is fully clean before using it again.
Conclusion
A burnt pan doesn’t have to mean the end of your favorite cookware. With the right method for your pan’s material, you can restore even badly carbonized pans to like-new condition in 15 minutes or less, using cheap household items you already own.
The key to success is matching your cleaning method to your pan type: avoid harsh abrasives on nonstick and aluminum, re-season cast iron after cleaning, and never use cold water on a hot pan to prevent warping. Even better, adopting simple heat control and post-cooking habits will stop burnt pans from happening in the first place, extending the life of your cookware by years.
If you’re in the market for durable, easy-to-clean cookware or the right tools to keep your pans in top shape, check out our top-rated cleaning brushes to make maintenance a breeze.

I’m Abby Lu, a passionate home cook who loves simplifying everyday meals. At PlugChef.com, I share product reviews and cooking guides to help you find the best tools for your kitchen.
Related posts:
 What to Serve With Tenderloin: Irresistible Side Dishes Ideas
 How to Soak Grill Grates: Easy Tips for a Sparkling Clean Grill
 Potatoes With Ranch Dressing Packet: Irresistible Easy Recipe Ideas
Fryer Chicken Vs Roaster Chicken: Ultimate Taste and Texture Showdown
Potatoes With Ranch Dressing Packet: Irresistible Easy Recipe Ideas
Fryer Chicken Vs Roaster Chicken: Ultimate Taste and Texture Showdown
 Cheeseburger Sliders Recipe Hawaiian Rolls: Irresistible Party Bites
 Fastest Way to Peel Apples: Simple Tricks for Quick Results

