

If you grew up with the iconic, buttery aroma of boxed Rice-A-Roni on the dinner table, you know that unique, comforting flavor is hard to beat. But pre-made mixes often come loaded with excess sodium, artificial flavors, and preservatives you can’t even pronounce. The good news? You can recreate that exact classic taste at home in 30 minutes flat, with simple, whole ingredients you already have in your pantry. This homemade Rice a Roni from scratch recipe delivers that signature toasted pasta and fluffy rice base, with zero mystery additives, and endless room for customization to match your family’s taste. Whether you’re a beginner cook or a seasoned home chef, this guide walks you through every step, common pitfalls to avoid, and fun flavor twists to make the dish your own.
Why Make Rice a Roni From Scratch?
Boxed Rice-A-Roni mixes may be convenient, but they often contain 800–1000mg of sodium per serving, making up a large share of the FDA’s recommended daily sodium limit of less than 2,300mg for adults. For context, the FDA notes that over 70% of sodium in the average American diet comes from processed foods, so cutting out pre-made mixes is a simple way to lower your family’s sodium intake without sacrificing flavor. Homemade versions also let you skip artificial colors and preservatives, adjust seasoning to your taste, and add extra nutrition with veggies or proteins. Over time, you’ll also save money: a single box of Rice-A-Roni costs $3–$4, while a homemade batch costs roughly $1.50 per serving.
Ingredients You’ll Need
This recipe uses just 8 core ingredients, all of which are easy to find at any grocery store. Measurements are for 4 servings:
- 1 cup long-grain white rice (or brown rice for a nuttier, chewier texture)
- 1 cup thin vermicelli pasta (or broken thin spaghetti)
- 2 tablespoons unsalted butter (or olive oil for a vegan version)
- 2 ½ cups low-sodium chicken or vegetable broth
- ½ teaspoon garlic powder
- ½ teaspoon onion powder
- ¼ teaspoon dried parsley (or 1 tablespoon fresh chopped parsley, added at the end)
- Pinch of salt and black pepper (adjust to taste)
Choosing the Right Rice
Long-grain white rice (basmati or jasmine work perfectly) creates the classic fluffy, separate grain texture that defines Rice-A-Roni, with no stickiness. If you prefer a nuttier flavor and extra fiber, brown rice is a great swap, but you’ll need to extend the simmer time to 40–45 minutes and add an extra ½ cup of broth to account for the longer cook time. Avoid short-grain rice like arborio, as it releases excess starch and will turn gummy, ruining the dish’s signature texture. A common first-time mistake is skipping the pre-cook rinse: rinsing rice under cold water for 30 seconds removes excess surface starch, which prevents clumps and ensures even cooking.
Selecting the Perfect Pasta
Traditional Rice-A-Roni uses thin vermicelli broken into 1-inch pieces, as they toast evenly and add a subtle crunch before simmering. If you don’t have vermicelli on hand, broken thin spaghetti works exactly the same. For a slightly chewier bite, orzo is a fun substitute, but avoid thick pasta shapes like penne, as they won’t toast evenly and will overpower the rice. If you’re cooking for someone with gluten intolerance, use certified gluten-free vermicelli or small gluten-free pasta shapes to avoid cross-contamination.
Broth and Seasoning Tips
Low-sodium broth is non-negotiable for depth of flavor—plain water will make the dish taste flat and one-note. If you use homemade broth, skip added salt until the end of cooking, since store-bought low-sodium broth still contains a small amount of salt. For a vegan version, use low-sodium vegetable broth and swap butter for olive oil or vegan butter. Dried parsley adds the classic subtle herb flavor, but you can swap it for 1 teaspoon of dried oregano or a pinch of smoked paprika for a twist. Per USDA MyPlate guidelines, whole grains like brown rice are a key part of a balanced diet, so feel free to experiment with whole-grain pasta swaps for extra nutrition.
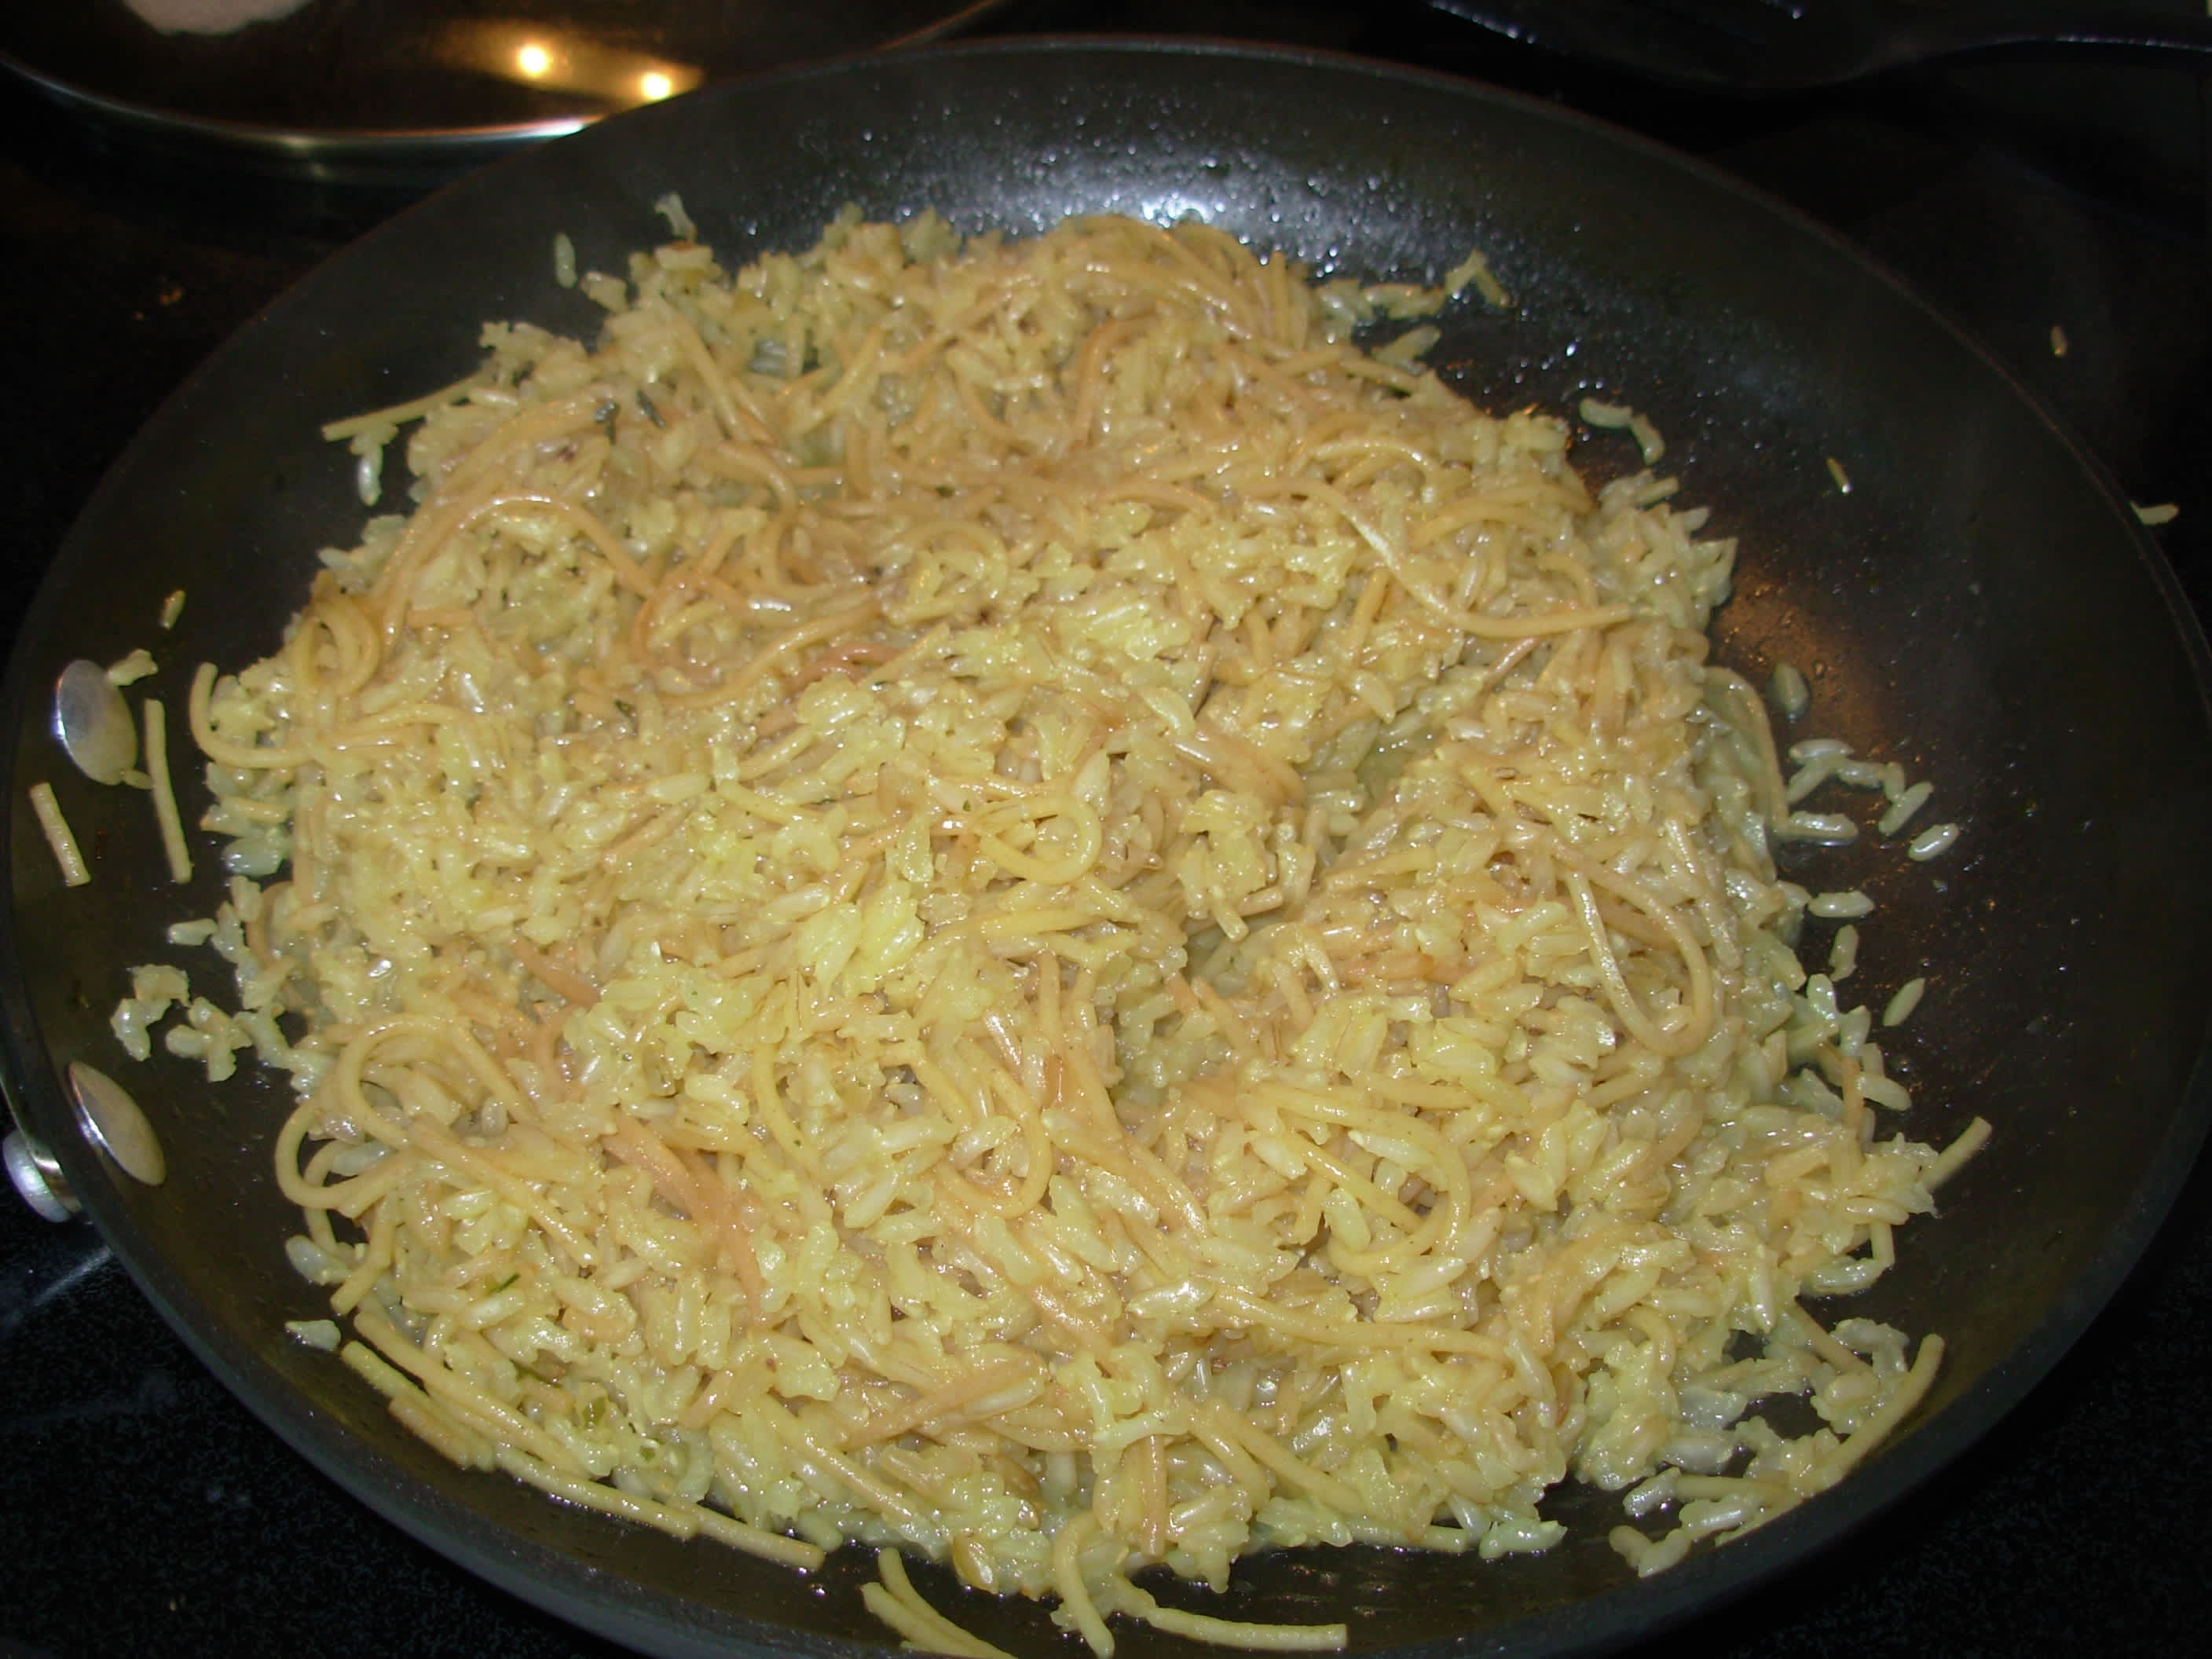 Toasted rice and pasta form the nutty, golden base of classic homemade Rice-A-Roni.
Image source: www.food.com
Toasted rice and pasta form the nutty, golden base of classic homemade Rice-A-Roni.
Image source: www.food.com
Step-by-Step Homemade Rice a Roni Recipe
The entire process comes together in 30 minutes or less, with minimal active work. Follow these steps for perfect results every time.
Prep First (5 Minutes)
Measure all ingredients before turning on the heat, as the toasting process moves quickly and you don’t want to burn the pasta while fumbling for broth. Rinse the rice under cold water for 30 seconds to remove excess starch, which prevents gummy clumps in the finished dish. If you’re prepping veggies or proteins for a customized version, chop them now to streamline cooking.
- Toast the rice and pasta: Heat butter in a 10-inch heavy-bottomed skillet or pot over medium heat. Add the broken vermicelli and rinsed rice, stirring to coat in butter. Cook, stirring constantly, for 3–5 minutes until the pasta turns a uniform golden amber and smells nutty. Common mistake: walking away from the pan here—burnt bits will make the entire dish bitter, so keep stirring the whole time.
- Add aromatics: Stir in garlic powder and onion powder, cooking for 30 seconds until fragrant, being careful not to burn the spices.
- Simmer with broth: Pour in the broth, scraping the bottom of the pan to loosen any toasted bits stuck to the surface (those are packed with flavor, don’t leave them behind!). Bring the mixture to a gentle boil, then reduce heat to low, cover, and simmer for 18–20 minutes for white rice, or 40–45 minutes for brown rice. Do not lift the lid during this time—steam is critical for even cooking.
- Rest and fluff: Remove the pan from heat and leave the lid on for 5 minutes. This resting period lets the grains finish absorbing any remaining liquid and fluff up nicely. Use a fork to gently separate the grains, stir in dried parsley, and season with salt and pepper to taste.
 Simmering the rice and pasta in broth allows the grains to absorb flavor evenly.
Image source: www.youtube.com
Simmering the rice and pasta in broth allows the grains to absorb flavor evenly.
Image source: www.youtube.com
Custom Flavor Variations
The basic Rice-A-Roni recipe is a perfect blank canvas for endless flavor twists. Try these tested variations to suit your taste or dietary needs:
Veggie-Packed Version
Sauté ½ cup diced onion, ¼ cup diced bell pepper, and ¼ cup sliced mushrooms in the butter before adding the rice and pasta. Add ½ cup frozen peas or corn in the last 2 minutes of simmering for a pop of sweetness and extra nutrition. This turns the side into a balanced vegetarian main that pairs perfectly with roasted chicken or a green salad.
Protein Boosted Main
Brown 1 pound of ground turkey, chicken, or beef in the pan before toasting the rice and pasta, then drain excess grease before proceeding with the recipe. For a seafood twist, add ½ pound of peeled shrimp in the last 3 minutes of simmering, just until pink and cooked through. For a plant-based protein option, stir in 1 cup of rinsed canned beans or cubed firm tofu at the end of cooking.
Global Flavor Twists
Swap the classic parsley for 1 teaspoon dried oregano and a pinch of smoked paprika for a Mediterranean vibe that pairs perfectly with grilled lamb or fish. Add ¼ teaspoon cumin and a dash of chili powder for a Mexican-inspired side that works as a filling for burritos or a topping for tacos. For an Asian twist, use low-sodium beef broth, swap parsley for 1 teaspoon dried thyme, and add 1 teaspoon grated fresh ginger with the garlic powder.
 Fluffing the finished Rice-A-Roni with a fork separates the grains for a light, fluffy texture.
Image source: thefeatherednester.com
Fluffing the finished Rice-A-Roni with a fork separates the grains for a light, fluffy texture.
Image source: thefeatherednester.com
Serving and Storage Tips
Serving Suggestions
Rice-A-Roni works as a versatile side for nearly any main dish: it pairs beautifully with roasted chicken, baked fish, meatloaf, or chili for a cozy weeknight meal. For a lighter option, serve it alongside a fresh green salad or roasted vegetables. To elevate presentation for guests, mold the rice into a small ramekin and flip it onto the plate for a restaurant-style mound, then garnish with fresh parsley, chives, or a sprinkle of grated parmesan. For quick cleanup of serving utensils and plates after your meal, a heavy-duty scrubbing tool makes wiping down surfaces effortless.
Storage Instructions
Let the Rice-A-Roni cool completely before transferring it to an airtight container. It will keep in the refrigerator for up to 4 days without losing quality. For longer storage, portion leftovers into individual servings and freeze in a freezer-safe bag or container for up to 2 months. Be sure to label the container with the date to avoid confusion later. If you’re meal prepping multiple servings for the week, a reusable container cleaning is ideal for thoroughly scrubbing out stuck-on rice bits between uses.
Reheating Methods
Avoid the microwave if possible, as it can make the rice gummy. For best results:
- Stovetop: Add 1 tablespoon of broth or water per serving, warm over low heat, stirring gently, until heated through.
- Air fryer: Preheat to 325°F, spread leftovers in an even layer, and heat for 3–4 minutes, fluffing with a fork halfway through. This method restores the crispy toasted pasta bits for a texture close to freshly made.
If you’re prepping ingredients for this recipe on a wooden cutting board, our cutting board maintenance guide has simple tips to keep your board in good shape and free of deep scratches from knives. If you’re cooking with little helpers in the kitchen, make sure to secure lower cabinets with secure lower cabinets to keep curious kids away from hot pans and sharp utensils. For families with toddlers, no-drill child safety are a simple way to keep cleaning supplies and sharp tools out of reach while you cook.
Frequently Asked Questions
Can I use instant rice instead of long-grain white rice?
No, instant rice is par-cooked and will turn mushy when simmered in broth, and it won’t toast properly to develop the dish’s signature nutty flavor. Stick to uncooked long-grain white or brown rice for the best texture.
Why is my Rice-a-Roni gummy instead of fluffy?
This is almost always caused by two mistakes: not toasting the rice and pasta long enough to remove excess starch, or lifting the lid while simmering, which lets steam escape and cooks the rice unevenly. Rinsing the rice before toasting and keeping the lid on for the full simmer and rest time will fix this issue.
Is homemade Rice-a-Roni lower in sodium than boxed versions?
Yes. Most boxed Rice-A-Roni mixes contain 800–1000mg of sodium per serving, while this homemade version with low-sodium broth has around 250mg per serving, and you can adjust it further to your taste. Reducing sodium intake can lower your risk of high blood pressure and heart disease, per FDA guidance.
Can I make this recipe in a rice cooker?
Yes, but you’ll need to toast the rice and pasta in a separate pan first, then transfer the mixture to the rice cooker, add broth, and cook on the white rice setting. Fluff with a fork before serving. For brown rice, use the brown rice setting and add an extra ½ cup of broth.
How do I make vegan Rice-a-Roni?
Swap the butter for olive oil or vegan butter, and use low-sodium vegetable broth instead of chicken broth. All other ingredients stay the same, and the flavor is just as rich and savory as the classic version.
Conclusion
Making Rice a Roni from scratch is one of the simplest ways to upgrade a classic comfort food without extra time or effort. Unlike boxed mixes loaded with preservatives and excess sodium, this homemade version lets you control every ingredient, customize flavors to your taste, and save money in the long run. Whether you’re serving it as a side for weeknight dinner or packing it for lunch, it’s a versatile, crowd-pleasing dish that comes together in 30 minutes flat. Don’t be afraid to experiment with the flavor variations we shared—your new favorite version is just one tweak away. For more quick weeknight recipes that the whole family will love, browse our blog for fresh ideas posted every week.

I’m Abby Lu, a passionate home cook who loves simplifying everyday meals. At PlugChef.com, I share product reviews and cooking guides to help you find the best tools for your kitchen.
Related posts:
 3 Shelf Hanging Closet Organizer: Maximize Your Space
 Do It Yourself Pantry Organizers: Transform Your Space
 How to Organize a Pantry With Wire Shelves: Expert Tips
 How to Organize Snacks in Pantry: Smart Tips
 Small Walk in Pantry Organization Ideas: Transform Spaces
 Under Cabinet Pot And Pan Organizer: Maximize Your Space

