
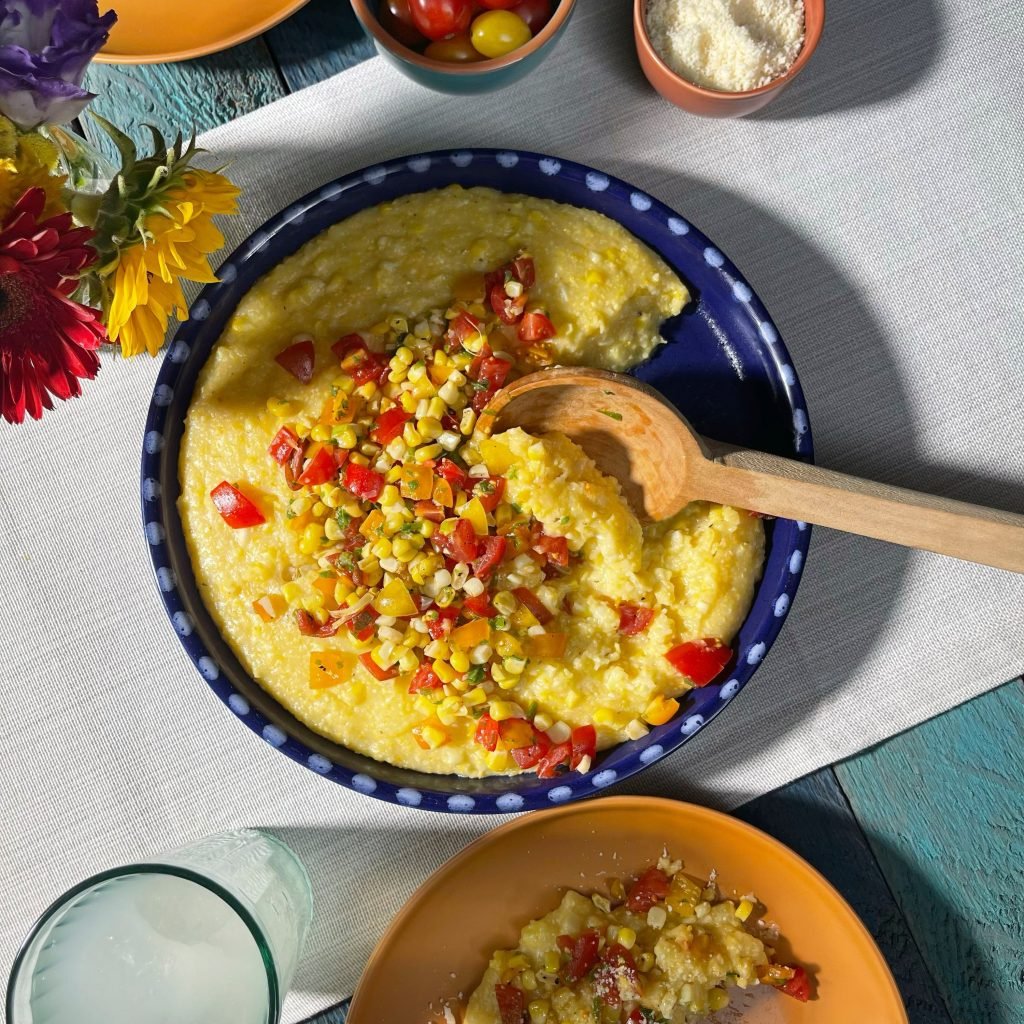
If you’ve ever stood over the stove stirring stone-ground grits for 45 minutes, only to end up with lumpy, burnt spots, you’re not alone. Traditional stovetop grits require constant attention, precise heat control, and a lot of patience — all for a dish that should be a low-effort comfort food staple. Pressure cooking grits eliminates all that guesswork: you’ll have rich, creamy, perfectly cooked grits in 20 minutes total, with zero babysitting required. Whether you’re making a quick weekday breakfast, a side for holiday dinner, or a base for shrimp and grits, this method delivers consistent, restaurant-quality results every single time.
In this guide, we’ll cover how to choose the right grits for pressure cooking, a step-by-step recipe for foolproof results, pro tips for ultra-creamy texture, troubleshooting for common issues, and creative serving ideas for every taste.
 Creamy pressure cooker grits topped with sharp cheddar and a pat of butter, ready to serve.
Image source: www.asajamalaga.com
Creamy pressure cooker grits topped with sharp cheddar and a pat of butter, ready to serve.
Image source: www.asajamalaga.com
Why Pressure Cooking Transforms Grits
Pressure cooking is far superior to stovetop or slow cooker methods for grits, delivering three core benefits that make it the go-to technique for home cooks:
Speed Without Sacrificing Texture
Stovetop stone-ground grits require 30 to 45 minutes of frequent stirring to avoid burning and achieve a smooth consistency. Pressure cooking cuts total cook time to just 20 minutes: 10 minutes of high-pressure cooking plus 10 minutes of natural pressure release. The high-pressure environment raises the boiling point of liquid, breaking down tough corn granules faster than traditional cooking methods, without sacrificing the nutty, earthy flavor of stone-ground grits.
Foolproof Consistency
Stovetop grits are prone to hot spots, lumpy texture, and burnt bottoms if you step away for even a minute. The sealed, even heat distribution of a pressure cooker eliminates these variables: every batch comes out evenly cooked, with zero scorching or undercooked granules, even for first-time users. For reference on optimal stone-ground grits preparation, the University of Minnesota Extension's stone-ground grits cooking guide recommends pressure cooking as a reliable method for consistent results.
Reduced Nutrient Loss
Prolonged stovetop boiling can leach water-soluble nutrients from corn kernels. The shorter cook time of pressure cooking retains more of the grits' natural fiber, B vitamins, and mineral content, making this method a slightly more nutritious option for regular servings.
Choosing the Best Grits for Pressure Cooking
Not all grits are created equal for pressure cooking, as grind size and processing method drastically impact cook time and final texture. Choosing the right variety will ensure your grits turn out exactly as you want them.
Stone-Ground vs. Instant Grits
Stone-ground grits are made by grinding whole dried corn kernels between millstones, retaining the bran and germ for a nutty, complex flavor and slightly chewy texture. They are the only variety recommended for pressure cooking, as their sturdy structure holds up to high heat without turning mushy. Instant grits, by contrast, are pre-cooked, dried, and rolled into fine granules that cook in 1 to 2 minutes on the stovetop. Pressure cooking instant grits will result in a gummy, flavorless paste, so avoid them entirely for this method.
Coarse vs. Fine Grind
Coarse grits have larger, more pronounced granules, making them ideal for savory dishes where you want a slight, hearty bite (like shrimp and grits or fried grits cakes). They require an extra 1 to 2 minutes of pressure cooking time to fully soften. Fine grind grits have smaller granules that break down faster, resulting in an ultra-smooth, velvety texture perfect for breakfast grits, sweet variations, or creamy side dishes. Avoid pre-seasoned or cheese-infused grits, as added dairy and salt can burn during high-pressure cooking or clog the pressure release valve.
Essential Equipment and Ingredients
The right tools and high-quality ingredients are the foundation of perfect pressure cooker grits. Here’s what you need to get started:
Pressure Cooker Options
You can use either an electric or stovetop pressure cooker for this recipe:
- Electric pressure cookers (e.g., Instant Pot) are user-friendly, with preset pressure settings and automatic release options that take the guesswork out of cooking. Many models also have a sauté function, so you can toast dried grits directly in the pot for extra nutty flavor before adding liquid.
- Stovetop pressure cookers reach higher pressure faster, making them ideal for large batches or coarse grind grits. They require more manual monitoring of heat and pressure, but are extremely durable for frequent use. No matter which type you use, never fill the cooker more than ⅔ full with grits and liquid to avoid clogging the pressure vent, a key safety rule per FDA pressure cooker safety recommendations.
Core Ingredients
You only need a few simple, high-quality ingredients for perfect grits:
- 1 cup stone-ground grits (coarse or fine grind, per your preference)
- 4 cups liquid (water, low-sodium chicken broth, whole milk, or a 50/50 mix of broth and milk for extra richness)
- 1 tsp kosher salt (adjust to taste after cooking)
- 2 tbsp unsalted butter (or vegan butter for dairy-free versions)
- Optional add-ins: shredded sharp cheddar, garlic powder, black pepper, crispy bacon, sautéed mushrooms, fresh herbs
Helpful Tools
A few extra tools will make the process even smoother: a fine-mesh sieve for rinsing grits (optional, removes excess starch for fluffier results), a heatproof silicone spatula for stirring without scratching the pot, and a kitchen cleaning brush with handle for scrubbing stuck-on grits from the pot after cooking. If you have young children in the home, secure lower cabinet storage with child safety latches for kitchen cabinets while cooking to keep little ones away from hot surfaces and cleaning supplies.
Step-by-Step Pressure Cooker Grits Recipe
This foolproof recipe works for both electric and stovetop pressure cookers, and takes just 20 minutes total from start to finish.
- Prep the grits and liquid: Measure 1 cup stone-ground grits, and rinse briefly under cold water in a fine-mesh sieve to remove excess dust and loose starch (this prevents gummy texture). Pour the rinsed grits into the pressure cooker pot, add 4 cups of your chosen liquid and 1 tsp kosher salt. Stir gently to combine, making sure no grits are stuck to the bottom of the pot. Do not add dairy, butter, or cheese at this stage: high heat can cause dairy to scorch on the bottom of the pot or clog the pressure release valve.
- Secure the lid: Place the lid on the pot, turn the locking mechanism until it clicks into place, and set the pressure release valve to the "sealing" position (for electric cookers) or lock the stovetop lid per the manufacturer’s instructions.
- Set cook time and pressure: For electric cookers, select the "manual" or "pressure cook" setting, set to high pressure, and cook for 10 minutes for fine grind grits or 12 minutes for coarse grind. For stovetop cookers, bring to high pressure over medium-high heat, then reduce heat to maintain steady pressure, and set a timer for 10 to 12 minutes based on grind size.
- Release pressure: When the timer beeps, turn off the heat (for stovetop) or let the cooker rest for 10 minutes for natural pressure release. Never perform a quick release immediately after cooking: foamy liquid can spurt out of the valve and cause burns. After 10 minutes, carefully turn the pressure release valve to "venting" to release any remaining pressure. Wait until the float valve drops completely before opening the lid.
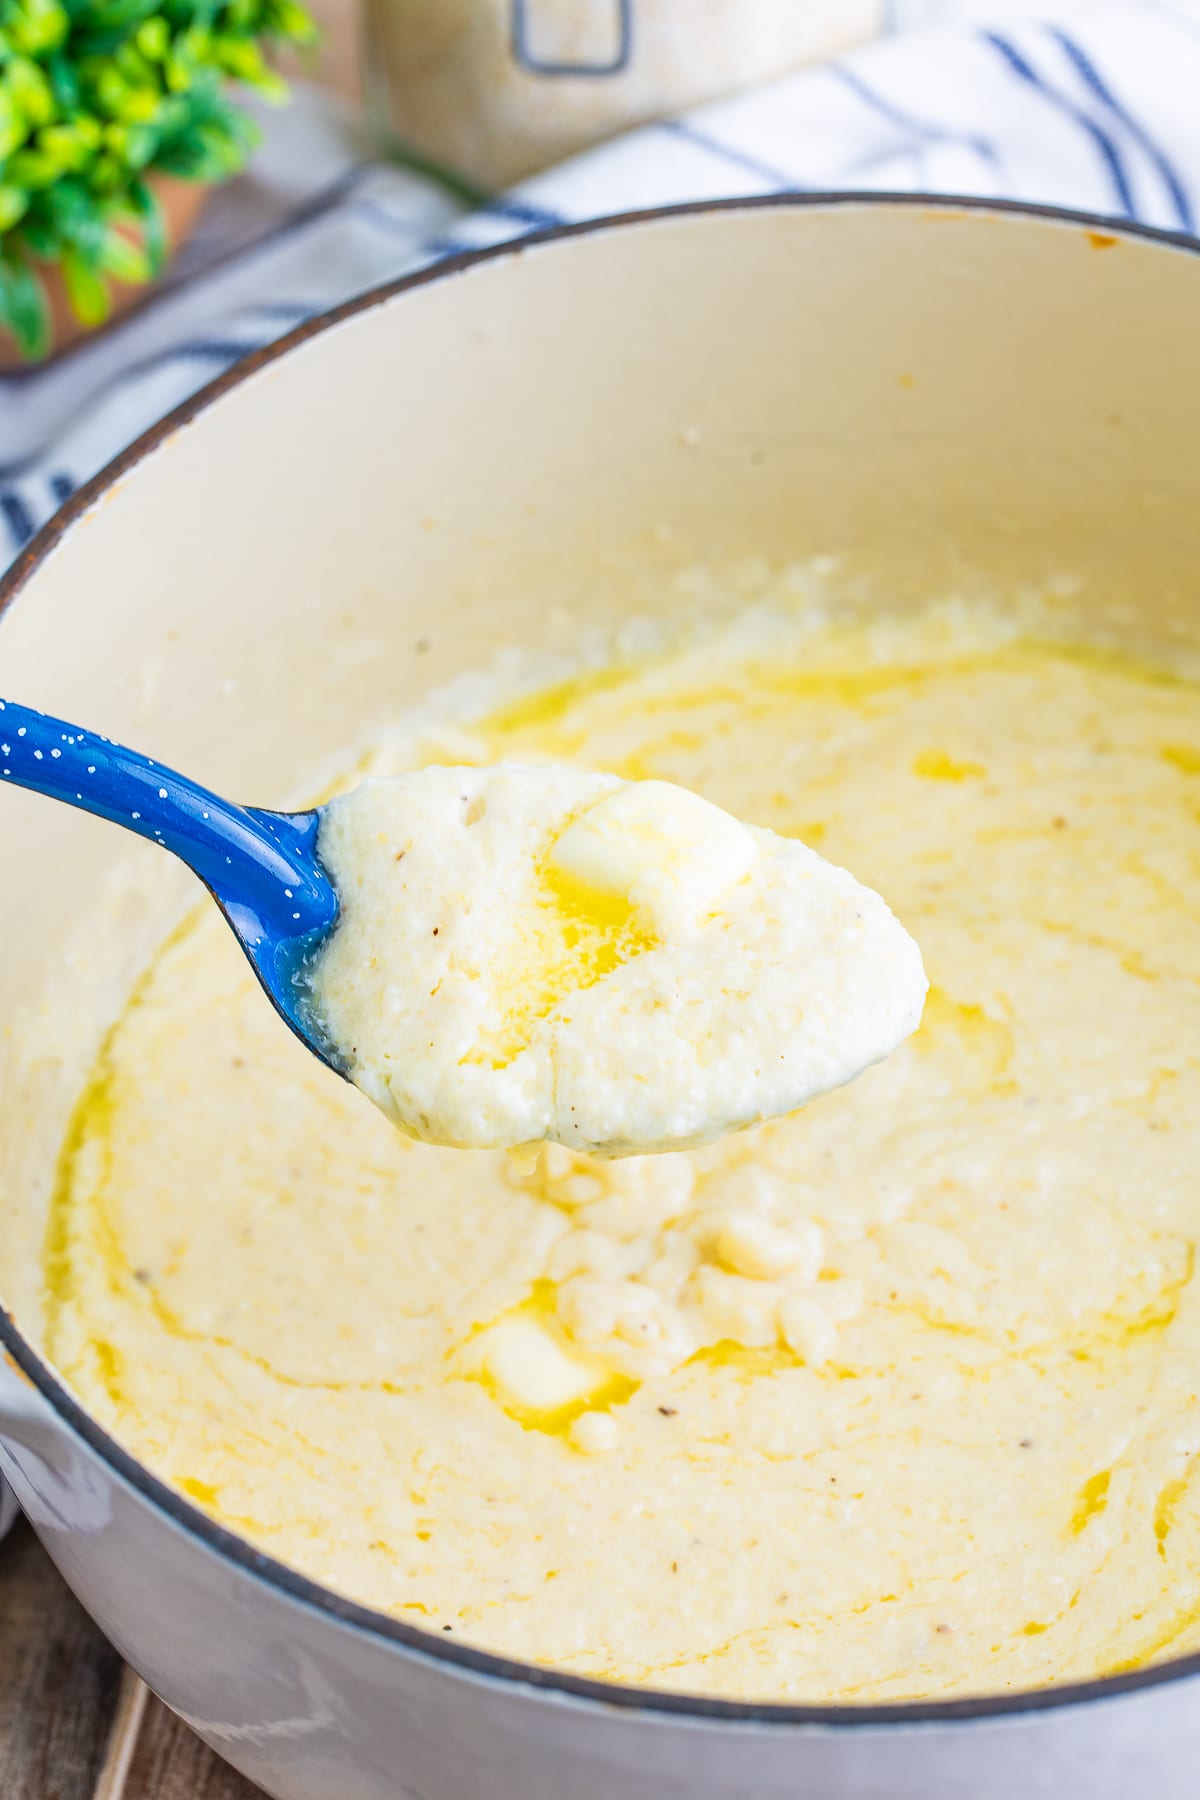
- Finish and serve: Open the lid, stir the grits vigorously with a silicone spatula to break up any lumps and achieve a smooth, creamy texture. Stir in 2 tbsp unsalted butter, 1/2 cup shredded sharp cheddar (optional), and a splash of milk or cream if the grits are too thick. Taste and adjust seasoning with salt and pepper, then serve immediately.
 Freshly cooked pressure cooker grits being stirred to achieve a smooth, lump-free texture.
Image source: shopfoodocracy.com
Freshly cooked pressure cooker grits being stirred to achieve a smooth, lump-free texture.
Image source: shopfoodocracy.com
For easy cleanup after cooking, soak the pressure cooker pot for 10 minutes to loosen stuck-on grits, then scrub with a best kitchen cleaning brush to avoid scratching the non-stick coating. For a deeper clean of all your kitchen cookware, a dedicated kitchen cleaning brush set can tackle tough residue without damaging surfaces.
Pro Tips for Ultra-Creamy, Lump-Free Grits
These small, actionable adjustments will take your grits from good to restaurant-quality:
Perfect Liquid Ratios
The standard 4:1 liquid-to-grits ratio works for most preferences, but adjust based on your desired consistency:
- For extra creamy, pourable grits (ideal for shrimp and grits): use a 5:1 ratio (5 cups liquid per 1 cup grits)
- For thick, sliceable grits (perfect for frying into grits cakes): use a 3:1 ratio (3 cups liquid per 1 cup grits) If using coarse grind grits, add an extra ½ cup of liquid to account for larger granules absorbing more moisture during cooking.
Stirring Best Practices
You only need to stir grits twice: once after adding liquid to prevent clumping, and once after pressure release to break up lumps and achieve a smooth texture. The high-pressure environment agitates the mixture evenly during cooking, so no mid-cook stirring is needed. Avoid over-stirring, as this releases excess starch and can make grits gummy.
Flavor Infusion Tips
For extra depth of flavor, add minced garlic, diced onion, or a pinch of chicken bouillon to the liquid before cooking — these ingredients will infuse the grits evenly during pressure cooking. Always add dairy (butter, milk, cheese, cream) after pressure release, as high heat can cause dairy to separate or develop a burnt taste.
Make-Ahead and Reheating
Cooked grits can be stored in an airtight container in the refrigerator for up to 4 days. To reheat, add a splash of milk or water, stir, and microwave for 1 to 2 minutes, stirring halfway through, or reheat on low on the stovetop, stirring frequently to prevent lumps.
Troubleshooting Common Pressure Cooker Grits Issues
Even with perfect technique, small variables can lead to less-than-ideal results. Here’s how to fix common issues, and how to avoid them next time:
Grits Are Too Thick or Gluey
Fix: Stir in warm water, broth, or milk 1 tbsp at a time until you reach your desired consistency. If the texture is gluey, whisk vigorously for 30 seconds to break up excess starch. Prevention: Increase your liquid ratio by ½ cup next time, or reduce cook time by 1 minute for fine grind grits.
Grits Are Too Thin or Watery
Fix: Turn the pressure cooker to the sauté setting and simmer for 2 to 3 minutes, stirring frequently, to evaporate excess liquid. Prevention: Reduce your liquid ratio by ½ cup next time, or increase cook time by 1 minute for coarse grind grits.
Grits Are Burnt or Stuck to the Bottom
Fix: Scrape off the unburnt top layer of grits, stir in ½ cup of extra liquid, and simmer on low for 2 minutes to blend. If a burnt taste is present, stir in a pinch of brown sugar to mask the flavor. Prevention: Always ensure all grits are fully submerged in liquid before cooking, and avoid leaving cooked grits on the "keep warm" setting for more than 30 minutes, as residual heat can scorch the bottom of the pot.
Grits Are Undercooked or Gritty
Fix: Return the lid to the pressure cooker, set to high pressure for 2 to 3 more minutes, then perform a quick pressure release. Prevention: Increase cook time by 1 minute for coarse grind grits, and make sure the pressure cooker reaches full pressure before starting your timer.
Serving Suggestions for Every Meal
Pressure cooker grits are incredibly versatile, working equally well as a savory side, a hearty breakfast, or even a unique dessert base. Try these popular serving ideas:
Savory Toppings and Dishes
- Shredded sharp cheddar, Parmesan, or feta cheese for rich, salty flavor
- A pat of butter and fresh parsley, chives, or green onions for brightness
- Crumbled crispy bacon, breakfast sausage, or pulled pork for a hearty, smoky boost
- Sautéed mushrooms, spinach, bell peppers, or garlic for extra depth
- A fried or poached egg on top for a protein-packed breakfast
- Hot sauce, salsa, or gravy for a spicy, savory kick
- For a crowd-pleasing appetizer, serve warm grits as a base on your next charcuterie board, paired with cured meats and cheeses — you can learn proper cheese prep for charcuterie to make the pairing seamless.
Sweet Variations
- Stir in brown sugar, honey, or maple syrup for gentle sweetness
- Sprinkle cinnamon, nutmeg, or pumpkin spice for warm, comforting notes
- Top with fresh berries, sliced bananas, diced apples, or roasted peaches for fresh fruit flavor
- Mix in a splash of vanilla extract and top with toasted walnuts or pecans for crunch
- For a unique dessert, stir in cocoa powder and sugar after cooking, then top with marshmallows and chocolate sauce If you’re serving grits on a special occasion, an engraved cutting board makes a beautiful, personalized serving surface for your finished dish.
 Savory breakfast grits topped with a fried egg, crispy bacon, and fresh chives, a popular pressure cooker grits serving idea.
Image source: thissillygirlskitchen.com
Savory breakfast grits topped with a fried egg, crispy bacon, and fresh chives, a popular pressure cooker grits serving idea.
Image source: thissillygirlskitchen.com
Frequently Asked Questions
How long does it take to cook grits in a pressure cooker?
Total cook time is approximately 20 minutes: 10 minutes of high-pressure cooking plus 10 minutes of natural pressure release. This is 60% faster than traditional stovetop methods for stone-ground grits, with zero stirring required during cooking.
What is the best water-to-grits ratio for pressure cooking?
The standard 4:1 ratio (4 cups liquid per 1 cup grits) works for most preferences. Adjust to 5:1 for extra creamy, pourable grits, or 3:1 for thick, sliceable grits perfect for frying.
Can I cook instant grits in a pressure cooker?
No, instant grits are not recommended for pressure cooking. Their pre-cooked, fine texture will turn gummy and bland under high pressure. Stick to plain stone-ground grits for the best results.
Is it safe to cook grits in a pressure cooker?
Yes, as long as you follow basic safety guidelines: never overfill the cooker (stay below the ⅔ fill line), ensure the lid is locked and the valve is set to sealing before cooking, and always allow for full natural pressure release before opening the lid. For full safety guidance, refer to the FDA pressure cooker safety recommendations.
Can I add ingredients like garlic or onion before cooking?
Yes, aromatic ingredients like diced onion, minced garlic, or chicken bouillon can be added to the liquid before pressure cooking. They will infuse the grits with flavor evenly during cooking. Avoid adding dairy, cheese, or butter before cooking, as these can burn or clog the pressure valve.
Can I make pressure cooker grits for a large crowd?
Yes, you can double or triple the recipe as long as you do not exceed the ⅔ fill line on your pressure cooker. For large batches, increase cook time by 1 to 2 minutes to ensure the extra grits cook through evenly.
Conclusion
Pressure cooking grits is a game-changer for home cooks who love creamy, flavorful grits without the hours of stovetop stirring. With just 20 minutes of total cook time, zero babysitting, and consistent results every time, this method is ideal for busy weekdays, weekend brunches, and even holiday meals. By choosing the right stone-ground grits, following the simple step-by-step process, and using our pro tips for texture and flavor, you’ll never go back to traditional cooking methods. Experiment with your favorite savory or sweet add-ins to make the recipe your own, and enjoy the warm, comforting flavor of homemade grits any time you want. For more quick, tested pressure cooker recipes and kitchen tips to simplify your meal prep, browse our full library of cooking guides.

I’m Abby Lu, a passionate home cook who loves simplifying everyday meals. At PlugChef.com, I share product reviews and cooking guides to help you find the best tools for your kitchen.
Related posts:
 Can You Freeze Pudding Cups: Ultimate Guide to Safe Storage
 Chicken Pot Pie Casserole Recipes: Easy, Delicious, and Comforting Ideas
 Slow Cooker Pillsbury Cinnamon Rolls: Easy, Fluffy, Irresistible Treats
 Crock Pot Shrimp Recipes Easy: Quick, Delicious Dinner Ideas
 Good Cheese And Cracker Combinations: Perfect Pairings to Savor
 Hot Dog Wrapped With Bacon: Irresistible Flavor Explosion Ideas

