
Are you ready to make the perfect batch of Chex Mix that’s crispy, flavorful, and just right every time? One key secret lies in getting the oven temperature spot on.
Too hot, and your mix could burn; too low, and it might turn out soggy or bland. You’ll discover the ideal oven temp for Chex Mix, along with tips to help you achieve that irresistible crunch and taste. Keep reading, and you’ll never have to guess your way through the recipe again.
Choosing The Right Oven Temperature
Choosing the right oven temperature is key to making perfect Chex Mix. The temperature affects how evenly the mix toasts and how the flavors develop. A good temperature keeps the mix crispy without burning it. Understanding the best range helps avoid common baking problems.
Ideal Temperature Range
Set the oven between 250°F and 300°F for best results. This range allows gentle toasting. It helps flavors blend well without drying out the mix. Temperatures too high risk burning the nuts and cereals. Too low may leave the mix soft and undercooked.
- 250°F to 275°F for a slow, even toast
- 275°F to 300°F for a quicker, slightly crunchier mix
Effects Of Low Vs High Heat
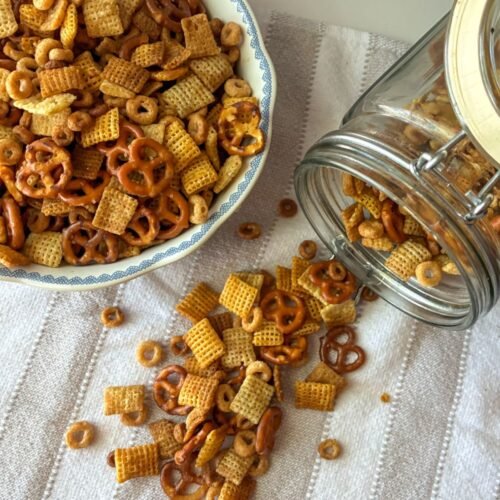
Low heat keeps the mix from burning but takes longer. It gives a soft, toasted texture. High heat cooks faster but can burn edges quickly. Burnt pieces taste bitter and ruin the mix. Too low heat can leave the mix soggy and bland. Finding a balance ensures crunchy, flavorful Chex Mix every time.
Credit: oursliceofhome.com
Preparing Chex Mix For Baking
Preparing Chex Mix for baking is a crucial step that sets the foundation for a perfectly crispy and flavorful snack. It’s not just about tossing ingredients together; the way you mix and coat each piece impacts the final taste and texture. Paying attention to these details will help you achieve that irresistible crunch and balanced seasoning every time.
Mixing Ingredients Evenly
Even mixing ensures every bite of your Chex Mix delivers the same great flavor. Use a large bowl to give yourself plenty of room to toss the cereal, nuts, and pretzels without spilling. Gently folding the ingredients rather than stirring aggressively keeps the pieces intact while spreading everything evenly.
Have you noticed how some batches end up with clumps of seasoning in one spot? That’s usually uneven mixing. To avoid this, try shaking the bowl lightly or using a spatula to lift and fold the mix from the bottom. This small adjustment can make a big difference in flavor distribution.
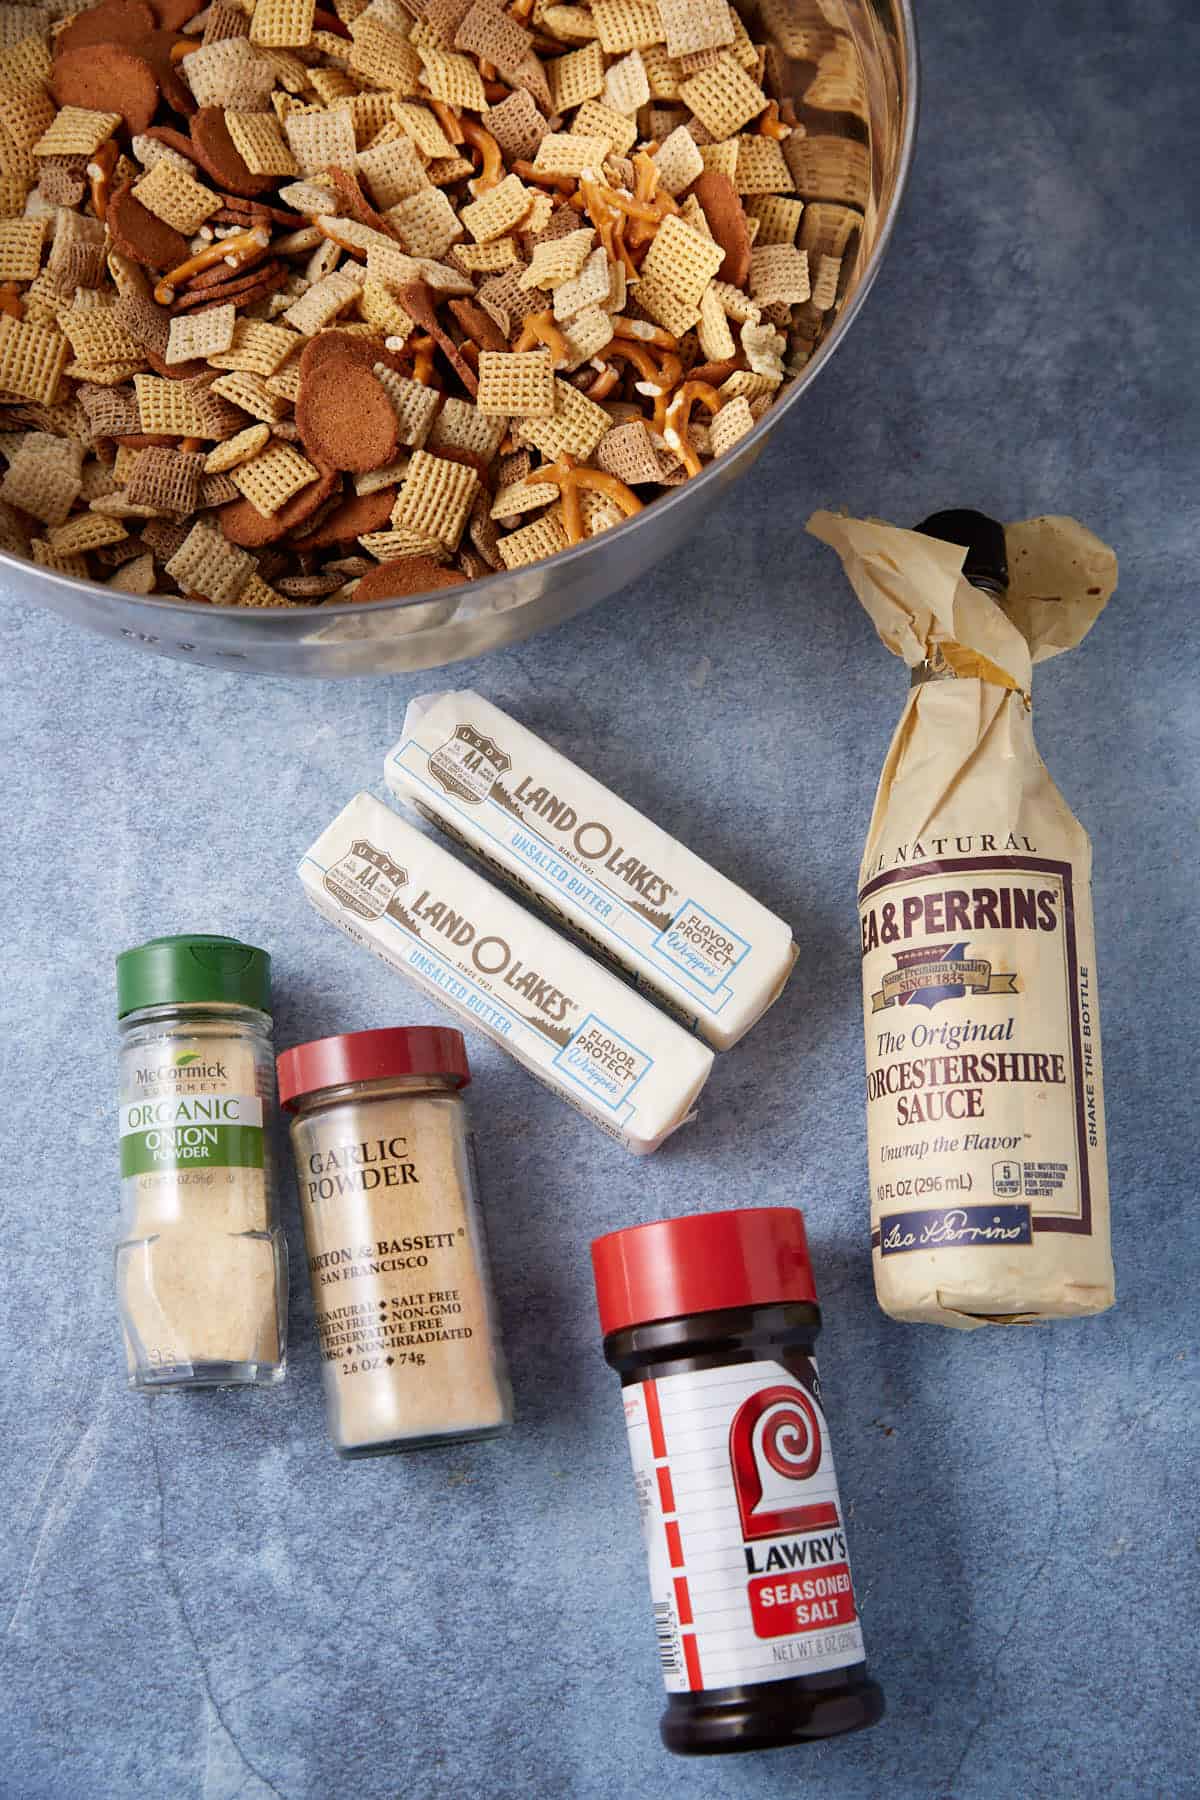
Using Oil And Seasonings
Oil is key to helping the seasonings stick and creating a crisp texture. Choose a neutral oil like vegetable or canola for a clean taste, or go for melted butter if you want a richer flavor. Pour the oil gradually over the mix and toss gently to coat every piece without making them soggy.
Seasonings should be sprinkled evenly while tossing the mix to prevent clumping and ensure consistent taste. I’ve found that mixing your dry spices together before adding them helps with even coverage. Have you tried experimenting with different seasoning blends? A little creativity here can turn your Chex Mix into a unique snack experience.
Baking Techniques For Crispiness
Achieving the perfect crunch in Chex Mix requires a few smart techniques. The right oven temperature is crucial. But how you bake it matters too. Let’s explore some helpful methods.
Layering And Spreading
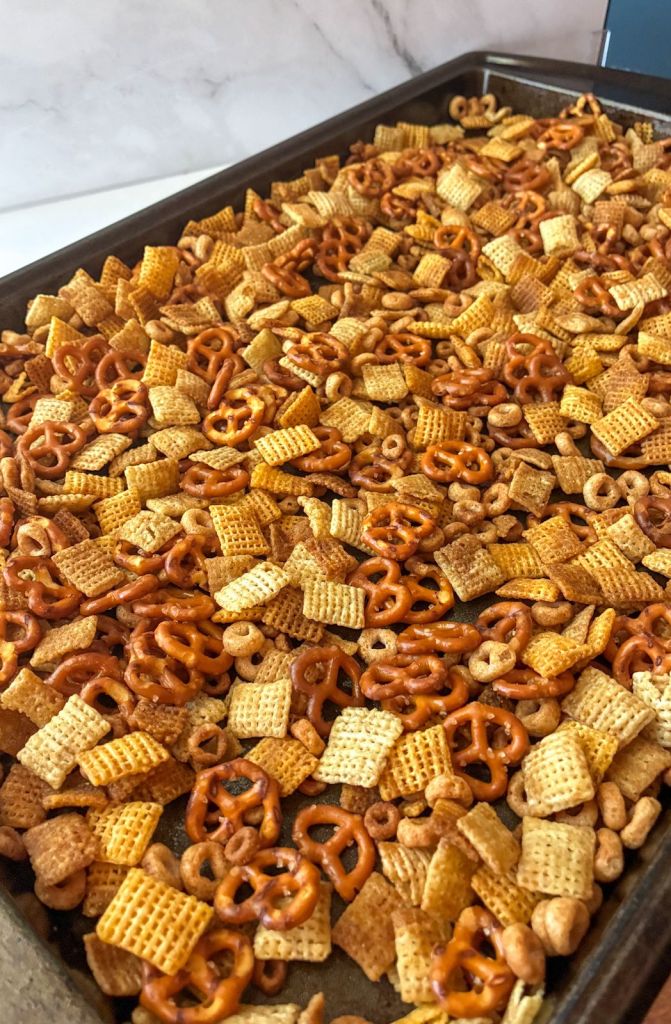
Spread the Chex Mix evenly on a baking sheet. Avoid piling it too high. A single layer ensures even baking. This helps each piece become crispy. Use multiple sheets if needed.
Stirring Frequency During Baking
Stir the Chex Mix every 15 minutes. This prevents burning. It also ensures even crispiness. Stirring helps distribute heat. It makes each bite deliciously crunchy.
Credit: www.gimmesomeoven.com
Adjusting Time And Temp For Variations
Adjusting the oven temperature and baking time is key to making perfect Chex Mix. Different batch sizes and oven types change how heat moves and how fast the mix cooks. Small changes can make a big difference in taste and texture.
Understanding these variations helps avoid burning or undercooking. It also ensures the seasoning sticks well and flavors develop evenly. Knowing how to tweak the time and temperature can improve every batch.
Small Vs Large Batches
Small batches cook faster than large ones. The heat reaches all pieces quickly. Reduce baking time by a few minutes for smaller amounts.
Large batches need more time for even cooking. Spread the mix in a thin layer to help heat flow. Stir halfway through baking to avoid hot spots.
Adjust temperature slightly lower if the batch is very large. This prevents burning outside while the inside cooks through.
Oven Type Considerations
Conventional ovens heat from the bottom and top. They may have uneven hot spots. Rotate the pan for even baking every 5 to 10 minutes.
Convection ovens use a fan to circulate air. This cooks food faster and more evenly. Lower the temperature by about 25°F (15°C) and shorten baking time.
Gas ovens can be less consistent in heat. Watch the mix closely and stir more often. Adjust time based on how your oven heats.
Troubleshooting Common Issues
Getting the perfect Chex Mix means nailing the oven temperature and timing, but sometimes things don’t go as planned. You might open the oven to find some pieces burnt or the whole batch a little soggy. Troubleshooting these issues helps you save your snack and your time.
Avoiding Burnt Mix
Burnt Chex Mix usually happens when the oven is too hot or the mix stays inside too long. Try lowering your oven temperature by 25°F and check the mix a few minutes earlier than the recipe suggests. This simple change can prevent those bitter burnt edges.
Also, stirring the mix every 10 minutes helps distribute heat evenly. Have you noticed how uneven heating can cause some parts to burn while others stay fine? Regular stirring fixes this problem and keeps your mix golden brown.
Preventing Soggy Texture
Soggy Chex Mix often results from too much butter or not enough baking time. Use just enough butter to lightly coat the pieces—less is more here. If the mix feels damp, extend the baking time by 5 to 10 minutes and keep stirring to dry it out.
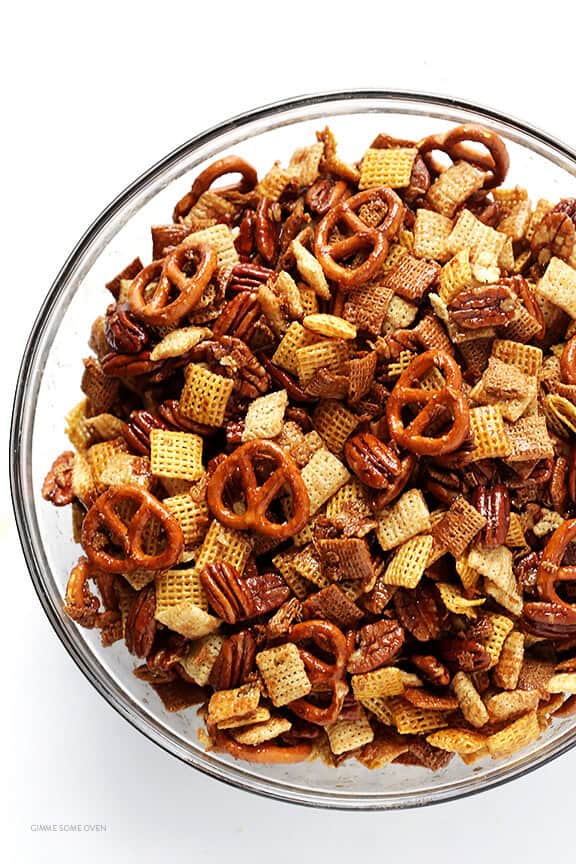
Another trick is to spread the mix in a single layer on the baking sheet. Crowding the pan traps moisture, leading to sogginess. Have you ever tried baking in batches? It might take a bit longer but yields a crispier, crunchier mix every time.
Credit: www.butterandbaggage.com
Storing And Serving Tips
Storing and serving your Chex Mix properly makes all the difference between a snack that’s just okay and one that’s irresistibly crunchy and flavorful. After spending time baking your mix to the perfect oven temp, you want to keep that fresh, crisp texture alive for as long as possible.
Maintaining Crispiness After Baking
Have you ever noticed how Chex Mix can turn soft and stale quickly if left out? To keep that satisfying crunch, cool your mix completely before storing it. Warmth traps moisture, which makes the mix soggy.
Adding a small, dry paper towel inside the storage container can help absorb extra moisture. This little trick keeps your mix crisp without changing the flavor. Also, try not to open the container too often—each time you do, humid air sneaks in.
Best Containers For Storage
Choosing the right container is key for preserving freshness. Airtight containers are your best bet because they seal out air and moisture effectively.
- Glass jars with rubber seals:These lock in freshness and look great on your snack table.
- Plastic containers with tight lids:Lightweight and convenient for on-the-go snacking.
- Resealable bags:Perfect if you’re short on space but ensure you squeeze out as much air as possible before sealing.
Have you ever left your Chex Mix in the original bag and noticed it lost its crunch? Switching to a proper container can transform your snack experience. Keep your mix in a cool, dry place away from direct sunlight to avoid any unnecessary moisture buildup.
Frequently Asked Questions
What Is The Ideal Oven Temperature For Chex Mix?
The ideal oven temperature for Chex Mix is 250°F (120°C). This low heat ensures even toasting and crispiness without burning the mix.
How Long Should Chex Mix Bake At 250°f?
Bake Chex Mix for 1 hour at 250°F. Stir every 15 minutes for even coating and crisp texture throughout.
Can I Use A Higher Oven Temperature For Chex Mix?
Using higher temperatures may burn the mix. Stick to 250°F for gentle baking and optimal flavor development.
Should I Preheat The Oven Before Baking Chex Mix?
Yes, preheat your oven to 250°F before baking. This helps bake the mix evenly and achieve perfect crunchiness.
Conclusion
Setting the right oven temperature makes Chex Mix crispy and tasty. Bake at 250°F for about an hour. Stir the mix every 15 minutes for even cooking. This low heat helps flavors blend well without burning. Enjoy your perfect homemade snack anytime you want.
Simple steps lead to great results every time. Give it a try and taste the difference!

I’m Abby Lu, a passionate home cook who loves simplifying everyday meals. At PlugChef.com, I share product reviews and cooking guides to help you find the best tools for your kitchen.
Related posts:
 What Type of Cooking Utensils are Safe: Expert Picks
 What Innovations Could Blenders Make: Unleashing Future Tech
 Smart Strategies to Organize a Small Kitchen: Maximize Space
 How to Organize a Kitchen Cabinet: Expert Tips & Tricks
 How to Organize Kitchen Drawers: Expert Tips and Tricks
 How to Organize a Corner Kitchen Cupboard: Expert Tips

