
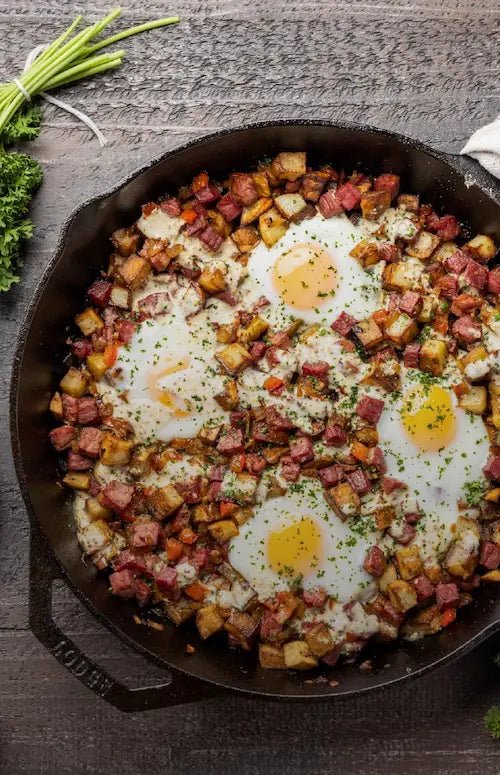
Imagine starting your day with the perfect fried egg—crispy edges, a golden yolk, and no sticking or mess. You might think that’s hard to achieve, but with a cast iron skillet, it’s easier than you expect.
If you’ve ever struggled with eggs sticking or uneven cooking, this guide will change the way you cook forever. Keep reading, and you’ll discover simple tips to master frying eggs on cast iron, making your breakfast not just tasty but truly satisfying every single time.
Choosing The Right Cast Iron Skillet
Choosing the right cast iron skillet is key to frying eggs perfectly. The right skillet ensures even heat and easy egg release. Different skillets offer various features. Understanding these helps pick the best one for your kitchen.
Size And Thickness
Skillet size affects cooking space and heat distribution. A 10 to 12-inch skillet suits most egg frying needs. Thicker skillets hold heat better. They provide steady cooking without hot spots. Thin skillets heat quickly but may cook unevenly.
Seasoning Quality
Good seasoning prevents eggs from sticking. A well-seasoned skillet has a smooth, black surface. Check for even seasoning without sticky or rough spots. Proper seasoning improves with use and care. Some skillets come pre-seasoned for convenience.
Handle And Maintenance
Handle design impacts comfort and safety. Look for a handle that stays cool and offers a firm grip. Some skillets include helper handles for easier lifting. Maintenance involves regular cleaning and re-seasoning. Avoid soap and harsh scrubbing to keep seasoning intact.
Preparing Your Skillet For Frying
Getting your cast iron skillet ready is the key to frying eggs that slide right off and taste amazing. A well-prepared skillet not only prevents sticking but also helps you achieve that perfect golden edge and tender yolk. Let’s break down the essential steps to prepare your cast iron for frying eggs.
Cleaning Before Use
Before you start, make sure your skillet is clean but never soap it harshly. A quick rinse with warm water and a soft brush usually does the trick, especially if you’ve seasoned it well. Avoid soaking or scrubbing with abrasive pads as this can strip away the seasoning layer that protects your pan.
Have you ever noticed your eggs sticking despite seasoning? Often, it’s because the skillet wasn’t wiped properly dry or had leftover food bits. A clean, dry surface is your first defense against sticking.
Preheating Techniques
Cast iron takes a bit longer to heat up but holds the heat like no other. Place your skillet on medium heat and give it a few minutes to warm evenly. You’ll know it’s ready when a drop of water sizzles and dances on the surface.
Skipping this step can cause uneven cooking and sticking. I once tried cracking eggs into a cold pan and ended up with a messy clean-up. Patience here pays off with perfectly cooked eggs.
Oiling The Surface
Next, add a small amount of oil or butter to your hot skillet. Use a paper towel to spread it thinly and evenly across the surface. This thin oil layer fills in the pores of the cast iron and creates a slick surface for your eggs.
Too much oil can fry your eggs unevenly, while too little leads to sticking. A light, even coat is your best bet for that smooth glide and delicious crust.
Selecting The Best Eggs
Fresh, high-quality eggs make frying in cast iron easier and tastier. Choose eggs with firm whites and bright yolks for the best results. Quality eggs help prevent sticking and create a smooth, even cook.
Selecting the right eggs is crucial for frying on cast iron. High-quality eggs elevate your dish, adding flavor and texture. Understanding egg freshness, types, and sizes helps make the best choice. This knowledge ensures delicious results every time you cook.Freshness Matters
Fresh eggs make a noticeable difference in taste. Check the date on the carton for freshness. Perform a simple water test at home. Place eggs in water; fresh ones sink, old ones float. This quick test helps you pick the best eggs for frying.Egg Types And Sizes
Different egg types offer unique flavors and textures. Organic and free-range eggs often taste richer. Choose the size based on your needs. Large eggs are standard for most recipes. Consider medium or jumbo sizes for different cooking needs. Each size and type brings its own character to your dish.Frying Techniques For Perfect Eggs
Frying eggs on cast iron requires attention to detail. The pan’s heat, timing, and flipping technique all affect the final result. Cast iron holds heat well but needs careful control to avoid burning or undercooking.
Perfect eggs come from balancing heat and cooking time. Small changes can make eggs tender or rubbery. Understanding these frying techniques helps achieve the texture and look you want.
Controlling Heat Levels
Heat control is key for cooking eggs on cast iron. Start with medium-low heat to warm the pan slowly. High heat can cause the eggs to stick or burn. Adjust the heat as needed during cooking.
- Preheat the pan for 3 to 5 minutes on medium-low.
- Add a small amount of oil or butter to prevent sticking.
- Lower the heat if you see smoke or the eggs cook too fast.
Timing For Sunny Side Up
Sunny side up eggs cook gently without flipping. Cook until the whites set and yolks stay runny. Timing depends on pan temperature and egg size.
- Pour eggs into the pan once the oil is warm.
- Cook on medium-low heat for about 2 to 3 minutes.
- Cover the pan with a lid to help whites cook evenly.
- Remove eggs when whites are firm but yolks are soft.
Flipping For Over Easy
Flipping eggs requires a gentle touch to keep yolks whole. Over easy means a quick flip and short cooking on the second side.
- Cook eggs sunny side up until whites are mostly set.
- Use a thin spatula to loosen edges carefully.
- Flip eggs gently and cook for 15 to 30 seconds more.
- Remove from heat when whites are fully cooked and yolks still runny.
Avoiding Common Issues
Frying eggs on a cast iron skillet is rewarding but can pose challenges. Avoiding common issues ensures a perfect egg every time. Small mistakes can cause sticking, burnt edges, or broken yolks. Knowing how to handle these problems makes cooking simpler and more enjoyable.
Preventing Sticking
Cast iron needs proper seasoning to prevent eggs from sticking. Heat the pan well before adding oil or butter. Use enough fat to create a smooth cooking surface. Let the oil heat until it shimmers but does not smoke. Gently crack the egg into the pan without breaking the yolk. Avoid moving the egg too soon; wait until edges set.
Handling Burnt Edges
Burnt edges often mean the heat is too high. Lower the stove temperature to medium-low for gentle cooking. Use a lid to trap steam and cook the egg evenly. If edges start to burn, slide a spatula underneath to lift them from the pan. Remove burnt bits carefully to keep the egg tasting fresh. Clean the skillet properly after use to avoid residue buildup.
Maintaining Yolk Integrity
Preserving the yolk’s shape requires a gentle touch. Crack eggs into a small bowl first, then pour slowly into the pan. Avoid dropping eggs from high above the skillet. Use a thin, flexible spatula to lift the egg when flipping or removing. Cook eggs slowly to keep yolks runny or firm, depending on preference. Patience is key to perfect yolks on cast iron.
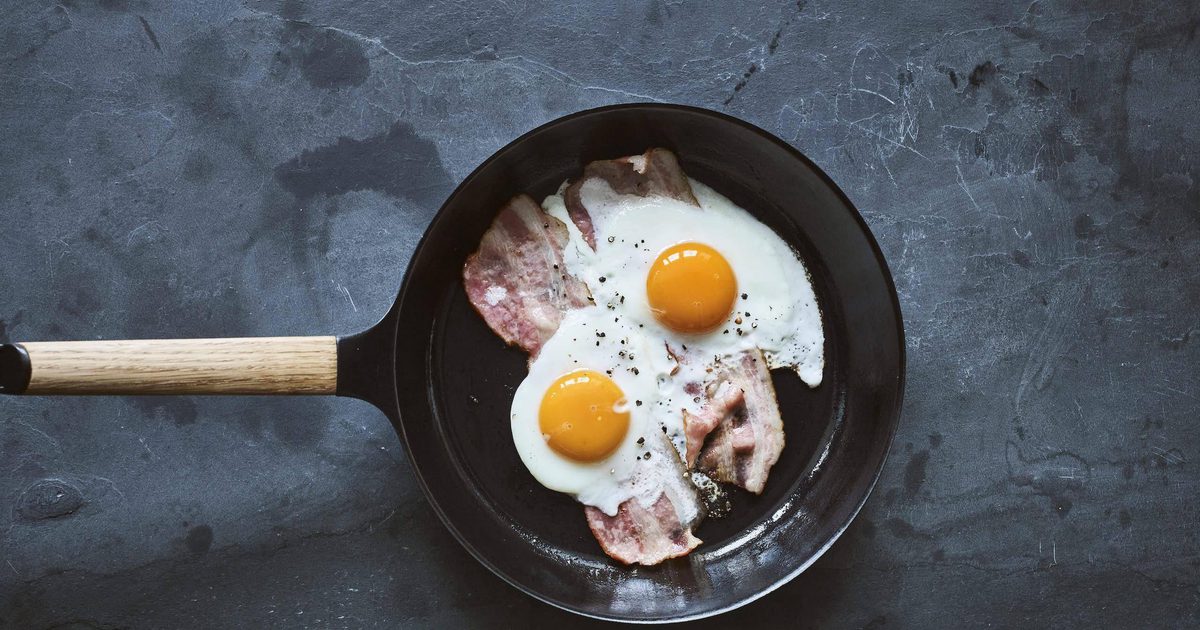
Credit: www.vermicular.us
Cleaning And Caring For Cast Iron
Keeping your cast iron skillet in top shape after frying eggs is key to enjoying that perfect non-stick surface for years. Cleaning and caring for cast iron might seem tricky at first, but it’s simpler than you think. A little attention right after cooking can make a big difference in preserving your pan’s quality.
Post-cooking Cleaning Steps
After frying eggs, let your skillet cool slightly but not completely. While still warm, wipe it gently with a paper towel to remove leftover oil and egg bits.
If stubborn residues remain, rinse the pan with hot water and use a soft brush or non-metal scrubber to clean. Avoid soap because it can strip the seasoning you’ve built up over time.
Dry your skillet immediately with a towel or by placing it on low heat for a minute. Moisture is the enemy here, as it promotes rust.
Re-seasoning Tips
If your skillet looks dull or sticky, it’s time to re-season. Coat the inside with a thin layer of vegetable oil or flaxseed oil—just enough to cover the surface without being greasy.
Place the skillet upside down in an oven preheated to 375°F (190°C). Put a foil-lined baking sheet on the rack below to catch drips. Bake for about an hour, then turn off the oven and let the pan cool inside.
Try to season your pan regularly, especially if you notice food sticking or if rust spots appear. This simple ritual keeps your cast iron smooth and ready for your next egg fry.
Storage Suggestions
Store your cast iron skillet in a dry place with the lid off, if it has one. Trapping moisture inside can cause rust quickly.
Place a paper towel inside the skillet to absorb any lingering moisture and protect the seasoning. This small step saved my favorite skillet from rust after a rainy day in the kitchen.
Think about your storage space: does it keep the skillet away from humid areas like under the sink? A little planning here keeps your skillet happy and long-lasting.
Enhancing Flavor With Add-ons
Frying eggs on cast iron is more than just cooking; it’s about creating a flavor experience that wakes up your taste buds. Small add-ons can transform a simple egg into a dish you look forward to every morning. What you choose to add changes everything—from the aroma to the texture and depth of taste.
Using Butter And Oils
Butter brings a rich, creamy flavor that pairs perfectly with the natural taste of eggs. It also helps achieve those golden, crispy edges you want on your fried eggs.
If you prefer oils, try olive oil for a fruity note or avocado oil for a mild, buttery taste. These oils can withstand high heat, ensuring your eggs cook evenly without sticking to the pan.
Adding Herbs And Spices
Fresh herbs like chives, parsley, or thyme add a burst of freshness that lifts your eggs to a new level. Sprinkle them just before serving to preserve their flavor and color.
Spices such as smoked paprika, black pepper, or a pinch of cayenne pepper add warmth and complexity. Ever thought about a dash of cumin or turmeric? They bring unexpected but delightful twists.
Pairing With Breakfast Sides
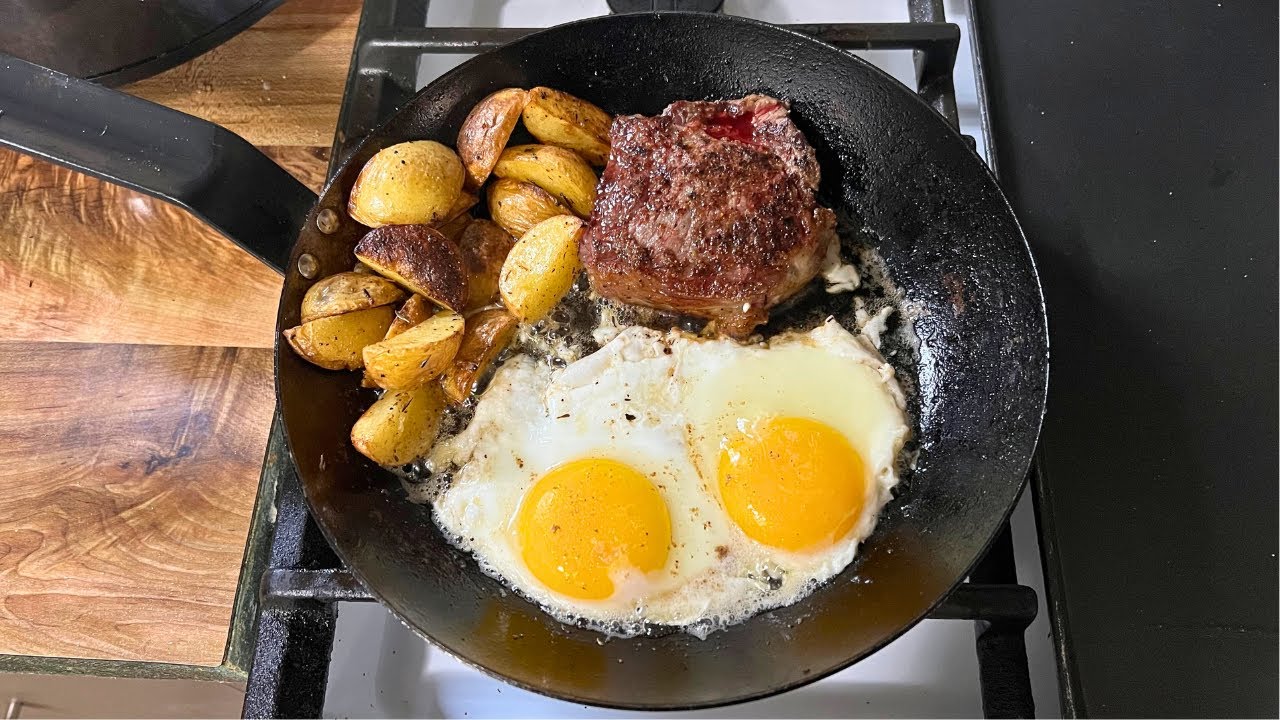
Think beyond the egg itself and consider what you serve alongside. Crispy bacon or sautéed mushrooms create a satisfying contrast in texture.
Roasted tomatoes or avocado slices add freshness and balance the richness of the eggs. What combination excites your palate the most?

Credit: www.reddit.com
Credit: www.youtube.com
Frequently Asked Questions
How Do You Prevent Eggs From Sticking On Cast Iron?
To prevent sticking, preheat your cast iron pan well. Use enough oil or butter to coat the surface. Ensure the pan is seasoned properly for a smooth non-stick finish. Cook eggs on medium-low heat to avoid burning and sticking.
What’s The Best Oil For Frying Eggs On Cast Iron?
Use oils with high smoke points like avocado, canola, or grapeseed oil. Butter adds flavor but burns faster. Proper seasoning and moderate heat also help prevent sticking regardless of oil choice.
How Long Should You Cook Eggs On Cast Iron?
Cook eggs for 2-3 minutes on medium-low heat for sunny side up. Flip carefully and cook an additional minute for over-easy. Adjust time based on egg thickness and personal preference.
Can You Fry Eggs Without Seasoning The Cast Iron Pan?
Unseasoned cast iron is prone to sticking and uneven cooking. Seasoning builds a natural non-stick layer essential for frying eggs smoothly. It also protects the pan from rust and enhances flavor.
Conclusion
Cooking eggs on cast iron gives great taste and texture. The pan holds heat well, making eggs cook evenly. Use a little oil or butter to stop sticking. Keep the pan clean and seasoned for best results. Cast iron lasts a long time with proper care.
Try frying eggs this way for a simple, tasty meal. Enjoy the rich flavor and easy cooking process. You will find it worth the small effort. Give your breakfast a classic touch today.

Hi, I’m Daniel Brooks—a food lover and kitchen gear enthusiast. I enjoy testing cookware, utensils, and gadgets to see what really works in everyday cooking. At PlugChef.com, I share honest reviews, comparisons, and simple guides to help you choose the best tools for a safer, smarter, and more enjoyable kitchen.
Related posts:
 What Type of Cooking Utensils are Safe: Expert Picks
 What Innovations Could Blenders Make: Unleashing Future Tech
 Smart Strategies to Organize a Small Kitchen: Maximize Space
 How to Organize a Kitchen Cabinet: Expert Tips & Tricks
 How to Organize Kitchen Drawers: Expert Tips and Tricks
 How to Organize a Corner Kitchen Cupboard: Expert Tips

