
Imagine opening your pantry and finding it cluttered and chaotic, with cans stacked haphazardly, making it hard to find what you need. It’s frustrating, right?
You’re not alone; many people struggle with keeping their canned goods organized. But what if there was a simple solution to transform your pantry into a neat and efficient space? Introducing the canned goods organizer for your pantry—a game changer that promises to save you time and reduce stress.
This article will guide you through choosing the perfect organizer to fit your needs, helping you maximize your space and streamline your kitchen routine. Get ready to discover how this small change can make a big impact on your daily life. Keep reading to unlock the secrets of a perfectly organized pantry!
Credit: www.amazon.com
Benefits Of Organizing Canned Goods
A canned goods organizer for the pantry helps save space and time. It keeps items easy to find and prevents clutter. This ensures food is stored safely and efficiently.
Organizing canned goods in your pantry brings many benefits. It makes your kitchen look neat and tidy. You can find what you need quickly. An organized pantry saves you time and effort. It also helps keep track of what you have. This way, you avoid buying duplicates.Improved Accessibility
Arranging cans properly makes them easy to reach. No more digging through stacks. Place frequently used items at the front. This setup speeds up meal prep. You can grab what you need in seconds.Maximized Space
A good organizer lets you use every inch of space. Stack cans vertically to save room. Use shelves or racks for different sizes. This method prevents clutter and frees up more space.Reduced Food Waste
Knowing what you have prevents spoilage. You use cans before expiration dates. An organized pantry means less food thrown away. This saves money and reduces waste.Enhanced Meal Planning
See all your ingredients at a glance. Plan meals based on available items. This helps create varied and balanced meals. You can also prepare shopping lists easily.Cost Efficiency
Avoid buying unnecessary items. An organized system shows what you need. This reduces impulse purchases and saves money. You buy only what you truly need.Choosing The Right Organizer
Selecting the ideal canned goods organizer boosts pantry efficiency. Opt for sturdy, space-saving designs for easy access. Adjustable shelves accommodate different can sizes, keeping your pantry neat and organized.
Choosing the right organizer for your pantry can make a big difference. It helps keep your canned goods neat and easy to find. With many options available, picking the best one might seem tricky. But with the right information, it’s simple to make a smart choice.Types Of Organizers
There are many types of organizers to consider. You can choose stackable shelves, which allow you to pile cans high. Another option is tiered racks that offer easy visibility. Lazy Susan organizers provide a rotating feature for effortless access. You might also look at door-mounted solutions to maximize space. Each type serves a specific need, so choose what fits your pantry best.Material Considerations
Material matters when choosing an organizer. Plastic options are lightweight and easy to clean. Metal organizers offer durability and can handle heavy loads. Wooden organizers add a natural look but require more maintenance. Consider the humidity and temperature of your pantry. Choose a material that withstands these conditions.Size And Capacity
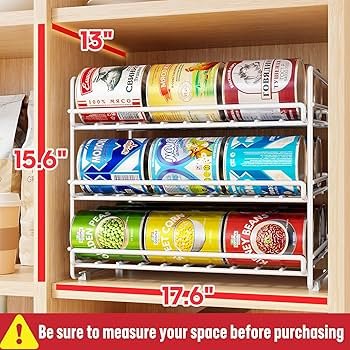
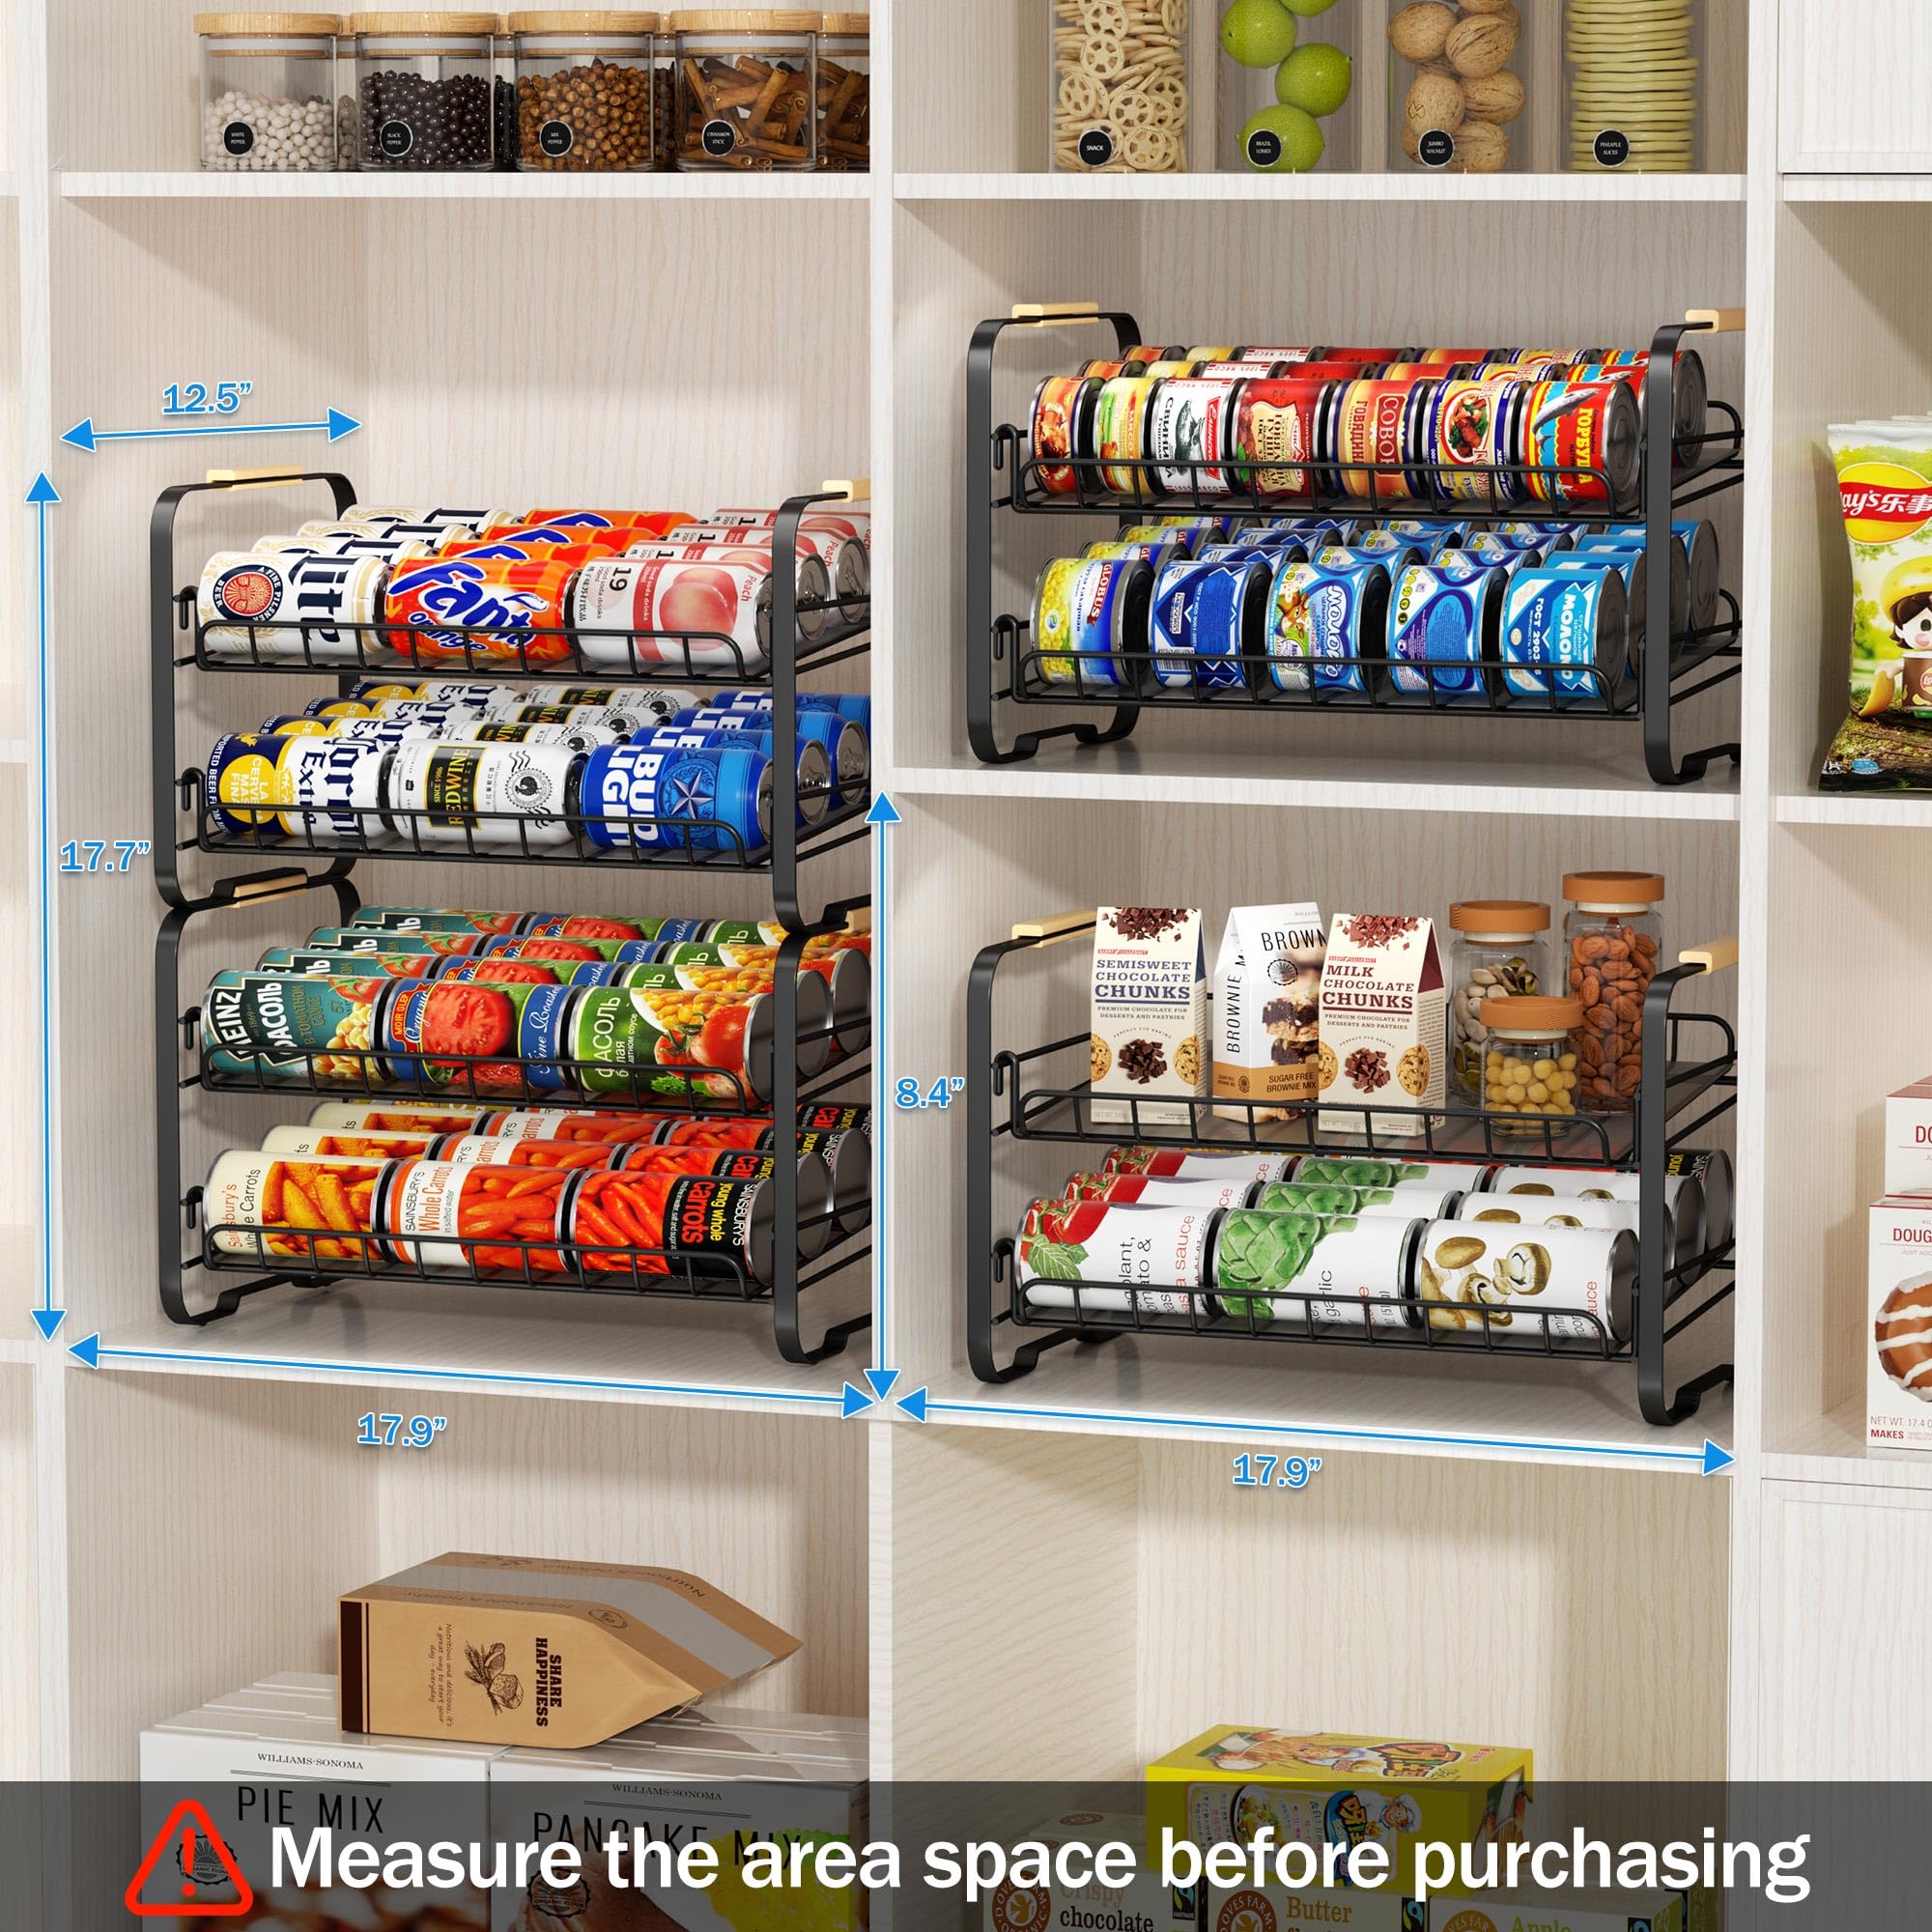
Size and capacity are crucial for a pantry organizer. Measure your pantry space before buying. Ensure the organizer fits comfortably without overcrowding. Capacity is equally important; decide how many cans you need to store. Choose an organizer that holds your canned goods efficiently. This ensures easy access and keeps your pantry tidy.Installation Tips
Ensure a sturdy shelf for your canned goods organizer. Align all parts for easy access and safety. Keep frequently used items at eye level.
Organizing your pantry with a canned goods organizer can transform chaos into a streamlined, functional space. The installation process is crucial for maximizing efficiency and ensuring your organizer serves its purpose effectively. Whether you’re a DIY enthusiast or a beginner, following these installation tips will make the process smoother and more enjoyable.Tools Needed
Before you begin, gather all necessary tools. Having everything at hand will save time and prevent frustration. Here’s what you’ll typically need: – Screwdriver: Essential for tightening screws and making adjustments. – Measuring tape: Ensures your organizer fits perfectly in the designated space. – Level: Keeps your shelves straight and prevents cans from rolling off. – Drill: Speeds up the installation process and secures heavier units. – Pencil: For marking measurements and alignment points.Step-by-step Guide
Installing your canned goods organizer is straightforward if you approach it methodically. Here’s a simple guide to help you through the process: 1. Measure Your Space: Start by measuring the area where you plan to install the organizer. This will help you choose an organizer that fits perfectly, avoiding any last-minute surprises. 2. Assemble the Organizer: Follow the manufacturer’s instructions to assemble the organizer. Make sure all parts are securely fastened to prevent future mishaps. 3. Mark the Installation Points: Use a pencil to mark where the screws or mounting brackets will go. Double-check your marks with a level to ensure everything is aligned. 4. Drill Holes: Carefully drill holes at the marked points. This step is crucial for securely attaching the organizer to the wall or shelves. 5. Secure the Organizer: Attach the organizer to the wall using screws. Tighten them well to ensure the structure can hold the weight of your canned goods. 6. Test Stability: Before loading it with cans, give the organizer a gentle shake. This will help you identify any loose areas that need re-tightening. 7. Load Your Cans: Once you’re satisfied with the stability, start organizing your cans. Group them by type or expiration date for easy access. Have you ever thought about how much time you can save by having an organized pantry? Each step in the installation process contributes to a more efficient kitchen routine. Following these tips not only enhances your pantry’s functionality but also adds a touch of satisfaction every time you reach for a can.
Credit: www.amazon.com
Organizing Techniques
Organizing your pantry can be a rewarding task. A well-organized space saves time and reduces waste. A canned goods organizer is essential for a tidy pantry. It helps you find what you need quickly. Let’s explore some effective organizing techniques.
Categorizing Canned Goods
Start by grouping similar items together. Place vegetables, fruits, and soups in separate sections. This makes it easy to locate what you need. Use baskets or bins to separate categories. Stack cans of the same size for stability. This method maximizes space and keeps everything visible.
Labeling And Rotation
Labeling is key to keeping your pantry orderly. Use clear labels on shelves or bins. Include expiration dates on labels for quick checks. This prevents expired goods from being used. Practice the rotation technique by placing new cans at the back. Move older ones to the front. This ensures you use older items first. Rotating keeps your pantry fresh and reduces waste.
Maintenance And Cleaning
Regular upkeep ensures your canned goods organizer stays functional and tidy. Wipe shelves with a damp cloth to remove dust. Check for expired cans monthly to keep items fresh and organized.
Keeping your canned goods organizer in top-notch condition is essential for a tidy pantry. Regular maintenance and cleaning ensure that your organizer functions smoothly and looks fresh. A well-maintained organizer not only prolongs its lifespan but also enhances the efficiency of your pantry. Imagine the satisfaction of opening your pantry to a gleaming, orderly display. Let’s explore some easy ways to keep your organizer in pristine condition.Routine Checks
Conduct regular inspections of your organizer to catch any signs of wear and tear early. Check for any loose screws or parts that might need tightening. It’s easier to fix small issues before they become big problems. Look for any signs of rust or damage, especially if your organizer is made of metal. Address these issues promptly to prevent them from worsening.Cleaning Methods
A clean organizer is not only more pleasant to use but also more hygienic. Use a soft, damp cloth to wipe down the surfaces, removing any dust or spills. If your organizer is metal, dry it immediately to prevent rust. For stubborn stains, a mild detergent can do wonders. Ensure you rinse it thoroughly to remove any soap residue. A clean, organized pantry is a joy to use. How often do you give your pantry a little TLC? Taking a few minutes each week can make a significant difference. Keeping your pantry in order is not just about aesthetics—it’s about creating a space that works for you.Creative Space-saving Ideas
Canned goods organizers efficiently utilize pantry space, keeping cans neatly stacked and easy to access. These organizers minimize clutter and maintain order, making it simple to find what you need quickly. Ideal for small kitchens, they transform chaotic shelves into organized storage spaces.
Organizing your pantry can be a game-changer when it comes to maximizing space and efficiency. With a little creativity and the right tools, you can transform your pantry into a well-organized haven where everything is easy to find. Let’s explore some creative space-saving ideas to help you achieve that.Vertical Storage Solutions
Consider using vertical storage solutions to make the most of your pantry space. Stackable can racks can help you store more in less space, making it easy to see and access your canned goods. Wall-mounted shelves can also be a great option, allowing you to utilize height instead of width. Think about installing adjustable shelving units. These can be customized to fit different sizes of cans and jars, ensuring every inch of vertical space is used efficiently. You might be surprised how much more you can store when you go vertical!Utilizing Unused Areas
Look around your pantry for unused nooks and crannies. The back of the pantry door is often overlooked but can be a fantastic spot for a hanging organizer. This space can hold everything from canned goods to spices, keeping your shelves free for larger items. Corner shelves are another smart solution. They can transform those awkward, often neglected corners into functional storage areas. By adding a lazy Susan, you can easily access items without having to reach deep into the shelves. Think outside the box by using small baskets or bins under the bottom shelves. This area often goes unused but can be perfect for storing overflow or less frequently used items. Have you ever considered how much more you could store by utilizing these hidden spaces?Budget-friendly Organizer Options
Organizing a pantry can be a daunting task. Especially when you’re on a budget. Thankfully, there are budget-friendly options to keep your pantry neat. Whether you prefer a DIY approach or affordable store-bought solutions, organizing doesn’t have to break the bank.
Diy Solutions
Creating your own organizer can be cost-effective. Start with items you already have. Use cardboard boxes to make dividers. Trim them to fit your pantry shelves. Cover them with wrapping paper for a polished look. Another option is using magazine holders. Place them on their sides to store cans. It’s simple and effective.
For a more creative touch, repurpose wooden crates. Paint them to match your pantry decor. Stack them to create a tiered can storage. This not only saves money but also adds a rustic charm. Consider using tension rods. They can act as barriers to keep cans in place. It’s a simple trick that works wonders.
Affordable Purchases
If DIY isn’t your style, there are affordable options available. Look for wire racks designed for cans. They are usually inexpensive and easy to install. These racks help maximize vertical space. Another option is plastic stackable bins. They are durable and budget-friendly. Use them to categorize different canned goods.
Visit dollar stores for budget finds. You can often find small baskets or bins there. They work well for organizing smaller cans. Keep an eye out for sales in larger retail stores. Sometimes, you can find quality organizers at discounted prices. This helps you save money while keeping your pantry organized.

Credit: www.temu.com
Frequently Asked Questions
How To Organize Canned Goods In A Pantry?
Sort canned goods by type and expiration date. Use shelves or racks for easy access. Place older cans at the front. Label sections for quick identification. Maintain a clean and clutter-free pantry to maximize space.
How To Make Cans Look Good In The Pantry?
Arrange cans by size and type for a tidy look. Use clear labels for easy identification. Incorporate tiered shelves or organizers to maximize space. Maintain consistent spacing between cans for a uniform appearance. Keep frequently used items at the front for quick access.
What Are The 7 Pantry Zones?
Pantry zones include grains, canned goods, spices, baking supplies, snacks, breakfast items, and beverages. Organize each category for easy access and efficient storage. Properly arranging pantry zones enhances functionality and keeps food fresh longer.
Can I Donate Expired Canned Goods To A Food Pantry?
Most food pantries do not accept expired canned goods. Check with your local pantry for specific policies. It’s best to donate non-expired items to ensure safety and quality. Always verify expiration dates before donating.
Conclusion
Organizing canned goods makes pantry life easier. You find items quickly. No more searching through cluttered shelves. Everything stays neat and visible. This saves time and stress. An organizer helps keep things tidy. Your pantry becomes more efficient. You know what you have.
You reduce waste. You plan meals better. Enjoy a clean and organized space. It’s simple to start. Choose the right organizer for your needs. Make your pantry more functional. Discover the joy of a well-organized kitchen. A small change makes a big difference.
Keep your pantry in order, effortlessly.

I’m Abby Lu, a passionate home cook who loves simplifying everyday meals. At PlugChef.com, I share product reviews and cooking guides to help you find the best tools for your kitchen.
Related posts:
 What Type of Cooking Utensils are Safe: Expert Picks
 What Innovations Could Blenders Make: Unleashing Future Tech
 Smart Strategies to Organize a Small Kitchen: Maximize Space
 How to Organize a Kitchen Cabinet: Expert Tips & Tricks
 How to Organize Kitchen Drawers: Expert Tips and Tricks
 How to Organize a Corner Kitchen Cupboard: Expert Tips

