
Imagine creating a beautiful cutting board that stands the test of time, one that remains a staple in your kitchen for years. The secret lies in how you seal the wood.
When you understand the process of sealing, you’re not just preserving the aesthetics of your cutting board, but also ensuring its longevity and safety. This article will guide you through the steps to seal wood effectively, making your cutting board more durable and resistant to moisture and bacteria.
By the end, you will have the confidence and knowledge to protect your cutting board like a pro. Are you ready to transform your cutting board and make it the centerpiece of your kitchen? Let’s dive in!
Choosing The Right Sealant
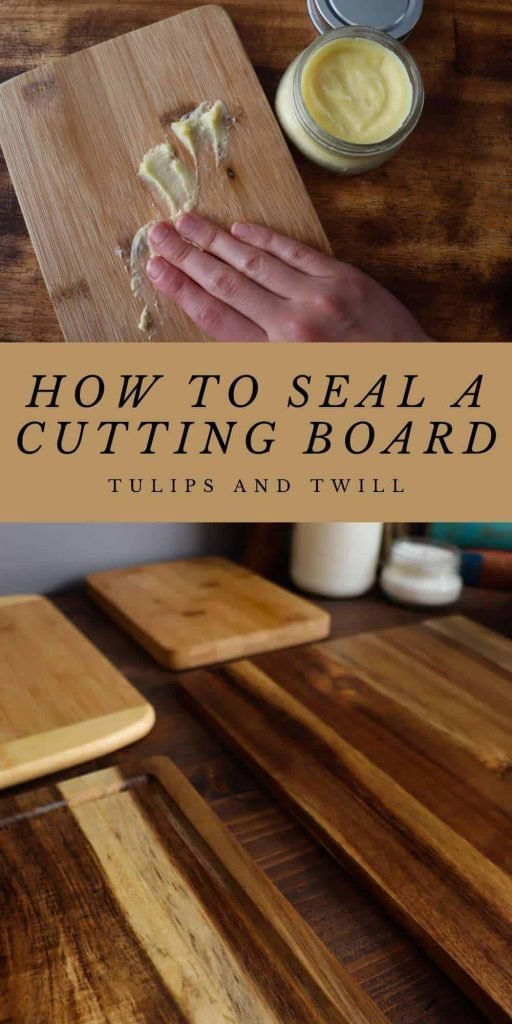
Selecting the right sealant is crucial for preserving your cutting board. Choose a food-safe option to ensure safety. Natural oils like mineral oil or beeswax work well. They protect the wood and enhance its lifespan. Regular application maintains the board’s smooth surface and prevents cracks or dryness.
Choosing the right sealant for your cutting board is crucial. It ensures safety and longevity. The right sealant protects the wood from moisture and bacteria. It also enhances the board’s appearance and durability. The options available include natural oils, mineral oils, and waxes. Each has its own benefits and uses.Natural Oils
Natural oils are a popular choice for sealing wood. They are safe and non-toxic. These oils penetrate the wood deeply. This provides excellent protection and a rich finish. Common natural oils include walnut and linseed oil. They enhance the wood’s natural grain and color.Mineral Oils
Mineral oils are often used for cutting boards. They are food-safe and odorless. These oils are easy to apply and maintain. Mineral oils do not harden, making them perfect for frequent use. They protect the wood from drying and cracking.Wax Options
Waxes provide a protective layer on the wood’s surface. They seal the wood and add a glossy finish. Beeswax is a popular choice for cutting boards. It is natural and provides a smooth texture. Waxes can be used with oils for added protection.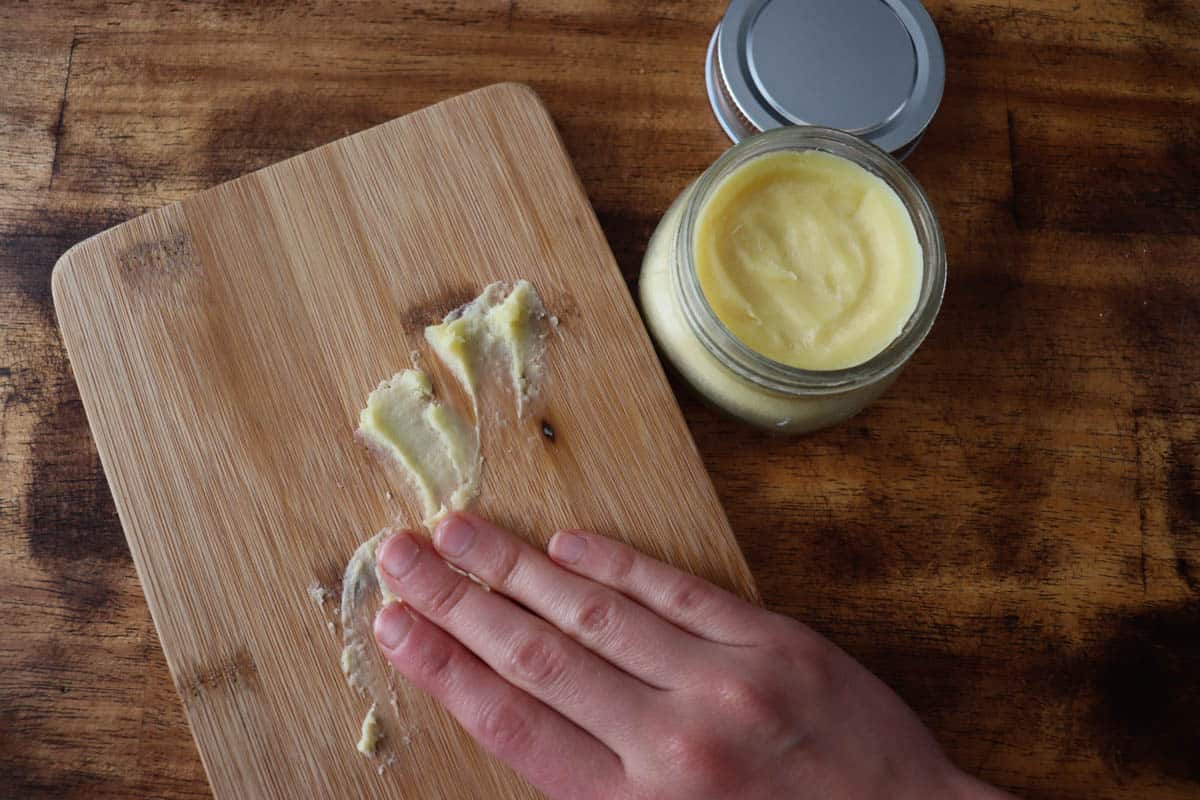
Credit: tulipsandtwill.com
Preparing The Cutting Board
Sealing wood for a cutting board is crucial. It ensures durability and prevents moisture damage. The first step is preparing the cutting board. Proper preparation enhances the sealing process. It guarantees the longevity and beauty of your cutting board.
Cleaning The Surface
Start by cleaning the wood surface thoroughly. Use warm water and mild soap. Scrub gently to remove any debris or dust. Make sure the board is completely dry. Moisture can interfere with the sealing process.
Sanding Techniques
Next, focus on sanding. Choose sandpaper with medium grit. Sand the wood evenly across the surface. This removes rough patches and blemishes. Gradually switch to finer grit sandpaper. It ensures a smoother finish.
Ensuring A Smooth Finish
After sanding, inspect the board. Feel the surface with your hand. It should feel smooth and even. Check for any remaining rough spots. Sand those areas again if needed. A smooth finish is essential for effective sealing.
Applying The Sealant
Applying the sealant is a crucial step in preserving your cutting board. This process enhances the wood’s durability and ensures its longevity. A properly sealed cutting board resists moisture, prevents stains, and maintains hygiene. Follow this guide to apply sealant effectively and enjoy a lasting, beautiful cutting board.
Tools And Materials Needed
Gather your materials before starting. You will need a food-safe sealant, a clean cloth, and sandpaper. Sandpaper should be fine-grit to smooth the wood surface. Choose a sealant labeled safe for kitchen use. A clean cloth will help spread the sealant evenly.
Step-by-step Application
First, sand the cutting board with fine-grit sandpaper. This removes any rough spots and prepares the surface. Wipe the board with a clean cloth to remove dust.
Next, pour a small amount of sealant onto the cloth. Rub the sealant onto the wood in small circles. Ensure even coverage over the entire board. Apply an additional coat if necessary.
Drying And Curing Time
Let the sealant dry completely. This can take several hours. Check the label for specific drying times. Once dry, allow the board to cure for a full day. This ensures the sealant sets properly.
A well-sealed cutting board can last for years. Regular maintenance will keep it in top condition.
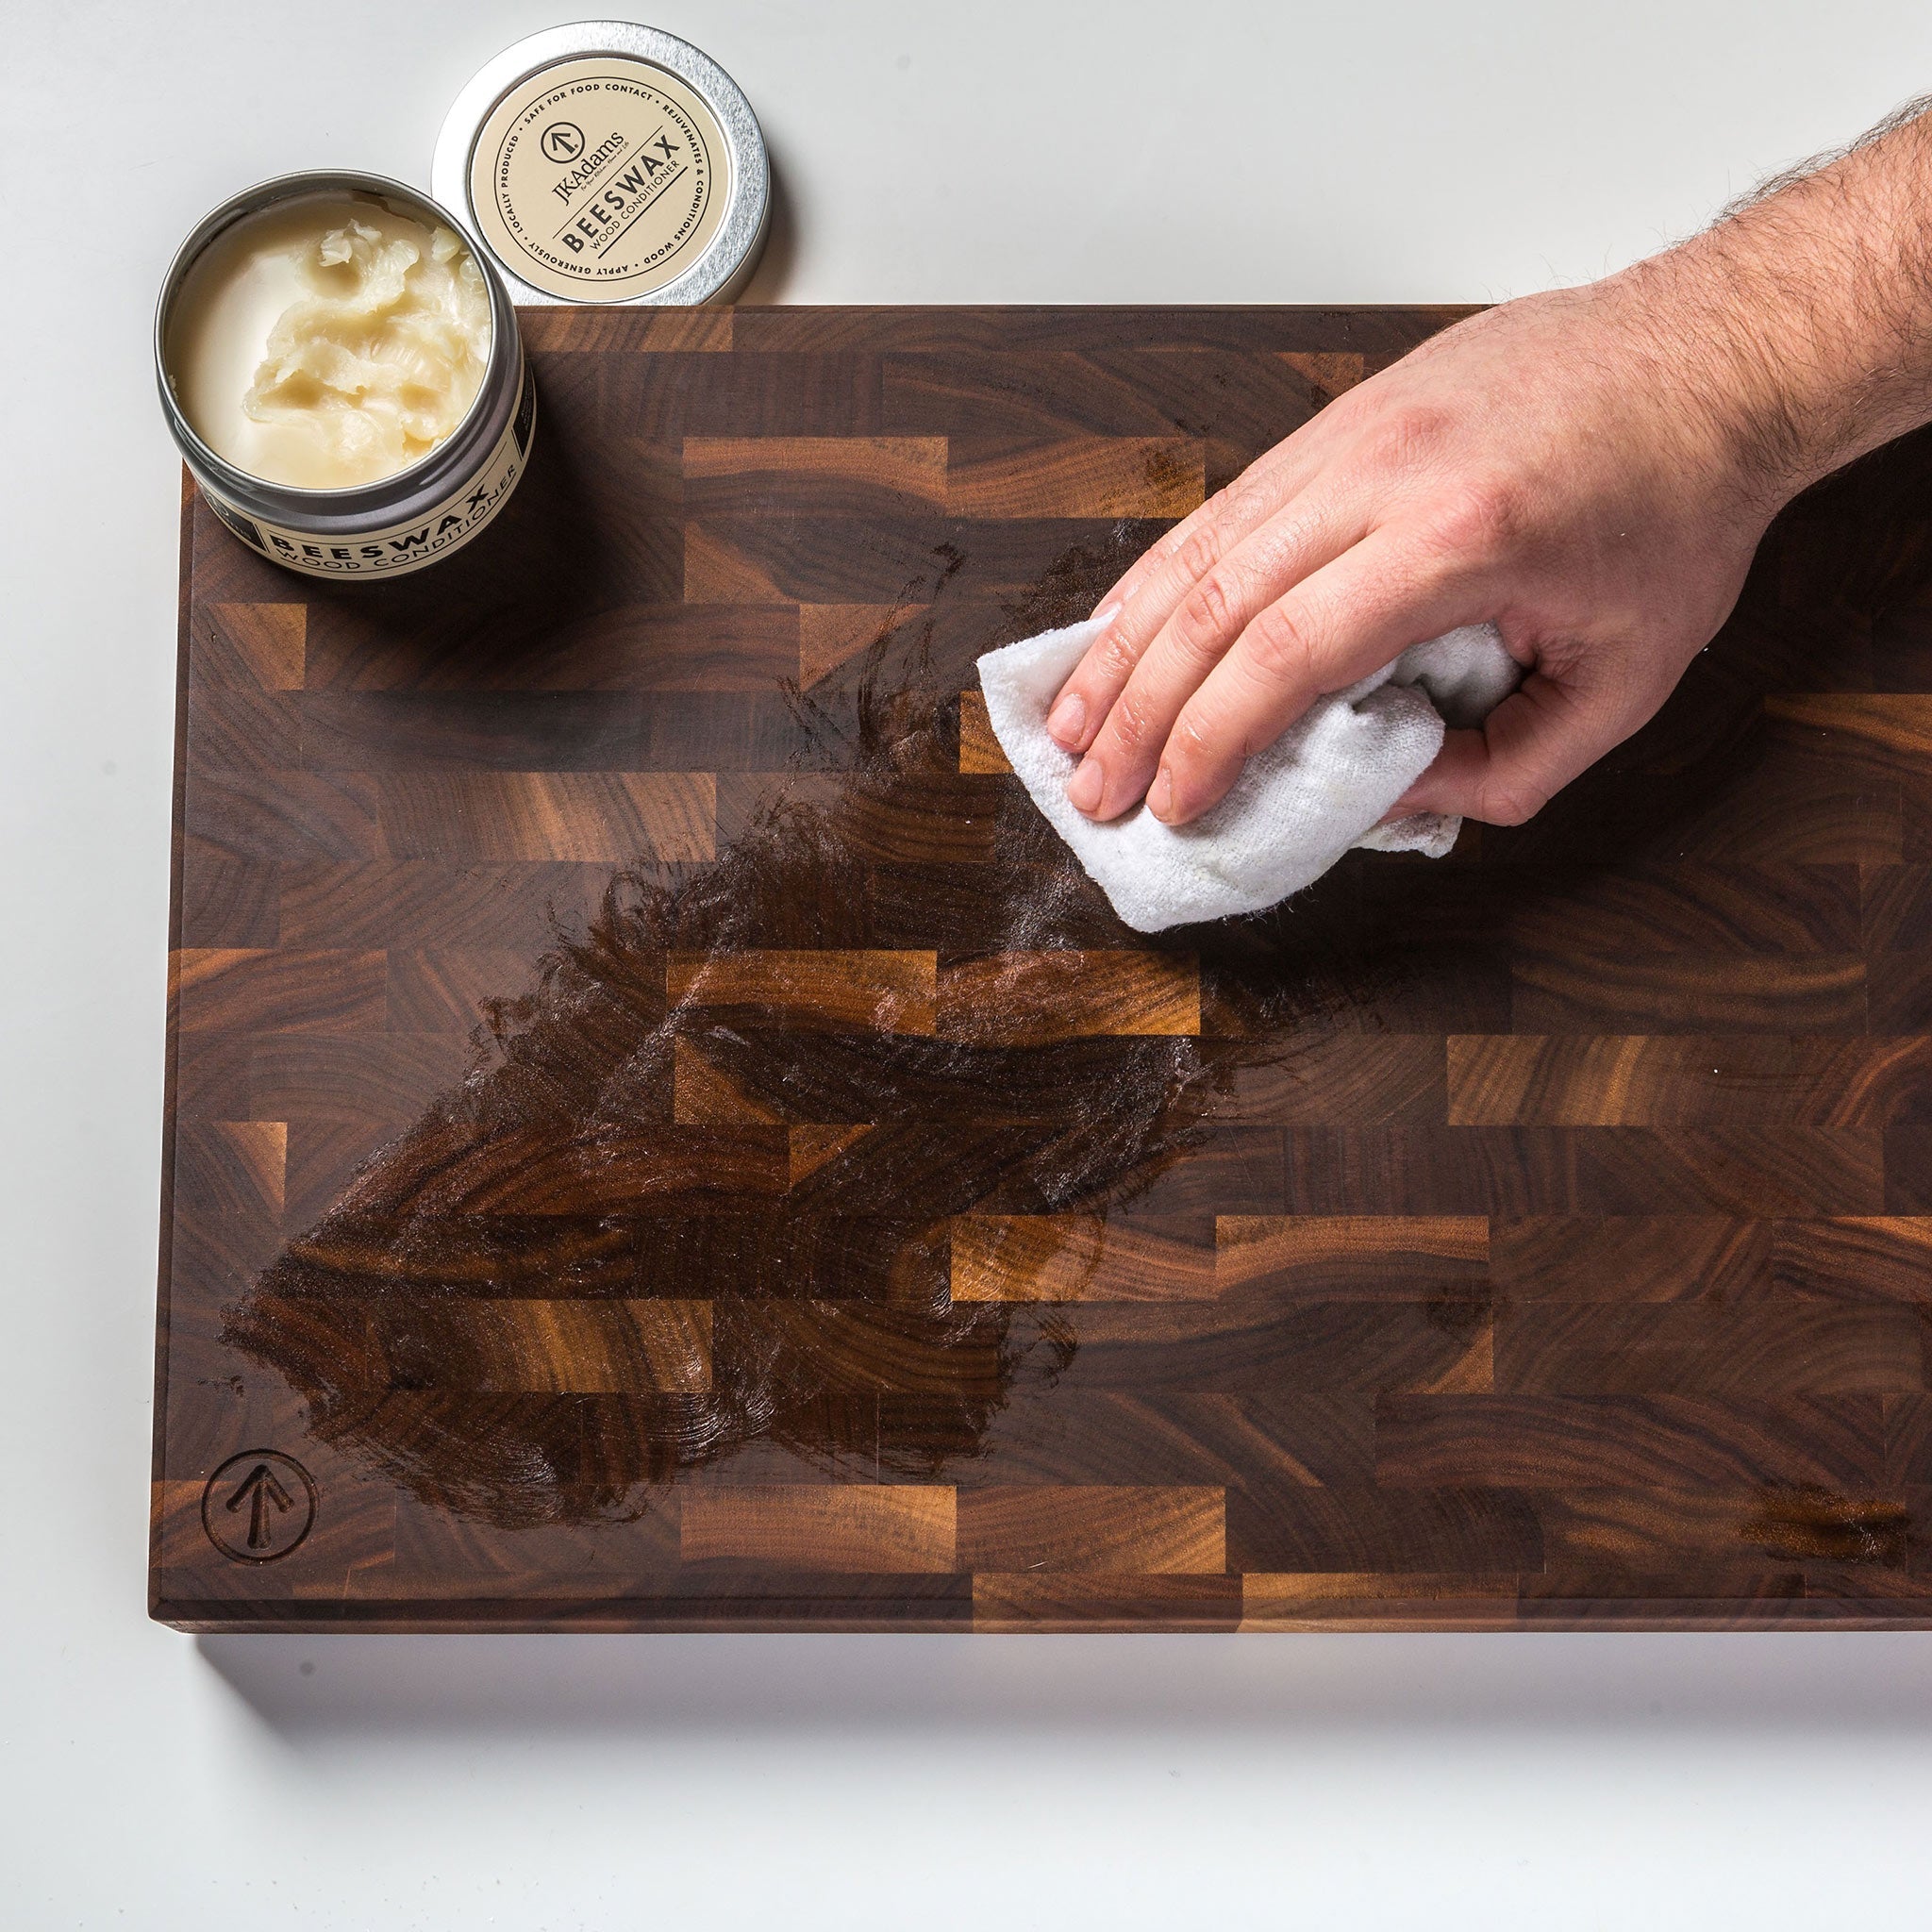
Credit: www.jkadams.com
Maintaining The Sealed Surface
Sealing wood for a cutting board protects it from moisture and bacteria. First, clean the board thoroughly. Then, apply a food-safe mineral oil evenly. Let it soak overnight. Buff with a clean cloth for a smooth finish. Regular maintenance keeps the board durable and hygienic.
Sealing your cutting board is a crucial step to ensure its longevity and safety. But maintaining this sealed surface requires ongoing care and attention. If you’ve gone through the effort of sealing your wood cutting board, you’ll want to keep it in top shape. This involves regular cleaning, timely reapplication of the sealant, and being mindful of potential damage. Let’s dive into how you can effectively maintain your sealed cutting board.Regular Cleaning Practices
Cleaning your cutting board regularly is essential. Start by wiping it down with a damp cloth after each use. This simple habit prevents food particles from accumulating and keeps your board hygienic. For a deeper clean, use a mild soap and warm water. Scrub gently with a soft sponge to avoid scratching the surface. Do you know that a weekly cleanse with a mixture of vinegar and water can help? It not only disinfects but also maintains the sealant’s integrity.Reapplication Schedule
Reapplying sealant is not a one-time task. The frequency depends on usage. If you use your board daily, consider reapplying every month. Monitor the surface for signs of wear. If the board looks dry or feels rough, it’s time for a new coat. A simple beeswax and mineral oil mixture can do wonders. Apply it generously, let it absorb, then buff with a clean cloth. It’s quick, yet effective.Avoiding Damage
To prevent damage, always use a cutting board for its intended purpose. Avoid cutting hard items like bones that might gouge the wood. Never submerge your board in water. Excess moisture can lead to warping or cracking, ruining the seal. Be mindful of heat. Placing hot pots directly on the board can damage the seal and the wood underneath. Consider using trivets or pads. Maintaining your cutting board ensures it remains a beautiful and functional part of your kitchen. How do you take care of yours?Troubleshooting Common Issues
Sealing wood for a cutting board can sometimes lead to challenges. These common issues may disrupt your woodworking project. Understanding how to troubleshoot them is key to achieving a smooth, durable finish.
Dealing With Sticky Residue
Sticky residue often occurs from excessive oil application. Use a cloth to wipe away excess oil. Allow the board to dry fully before using it again. If the stickiness persists, clean with mild soap and water. Ensure the board is completely dry before reapplying a thin layer of oil.
Handling Uneven Coating
Uneven coating may result from rushed application. Spread the oil evenly across the surface using a clean cloth. Apply in a circular motion for even distribution. Inspect the board under good light to spot missed areas. Reapply oil to these spots for a uniform finish.
Fixing Scratches And Dents
Scratches and dents can mar the board’s appearance. Sand gently with fine-grit sandpaper to smooth out imperfections. Focus on the affected area, but blend edges with surrounding wood. Clean the board thoroughly to remove dust. Apply a fresh coat of oil to restore its sheen.
Credit: en.chefstudio.vn
Frequently Asked Questions
What Should I Seal My Wooden Cutting Board With?
Seal your wooden cutting board with food-grade mineral oil or beeswax. These options are safe and effective. Apply regularly to maintain the board’s integrity and prevent cracks. Ensure the product is suitable for kitchen use to protect both the board and food safety.
How To Seal A Wood Board To Make It Food-safe?
Use food-safe mineral oil to seal wood boards. Apply oil generously, let it soak, then wipe off excess. Repeat process monthly for best results. Avoid using varnish or toxic finishes. Ensure board is dry and clean before starting. Regular maintenance keeps wood board safe for food use.
How Do You Finish Raw Wood For A Cutting Board?
To finish raw wood for a cutting board, sand it smoothly. Apply food-safe mineral oil evenly. Let it absorb overnight. Wipe excess oil with a clean cloth. Repeat the oiling process every few weeks for maintenance.
Can I Use Olive Oil To Seal My Wood Cutting Board?
Olive oil is not recommended for sealing wood cutting boards. It can turn rancid over time. Use mineral oil or a specialized cutting board oil instead. These oils are food-safe and provide effective sealing, preventing damage and extending the board’s lifespan.
Regular maintenance ensures your cutting board stays in good condition.
Conclusion
Sealing your cutting board keeps it durable and safe. It prevents water damage and bacteria. Choose food-safe oils like mineral oil or beeswax. Apply generously, then let it soak. Reapply every month for best results. Sealing is simple but important.
It extends your board’s life. Keeps it looking fresh and clean. Protects the wood from warping and cracking. Regular maintenance is key. A well-sealed board makes kitchen tasks easier. Enjoy your cooking with a well-maintained board. Keep it sealed, keep it safe, keep it lasting.
Happy cooking and crafting in your kitchen!

Hi, I’m Daniel Brooks—a food lover and kitchen gear enthusiast. I enjoy testing cookware, utensils, and gadgets to see what really works in everyday cooking. At PlugChef.com, I share honest reviews, comparisons, and simple guides to help you choose the best tools for a safer, smarter, and more enjoyable kitchen.
Related posts:
 What Type of Cooking Utensils are Safe: Expert Picks
 What Innovations Could Blenders Make: Unleashing Future Tech
 Smart Strategies to Organize a Small Kitchen: Maximize Space
 How to Organize a Kitchen Cabinet: Expert Tips & Tricks
 How to Organize Kitchen Drawers: Expert Tips and Tricks
 How to Organize a Corner Kitchen Cupboard: Expert Tips

