
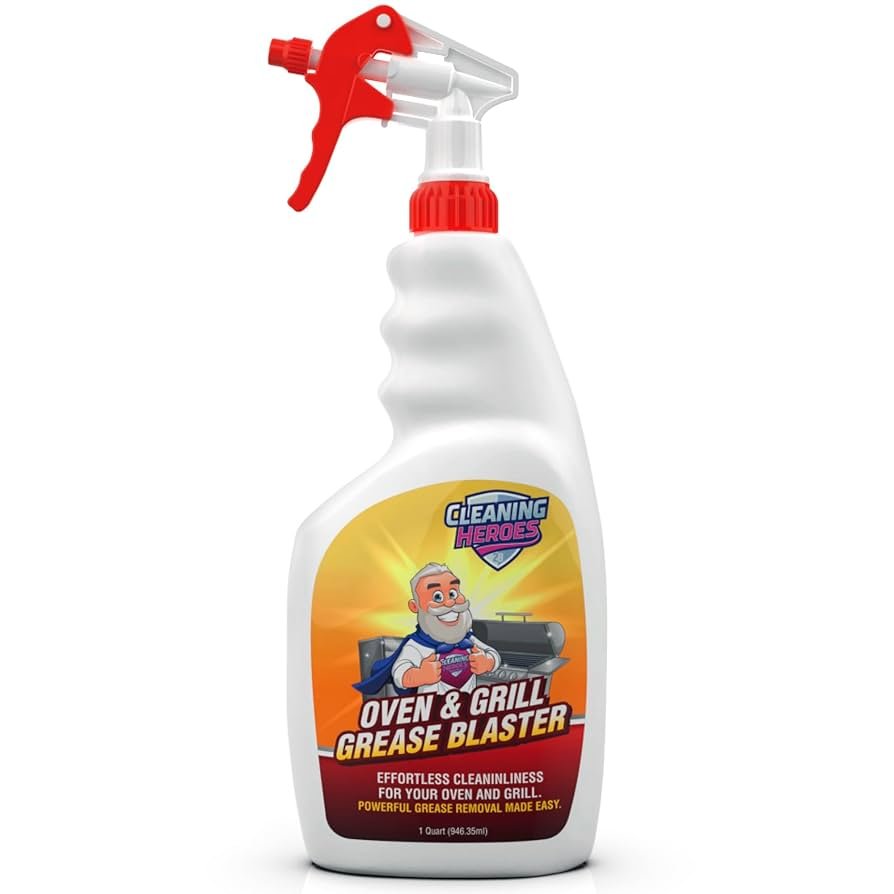
Is your grill covered in stubborn grease and burnt-on food that just won’t come off? You want your grill to look and work like new, but scrubbing for hours leaves you tired and frustrated.
What if there was an easier way to get your grill sparkling clean without all the hard work? Using oven cleaner might be the secret trick you haven’t tried yet. You’ll discover how to clean your grill quickly and effectively with oven cleaner, saving you time and effort while bringing back that fresh, ready-to-cook surface you deserve.
Keep reading to learn the simple steps that will transform your grill-cleaning routine!
Why Choose Oven Cleaner For Grills
Choosing oven cleaner to tackle grill grime might surprise you, but it’s a smart move that many overlook. Oven cleaners are designed to break down tough, baked-on grease, making them highly effective on grills too. If you’ve struggled with scrubbing your grill for hours, oven cleaner could save you time and effort, leaving your grill spotless with less elbow grease.
Benefits Over Traditional Methods
Oven cleaner works faster than scrubbing with soap and water or using a grill brush alone. It dissolves stubborn grease and burnt food residues that regular detergents often miss.
- Requires less physical effort—no more endless scrubbing.
- Reaches into grill grates and corners where brushes can’t.
- Leaves a cleaner surface, improving your grill’s performance and food taste.
Instead of repeatedly scraping, you apply the cleaner, wait a short time, and wipe away grime effortlessly. Have you ever spent hours scrubbing and still felt your grill wasn’t clean enough? Oven cleaner can change that.
Safety Considerations
Oven cleaners contain strong chemicals, so safety is key when using them on your grill. Always wear gloves and work in a well-ventilated area to avoid skin irritation and inhaling fumes.
- Apply the cleaner only to cold grills to prevent dangerous reactions.
- Rinse the grill thoroughly with water after cleaning to remove all chemical residues.
- Keep oven cleaner away from food surfaces until fully rinsed and dry.
Ignoring these steps can risk your health and contaminate your food. Have you considered how cleaning chemicals might affect your meals if not properly rinsed?

Credit: www.amazon.com
Preparing Your Grill For Cleaning
Preparing your grill for cleaning ensures better results and protects your equipment. Taking time to ready the grill makes the cleaning process easier and safer. Proper preparation removes obstacles and safeguards your surroundings from damage.
Removing Grill Parts
Start by turning off the grill and disconnecting the gas supply. Let the grill cool completely before touching any parts. Remove the grill grates, burners, and drip trays carefully. Place these parts on a clean surface for separate cleaning. This step helps you clean deeply and reach hidden grime.
Protecting Surrounding Areas
Cover nearby surfaces with old newspapers or plastic sheets. Protect walls, plants, and furniture from oven cleaner splashes. Work outdoors or in a well-ventilated area to avoid fumes buildup. Wear gloves and old clothes to protect your skin. These precautions keep your space safe and clean during the process.
Step-by-step Cleaning Process
Keeping your grill spotless can seem like a daunting task, but with the right approach, it becomes a breeze. The step-by-step cleaning process using oven cleaner is not only effective but also straightforward. Here’s how you can transform your greasy grill into a sparkling clean masterpiece.
Applying Oven Cleaner
Start by ensuring your grill is cool to the touch. Shake the oven cleaner can vigorously and spray a generous amount onto the grates and any other greasy areas. Be sure to cover every nook and cranny, as this ensures the cleaner works effectively on all surfaces.
Soaking Time
Patience is key during this phase. Allow the oven cleaner to soak into the grime for at least 20 minutes. This waiting period allows the chemicals to break down stubborn grease and food residue, making the scrubbing process much easier.
Scrubbing Techniques
Once the soaking time is up, it’s time to put in a little elbow grease. Use a grill brush or a scrub pad to tackle the dirt. For those really tough spots, a bit of baking soda mixed with water can act as an abrasive aid, enhancing your scrubbing power.
Rinsing Thoroughly
Proper rinsing is crucial to remove all cleaning residues. Use a hose or a bucket of warm water to wash away the loosened grime and cleaner. Make sure to dry the grill completely afterward to prevent rusting.
Cleaning your grill doesn’t have to be a chore. With these practical steps, you’re not just maintaining a grill; you’re ensuring every barbecue is safe and delicious. Have you tried cleaning with oven cleaner before? What tricks have you found effective?

Credit: www.amazon.com
Handling Tough Stains And Grease
Tackling tough stains and grease on your grill can feel like a daunting task. Oven cleaner is powerful, but some grime just doesn’t budge easily. Knowing how to handle these stubborn spots effectively can save you time and effort while bringing your grill back to life.
Using Additional Tools
Sometimes, oven cleaner alone isn’t enough to lift all the grease and burnt-on residue. Adding the right tools can make a big difference.
- Scrub Brushes:A stiff-bristled brush helps break down grime without scratching your grill’s surface.
- Steel Wool Pads:These work well on metal grates but use them carefully to avoid damage.
- Plastic Scrapers:Great for gently lifting off residue after the cleaner has softened it.
Pairing these tools with oven cleaner targets the toughest spots. Have you tried using a brush immediately after spraying the cleaner? The softened grease often wipes away much easier.
Repeat Application Tips
Stubborn stains don’t always disappear after one treatment. Applying oven cleaner multiple times can be necessary, but the key is in how you repeat the process.
- Spray a light coat first and let it sit for 10-15 minutes before scrubbing.
- Rinse thoroughly between applications to avoid buildup of cleaner residue.
- Focus on small sections at a time rather than the entire grill at once for better control.
Have you noticed that reapplying oven cleaner after rinsing often loosens the grime more effectively? Patience pays off when dealing with tough grease.
Post-cleaning Maintenance
After cleaning your grill with oven cleaner, proper post-cleaning care helps keep it in great shape. This step prevents rust and damage. It also makes future cleanings easier and faster.
Drying And Reassembling
Dry the grill parts thoroughly to stop rust from forming. Use a clean cloth or let the parts air dry in a warm area. Make sure no moisture remains in hard-to-reach spots.
Once dry, carefully put the grill back together. Check each piece fits well and locks into place. Tighten screws and bolts if needed. This ensures safe and smooth grill operation.
Regular Cleaning Schedule
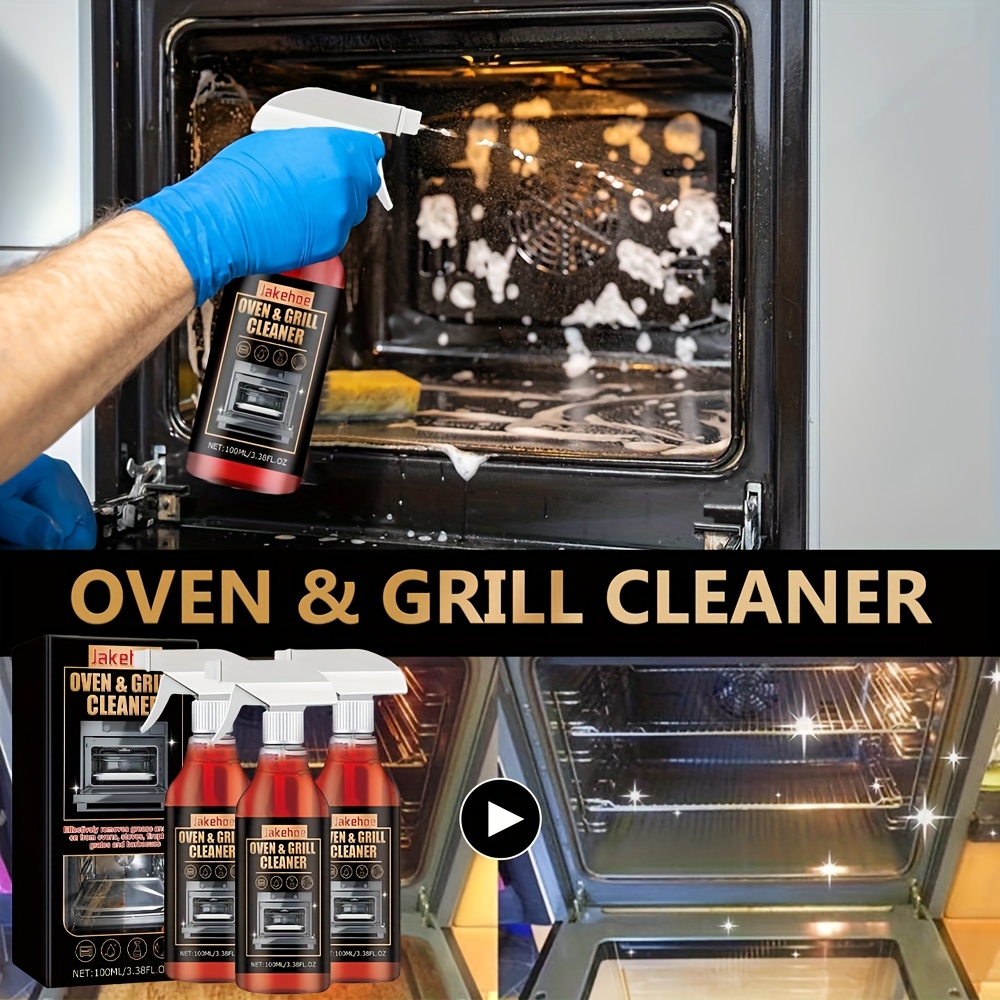
Set a regular cleaning routine to keep your grill fresh and safe. Clean the grill after every few uses, depending on how often you cook. This stops grease buildup and food residue.
Use mild soap and water for light cleaning between deep cleans with oven cleaner. Keep the grill covered when not in use to protect it from dust and weather. This simple habit extends your grill’s life.
Credit: www.temu.com
Common Mistakes To Avoid
Cleaning your grill with oven cleaner can save time and effort. Still, some common mistakes can cause damage or safety issues. Avoid these errors to keep your grill in good shape and your cleaning process safe.
Overuse Of Cleaner
Using too much oven cleaner does not make cleaning faster. Excess cleaner can leave harmful residues on your grill. These residues affect food taste and safety. Follow product instructions carefully. Apply only the recommended amount. Let the cleaner work for the suggested time. Rinse the grill thoroughly to remove all chemicals. Overuse can also damage grill surfaces and coatings.
Ignoring Safety Guidelines
Oven cleaner contains strong chemicals. Ignoring safety rules can cause skin burns or breathing problems. Always wear gloves and eye protection. Work in a well-ventilated area or outside. Avoid inhaling fumes by keeping your face away from the spray. Do not mix oven cleaner with other cleaning products. Keep children and pets away during cleaning. Read the safety instructions on the cleaner’s label before use.
Eco-friendly Alternatives
Choosing eco-friendly alternatives for cleaning your grill protects the environment. Many traditional oven cleaners contain harsh chemicals. These can harm nature and your health. Eco-friendly options use natural ingredients. They clean effectively without toxic residues. These options also reduce waste and pollution. Safe for your family and pets.
Natural Cleaning Solutions
Natural solutions include baking soda, vinegar, and lemon. Baking soda scrubs away grease gently. Vinegar cuts through grime with acidity. Lemon adds a fresh scent and breaks down dirt. Mix these ingredients to make pastes or sprays. Use a brush or cloth to clean grill surfaces. These solutions avoid harsh chemicals and fumes.
Comparing Effectiveness
Natural cleaners work well for light to moderate grease. Tough, burnt-on residue may need more effort. Oven cleaners act faster on heavy buildup. They contain strong chemicals that dissolve grime quickly. However, natural options are safer and less irritating. Regular cleaning with eco-friendly methods keeps grills cleaner longer. Balance strength with safety for best results.
Frequently Asked Questions
Can I Use Oven Cleaner To Clean A Grill?
Yes, oven cleaner can effectively clean grills by removing grease and grime. Always follow safety instructions and wear gloves.
Is Oven Cleaner Safe For Grill Grates?
Oven cleaner is safe for metal grill grates if used properly. Avoid prolonged contact and rinse thoroughly afterward.
How Long Should Oven Cleaner Stay On Grill?
Apply oven cleaner and let it sit for 10 to 15 minutes. Do not exceed 20 minutes to prevent damage.
Do I Need To Rinse The Grill After Using Oven Cleaner?
Yes, rinsing the grill thoroughly is essential to remove chemical residues. Use water and a scrub brush for best results.
Conclusion
Cleaning your grill with oven cleaner saves time and effort. It removes tough grease and grime quickly. Always follow safety instructions for the best results. Rinse the grill well to avoid any chemical taste. A clean grill helps your food taste better.
Regular cleaning keeps your grill in good shape longer. Try this method for an easy and effective grill clean. Your next barbecue will be fresher and more enjoyable. Simple steps, great results.

Hi, I’m Daniel Brooks—a food lover and kitchen gear enthusiast. I enjoy testing cookware, utensils, and gadgets to see what really works in everyday cooking. At PlugChef.com, I share honest reviews, comparisons, and simple guides to help you choose the best tools for a safer, smarter, and more enjoyable kitchen.
Related posts:
 What Type of Cooking Utensils are Safe: Expert Picks
 What Innovations Could Blenders Make: Unleashing Future Tech
 Smart Strategies to Organize a Small Kitchen: Maximize Space
 How to Organize a Kitchen Cabinet: Expert Tips & Tricks
 How to Organize Kitchen Drawers: Expert Tips and Tricks
 How to Organize a Corner Kitchen Cupboard: Expert Tips

