
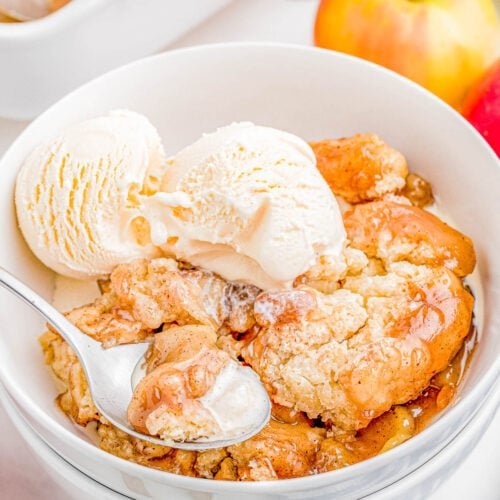
Craving a warm, comforting dessert that’s easy to make? You’re going to love this Apple Cobbler with Canned Biscuits recipe.
It’s perfect for when you want something sweet but don’t have hours to spend in the kitchen. With just a few simple ingredients, you can create a delicious treat that feels homemade but saves you time. Ready to impress your family or friends with a dessert that’s both tasty and quick?
Keep reading to discover how you can make this classic favorite in no time.
Ingredients Needed
Gathering the right ingredients sets the foundation for a delicious apple cobbler with canned biscuits. Each component plays a key role in balancing flavors and textures. You’ll find that simple pantry staples can come together to create a cozy, satisfying dessert.
Canned Biscuits
Canned biscuits are a game-changer for quick cobblers. They provide an easy, buttery crust without the fuss of making dough from scratch. Choose regular or flaky biscuits, depending on your texture preference.
- One standard can of refrigerated biscuits (usually 8 biscuits)
- Optionally, you can cut biscuits in halves or quarters for a layered effect
Apple Filling
The heart of your cobbler is the apple filling. You can use fresh apples, but canned apple pie filling saves time and adds consistent sweetness. If you opt for fresh, choose tart varieties like Granny Smith for a nice contrast.
- One can (about 21 oz) of apple pie filling
- Or 4-5 peeled, sliced apples if using fresh
- Optional: a splash of lemon juice to brighten the flavor
Spices And Sweeteners
Spices transform simple apples into a warm, inviting dessert. Cinnamon is a must-have, but adding nutmeg or allspice can deepen the flavor. Adjust sweetness based on your canned filling or fresh apples.
- 1-2 teaspoons ground cinnamon
- 1/4 teaspoon ground nutmeg (optional)
- Brown sugar or granulated sugar to taste (usually 1/4 to 1/2 cup)
- A pinch of salt to balance the sweetness
Have you ever experimented with adding a pinch of ginger or cardamom to your apple cobbler? It might surprise you how a small twist can make your dessert stand out.
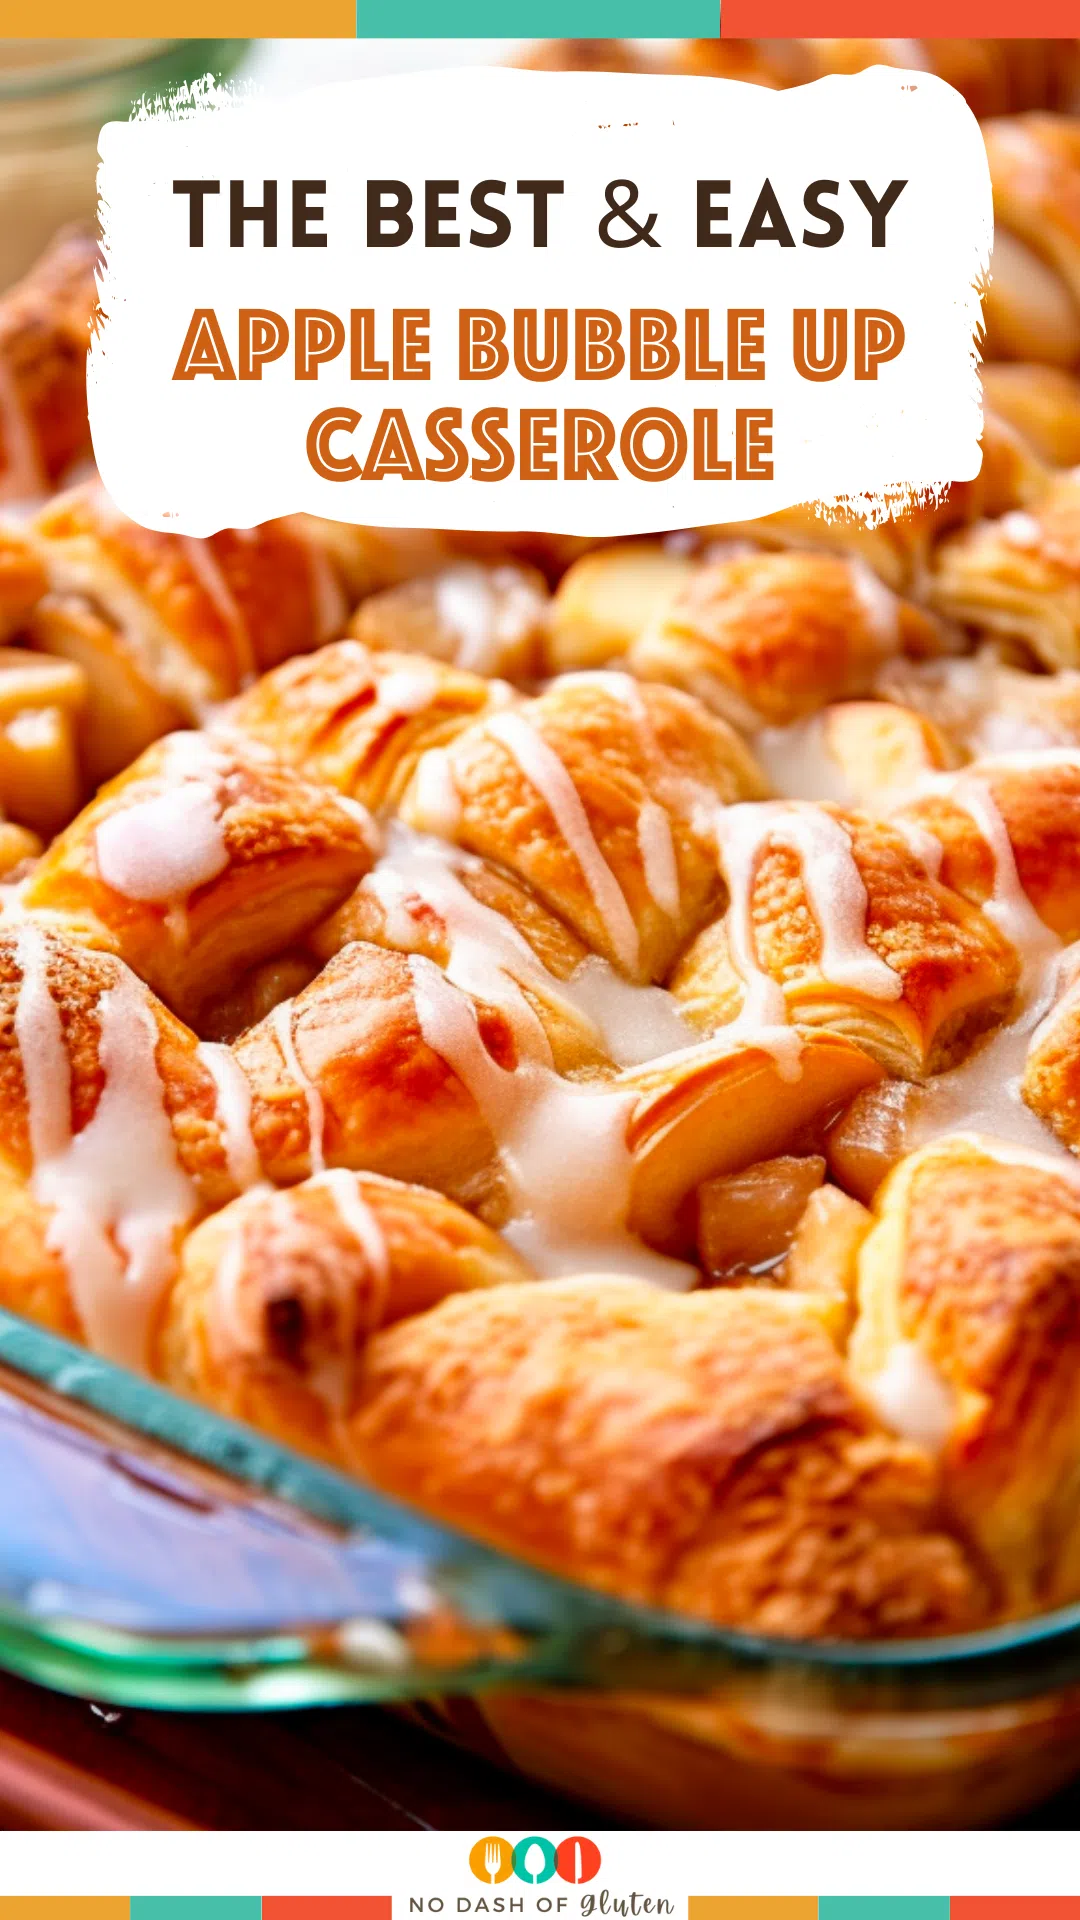
Credit: nodashofgluten.com
Preparing The Apples
Peel and slice the apples evenly for a soft texture. Toss them with sugar and cinnamon to add sweetness and spice. This simple prep makes the filling flavorful and ready for the biscuit topping.
Preparing the apples is a crucial step in crafting a delicious apple cobbler with canned biscuits. The right apples and a balanced mix of sugar and spices create a delightful filling. Follow these guidelines to prepare your apples perfectly.Choosing The Right Apples
Select firm apples for the best texture. Crisp varieties like Granny Smith or Honeycrisp work well. They offer a nice balance of sweetness and tartness. Avoid overly soft or mealy apples. They can make the filling mushy.Mixing With Sugar And Spices
Peel and slice the apples evenly. This ensures uniform cooking. Toss the slices with sugar for sweetness. Use brown sugar for a richer flavor. Add a pinch of cinnamon for warmth. Nutmeg or cloves can add depth. Mix well to coat each slice evenly. Let the mixture sit for a few minutes. This allows the flavors to meld beautifully.Using Canned Biscuits
Canned biscuits offer a quick and simple way to make apple cobbler. They save time without losing flavor or texture. Using them brings a soft, fluffy topping to your dessert. This shortcut works well for busy days or last-minute treats.
Types Of Biscuits Suitable
Choose plain or buttermilk biscuits for the best results. Flavored biscuits can change the cobbler’s taste. Avoid biscuits with sweet fillings or extra spices. They may clash with the apple filling.
- Plain canned biscuits provide a neutral, soft crust.
- Buttermilk biscuits add a slight tang and richness.
- Flaky biscuits create a layered, tender topping.
- Do not use sweet or fruit-filled biscuits.
How To Arrange Biscuits
Place biscuits evenly over the apple mixture. Leave a small gap between each biscuit. This allows steam to escape and biscuits to bake well. Press biscuits lightly but do not flatten. Overlapping can cause sogginess.
For a rustic look, break biscuits into pieces. Scatter them loosely on top for a crumbly texture. Brush biscuits with butter for a golden finish. Sprinkle cinnamon or sugar for extra flavor.
Baking Instructions
Baking an apple cobbler with canned biscuits is surprisingly simple, but a few baking instructions can make all the difference between a soggy mess and a perfectly golden dessert. Getting the oven temperature right and understanding the timing are essential to achieve that ideal texture where the biscuits are fluffy, and the apple filling is bubbling and delicious. Let’s explore how to bake your cobbler so it turns out just right every time.
Oven Temperature And Timing
Set your oven to 350°F (175°C). This temperature allows the biscuits to cook through without burning while giving the apples enough time to soften and release their juices.
Bake the cobbler for about 25 to 30 minutes. Keep an eye on the biscuits—they should turn a golden brown on top. If your oven runs hot or cool, adjust the time by a few minutes and check frequently after 20 minutes.
Have you noticed how ovens can vary even within the same kitchen? Using an oven thermometer can help you get consistent results every time you bake.
Tips For Even Baking
- Place the cobbler in the center of the oven to ensure even heat distribution.
- Rotate the baking dish halfway through the cooking time to prevent any side from browning too quickly.
- Use a glass or light-colored baking dish. Dark pans can cause the bottom to brown too fast, leaving the top undercooked.
Another trick is to let the cobbler rest for 5 minutes after baking. This helps the juices settle and makes serving easier, avoiding a runny filling.
Have you tried using a baking stone or placing a pan of water in the oven? These can help maintain moisture and even heat, especially if your kitchen tends to be dry.
Serving Suggestions
Serving Apple Cobbler with canned biscuits opens up a world of tasty possibilities. How you serve it can elevate this simple dessert into a memorable treat. Let’s dive into some ideas that bring out the best flavors and textures for your cobbler experience.
Toppings And Extras
Adding toppings can transform your apple cobbler from good to great. A scoop of vanilla ice cream is a classic choice that melts perfectly over warm cobbler, creating a creamy contrast to the baked apples. If you prefer something less sweet, try a dollop of whipped cream or a spoonful of Greek yogurt for a tangy twist.
Crunch lovers can sprinkle chopped nuts like walnuts or pecans on top. It adds texture and a nutty flavor that complements the soft biscuits. A drizzle of caramel or honey can also boost the sweetness without overpowering the natural apple taste.
Pairing With Beverages
Choosing the right drink can heighten your enjoyment of apple cobbler. A cup of hot coffee or spiced chai tea pairs wonderfully, balancing the dessert’s sweetness with bold, warm flavors. If you want something cold, a glass of crisp apple cider or sparkling water with a splash of lemon keeps things refreshing.
For an adult twist, consider a light dessert wine like Moscato or a warm mulled wine to echo the cobbler’s cozy spices. What drink will you pick to complete your apple cobbler moment?

Credit: www.inspiredtaste.net
Variations To Try
Apple cobbler with canned biscuits is already a quick and comforting dessert. But you can easily make it your own by trying a few variations. These simple tweaks can change the flavor and texture, keeping your cobbler exciting every time you bake it.
Adding Nuts Or Raisins
Sprinkling nuts like chopped walnuts or pecans adds a satisfying crunch to your cobbler. They also bring a toasty flavor that pairs perfectly with the sweet apples. If you prefer something chewy, toss in a handful of raisins for a burst of natural sweetness.
Try mixing these into the apple filling before topping it with biscuits. It’s a small change, but it makes a big difference in texture and taste. Have you ever thought about how a little crunch or chew can transform your dessert experience?
Using Different Fruits
Don’t limit yourself to just apples. Pears, peaches, or even mixed berries can bring a fresh twist to your cobbler. Each fruit offers a unique flavor profile that changes the dessert’s character.
For example, peaches add a juicy sweetness while berries give a tart contrast. You can combine fruits or use them alone to match your mood or what you have on hand. What fruits do you think would surprise you the most in this classic recipe?
Troubleshooting Tips
Troubleshooting Apple Cobbler with canned biscuits ensures a perfect dessert every time. Small adjustments can fix common problems like soggy crusts or undercooked biscuits. This section offers clear tips to improve your baking results.
Avoiding Soggy Bottom
Soggy bottoms ruin a good cobbler. Use these tips to keep the crust crisp:
- Drain excess juice from canned apples before baking.
- Sprinkle a thin layer of flour or cornstarch over the fruit to absorb moisture.
- Preheat the baking dish to warm it before adding the filling and biscuits.
- Place the cobbler on the lower oven rack for better heat distribution.
Ensuring Biscuit Doneness
Undercooked biscuits spoil the texture of the cobbler. Follow these steps for fully baked biscuits:
- Check biscuit thickness; thinner biscuits cook faster and more evenly.
- Space biscuits evenly over the fruit to allow hot air circulation.
- Bake until biscuits turn golden brown and feel firm to the touch.
- Use a toothpick to test; it should come out clean from the biscuit center.

Credit: butterwithasideofbread.com
Frequently Asked Questions
What Ingredients Are Needed For Apple Cobbler With Canned Biscuits?
You need canned biscuits, apples, sugar, cinnamon, butter, and lemon juice. These simple ingredients create a quick, tasty apple cobbler.
How Long Does Apple Cobbler With Canned Biscuits Take To Bake?
Bake the cobbler at 350°F (175°C) for 25-30 minutes. The biscuits should be golden brown and apples tender.
Can I Use Frozen Or Fresh Apples Instead?
Yes, fresh or frozen apples work well. Adjust baking time slightly for frozen apples due to extra moisture.
Is Apple Cobbler With Canned Biscuits Gluten-free?
No, canned biscuits usually contain gluten. For gluten-free, use gluten-free biscuits or alternative crust recipes.
Conclusion
This apple cobbler with canned biscuits is quick and tasty. It uses simple ingredients you likely have at home. Baking it fills your kitchen with a warm, sweet smell. Serve it warm with ice cream or on its own. Everyone can enjoy this easy dessert any day.
Try it soon and see how fast it comes together. A perfect treat for busy days or special moments. Simple, delicious, and comforting—what more could you want?

Hi, I’m Daniel Brooks—a food lover and kitchen gear enthusiast. I enjoy testing cookware, utensils, and gadgets to see what really works in everyday cooking. At PlugChef.com, I share honest reviews, comparisons, and simple guides to help you choose the best tools for a safer, smarter, and more enjoyable kitchen.
Related posts:
 What Type of Cooking Utensils are Safe: Expert Picks
 What Innovations Could Blenders Make: Unleashing Future Tech
 Smart Strategies to Organize a Small Kitchen: Maximize Space
 How to Organize a Kitchen Cabinet: Expert Tips & Tricks
 How to Organize Kitchen Drawers: Expert Tips and Tricks
 How to Organize a Corner Kitchen Cupboard: Expert Tips

