
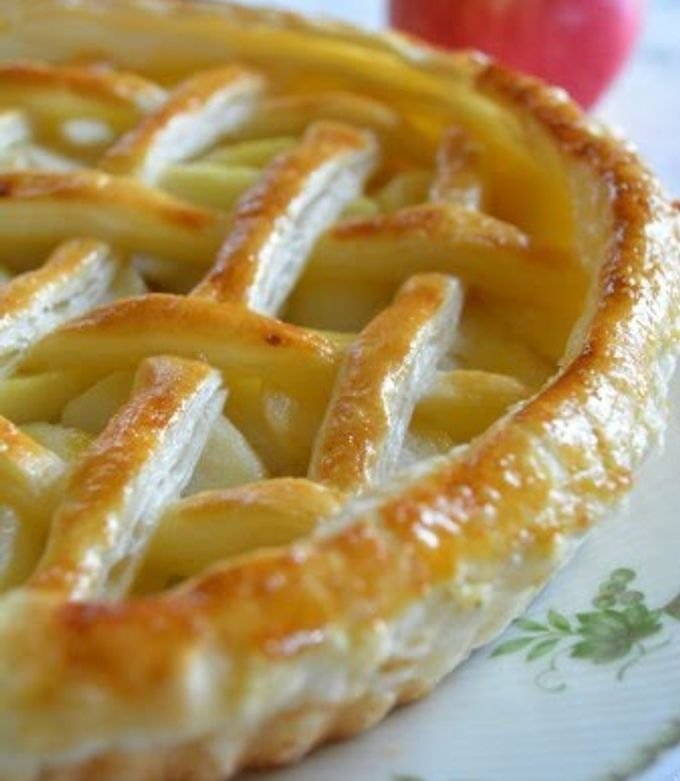
Craving a warm, delicious apple pie but short on time? Using a frozen crust can be your secret weapon to a perfect dessert without the hassle.
Imagine biting into a flaky, golden crust filled with sweet, cinnamon-spiced apples—all made easier than you think. You’ll discover simple steps to create an irresistible apple pie that will impress everyone at your table. Ready to turn your kitchen into a cozy bakery?
Let’s get started!
Choosing The Right Frozen Crust
Choosing the right frozen crust can make or break your apple pie. It’s not just about convenience; the crust sets the foundation for your filling and defines the pie’s texture and flavor. Knowing what to look for helps you pick a crust that complements your apples perfectly.
Types Of Frozen Pie Crusts
You’ll find a few main types of frozen pie crusts at the store, each with its own strengths:
- Traditional Pie Crust:Flaky and buttery, this crust is closest to homemade. It’s perfect if you want that classic pie experience without the fuss.
- Graham Cracker Crust:Adds a sweet, crunchy base ideal for a twist on apple pie. It’s less common but worth trying if you want a different texture.
- Gluten-Free Crust:Made for those with dietary restrictions, these often use alternative flours and can be surprisingly tasty.
- Pre-Baked Crust:Comes ready to fill and bake. Great if you’re short on time, but watch the baking instructions closely to avoid overcooking.
Tips For Picking Quality Crusts
Look at the ingredients list carefully. The best crusts usually have simple, recognizable ingredients like flour, butter, and water. Avoid crusts loaded with preservatives or artificial flavors.
Check the packaging date and expiration. Fresher crusts tend to perform better during baking and taste fresher. Also, consider the thickness—too thick can overpower the filling, too thin may get soggy.
Think about your oven and baking style. If you prefer a crisp crust, a pre-baked option or one with higher butter content will suit you. If you like a softer base, a traditional frozen crust that bakes with the filling might work better.
Have you ever picked a crust only to find it soggy after baking? That’s often due to moisture content. Choosing a crust with good reviews or recommendations can save you that disappointment.
Preparing The Apple Filling
Preparing the apple filling is where your pie starts to come alive. The right choices here can turn a simple apple pie into a memorable treat. It’s all about balancing texture, flavor, and sweetness to get that perfect bite.
Selecting Apples For Pie
Not all apples are created equal for pie making. You want apples that hold their shape and offer a good mix of tartness and sweetness. Granny Smith is a classic choice because it stays firm and adds a nice tang.
But don’t stop there. Mixing in varieties like Honeycrisp or Fuji can add layers of sweetness and complexity. Have you tried combining different apples in one pie? It adds depth and prevents your filling from tasting one-dimensional.
Mixing Spices And Sweeteners
Spices can make or break your apple filling. Cinnamon is a must-have, but adding a pinch of nutmeg or ground cloves can elevate the flavor. Be careful not to overdo it—too much spice can overpower the apples.
When it comes to sweeteners, you can’t just rely on sugar. Brown sugar adds a caramel-like richness, while a touch of maple syrup or honey can introduce unique flavors. Have you experimented with less common sweeteners? Sometimes a little tweak can surprise your taste buds.
Pre-cooking Vs. Raw Filling
Deciding whether to pre-cook your filling is a big choice. Pre-cooking softens the apples and lets the spices meld together, which can prevent a soggy crust. However, some prefer the texture and freshness of raw apple slices baking in the oven.
If you pre-cook, cook gently until the apples are just tender, then cool before filling your crust. If you go raw, toss the slices with your spice and sugar mix and add a thickener like cornstarch to absorb the juices. Which method fits your baking style better?
Assembling The Pie
Place the frozen crust in the pie dish and gently press it to fit. Fill with apple mixture, then cover with the top crust or lattice before baking.
Assembling the pie is an exciting part of making apple pie. With a frozen crust, it becomes even easier. Let’s explore how to assemble your perfect pie with frozen crust.Thawing And Handling The Crust
Take the frozen crust from the freezer. Let it thaw at room temperature for 15 minutes. Be gentle to avoid breaking it. Ensure it stays cool to prevent sticking. Use a light dusting of flour if needed.Adding The Filling
Prepare your apple filling while the crust thaws. Use fresh apples, sugar, and cinnamon. Place the thawed crust in the pie pan. Pour the apple mixture evenly into the crust. Spread it out gently with a spoon.Creating A Topping
Consider a crumb topping for added texture. Mix flour, sugar, and butter for a simple crumble. Sprinkle the crumble generously over the apple filling. Ensure it covers the apples completely. This will give a golden, crispy finish. Assembling the pie with a frozen crust is simple. Follow these steps for a delicious homemade apple pie.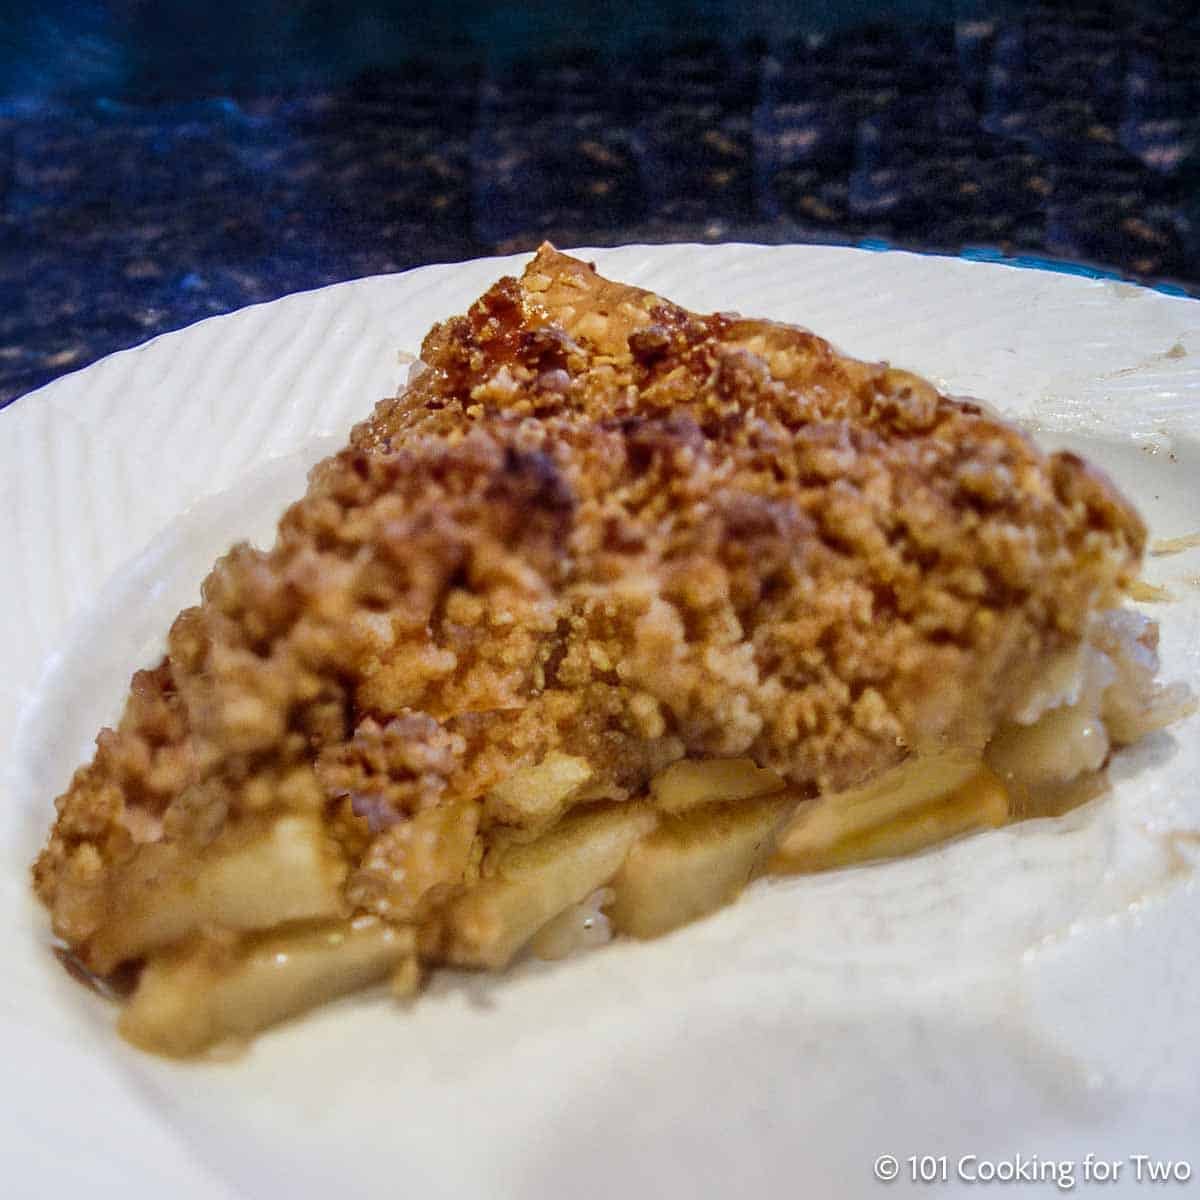
Credit: www.101cookingfortwo.com
Baking Techniques
Baking apple pie using a frozen crust needs some care. Good techniques help get a crisp, golden crust and a juicy filling. Follow these tips to improve your baking results and enjoy a perfect pie every time.
Ideal Oven Temperature
Set your oven to 425°F (220°C) for the first 15 minutes. This high heat helps the crust firm up quickly. Then lower the temperature to 350°F (175°C) for the rest of the baking time. This slow baking cooks the filling without burning the crust.
Baking Time Tips
Bake the pie for 45 to 55 minutes total. Keep an eye on the crust color. If it browns too fast, cover the edges with foil. This protects them from burning while the filling cooks fully.
Preventing A Soggy Bottom
- Place the pie on the lower oven rack for a crisp base.
- Brush the frozen crust with egg wash to create a moisture barrier.
- Blind bake the crust for 10 minutes before adding filling to reduce sogginess.
- Drain excess liquid from the apple filling before filling the crust.
Serving Suggestions
Serving apple pie made with a frozen crust can be a delightful experience when you know how to elevate it. The right pairings and toppings can transform a simple slice into a memorable treat. Let’s look at some ways you can serve your pie to impress your guests or simply enjoy it yourself.
Best Pairings And Toppings
Think beyond just vanilla ice cream. While a scoop of creamy vanilla complements the warm spices perfectly, there are other exciting options to try.
- Cheddar cheese:A thin slice of sharp cheddar on top adds a surprising savory twist. This classic combo balances sweet and salty beautifully.
- Whipped cream:Light and fluffy, it adds a soft texture that pairs well with the crisp crust.
- Caramel sauce:Drizzle warm caramel over your slice for added richness and a touch of indulgence.
- Fresh fruit:Add a few fresh berries or sliced apples on the side to brighten flavors and add freshness.
- Spiced nuts:Sprinkle chopped pecans or walnuts toasted with cinnamon for a crunchy finish.
Have you ever tried a slice of apple pie with a dollop of Greek yogurt instead of cream? The tanginess cuts through the sweetness and adds a unique flavor profile worth experimenting with.
Storing Leftovers
Leftover apple pie deserves care to keep its flavors and texture intact. Don’t just toss it in the fridge without thought.
- Cover the pie with plastic wrap or foil to prevent it from drying out.
- Store in the refrigerator for up to 4 days to keep it fresh.
- If you want to keep it longer, wrap tightly and freeze for up to 2 months.
Reheat slices in a warm oven for a few minutes to revive the crisp crust instead of using a microwave, which can make it soggy. Have you noticed how a quick reheat makes the flavors pop again?
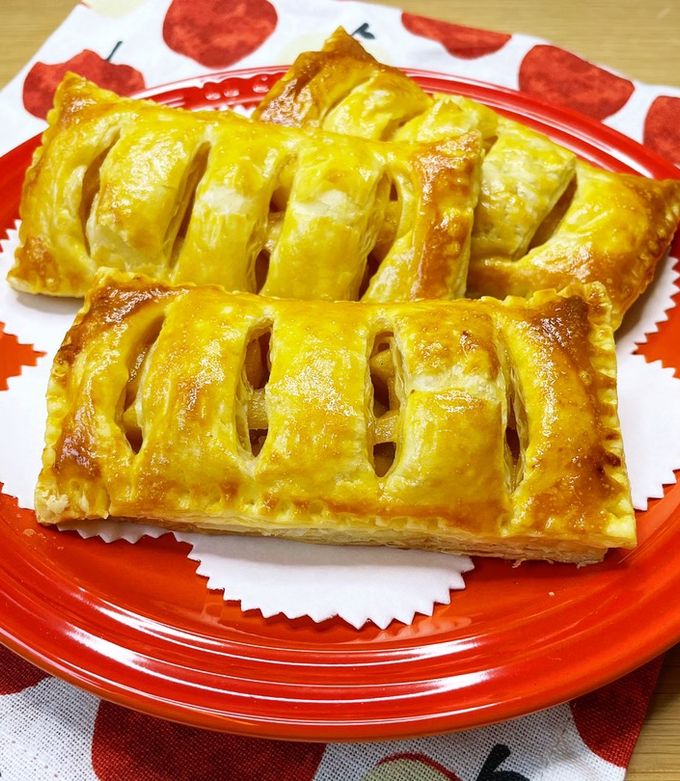
Credit: cookpad.com

Credit: smittenkitchen.com
Frequently Asked Questions
Can I Use Frozen Crust For Apple Pie?
Yes, frozen crust works well for apple pie. It saves time and maintains a flaky texture when baked properly.
How To Prevent Soggy Crust With Frozen Dough?
Bake the frozen crust partially before adding filling. This seals the crust and prevents sogginess during baking.
Should I Thaw Frozen Pie Crust Before Baking?
Thawing is optional. You can bake frozen crust directly, but thawing allows easier handling and prevents cracking.
What Is The Best Filling For Apple Pie With Frozen Crust?
Classic cinnamon-spiced apple filling pairs perfectly. Choose firm apples like Granny Smith for a balanced, flavorful pie.
Conclusion
Using a frozen crust makes apple pie baking quick and easy. It saves time without losing taste or texture. You get a crisp, golden base ready to hold sweet, spiced apples. This simple method suits busy days and beginner bakers alike.
Try it once, and you’ll see how stress-free pie making can be. Enjoy a warm, delicious apple pie anytime with this easy shortcut. Perfect for sharing with family or friends. A tasty treat made simple.

Hi, I’m Daniel Brooks—a food lover and kitchen gear enthusiast. I enjoy testing cookware, utensils, and gadgets to see what really works in everyday cooking. At PlugChef.com, I share honest reviews, comparisons, and simple guides to help you choose the best tools for a safer, smarter, and more enjoyable kitchen.
Related posts:
 What Type of Cooking Utensils are Safe: Expert Picks
 What Innovations Could Blenders Make: Unleashing Future Tech
 Smart Strategies to Organize a Small Kitchen: Maximize Space
 How to Organize a Kitchen Cabinet: Expert Tips & Tricks
 How to Organize Kitchen Drawers: Expert Tips and Tricks
 How to Organize a Corner Kitchen Cupboard: Expert Tips

